How To Build A Custom TV Frame
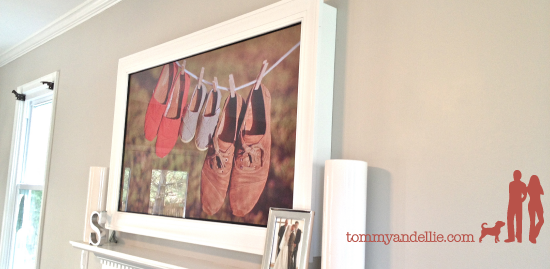
After receiving several suggestions from one of our recent blog posts, I decided to whip up a frame for the TV. I also thought it would be a fun little surprise for Ellie to come home to.
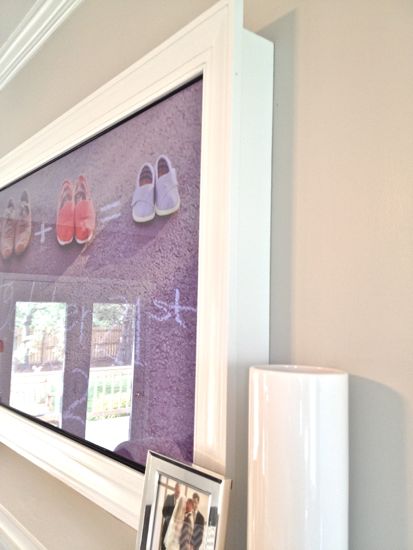
My vision for the TV frame is essentially just a box that fits overtop of the TV and then just sits on it. The TV itself is very securely mounted to the wall (large lag screws ratcheted into several wall studs) but you would still want to be careful not to make it too heavy and go beyond the maximum weight limits of your wall mount. Mine just sits on the TV, but another idea I had was to simply screw in a 1×2″ directly behind the TV and have the frame rest on that…..then you could screw the frame down into the 1×2″.
Anyways, I have a very slim TV mount that I purchased from Monoprice and the TV screen sits just 3″ from the wall. So I needed a box that was 3″ deep and then either window casing or door casing for the trim. For my specific TV, I needed the trim to be at least 3.5″ in order to cover up the bottom part. So I went to Home Depot to check out some of my options. I ended up buying;
- 16″ x 48″ piece of MDF shelving
- 16′ of 4″ Door Casing Trim
The MDF was $6.98 and the door casing was $16.90….but I got a $3 discount, so the total was $21.
I decided to buy MDF because it was the cheapest option for me to get 3″ strips to build my box. The other option for me would have been to buy 1×4″ whitewood and rip it down to 3″….but I would need two 8′ boards at about $7/each. So the MDF was cheapest, so I bought that and ripped it down to 4 strips at 3″ wide.
Since this is custom for my TV, my measurements won’t be very helpful but I’ll describe my method. I started by measuring the actually screen size of the TV….this would become the interior dimensions of my frame. I then determined where the top piece of MDF and the bottom piece would need to sit in order to fit snug around the TV….this would become the height needed for my MDF box. The width of the MDF box around the TV doesn’t need to be exact so I visually placed the MDF on the backside of the trim to see what I liked best….since the interior width is exact, I was able to then get a precise measurement for the width of the MDF box. Not sure if that all makes sense…but the basics would be, build a box that fits around the TV and then cut your trim so that the interior dimensions are the exact size of your TV screen.
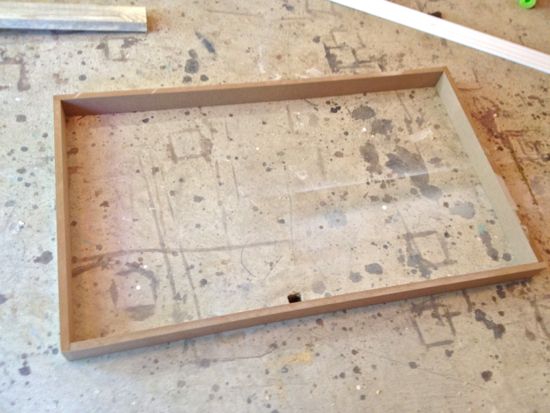
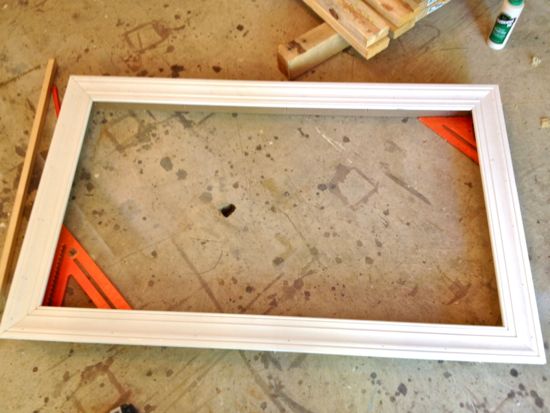
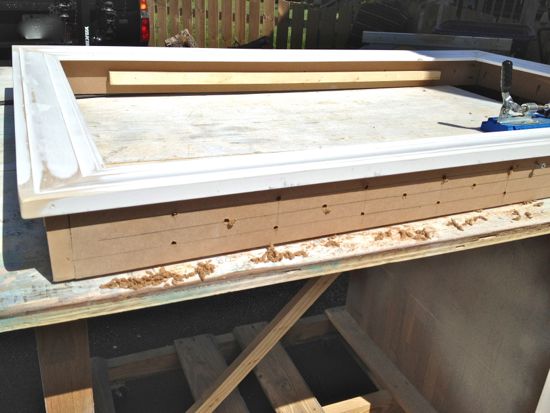
Once I had those measurement it was super simple. I used pocket holes on the MDF, glue, and 1″ nails…..but if I were to do it over again…I would just use glue and nails. Here’s the MDF box.
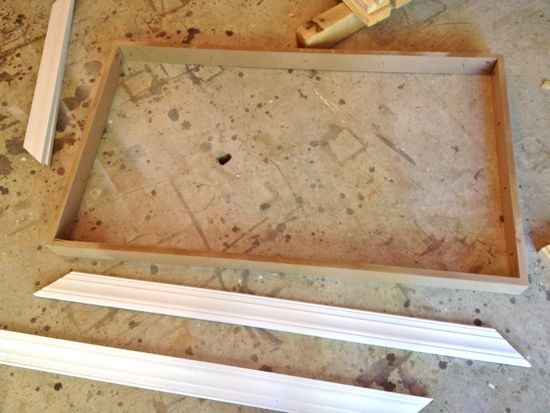
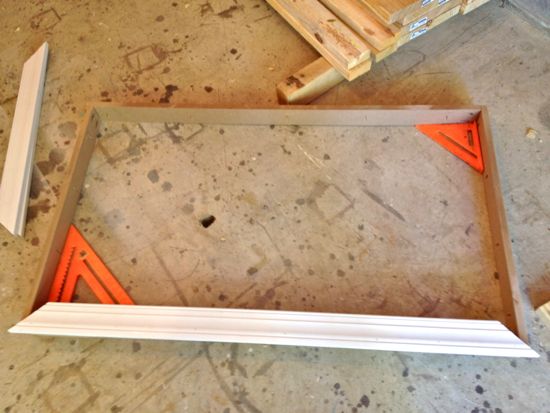
After the box was built, I added the trim. I used wood glue and 1″ nails. The important thing here is to make sure that the MDF box is square.
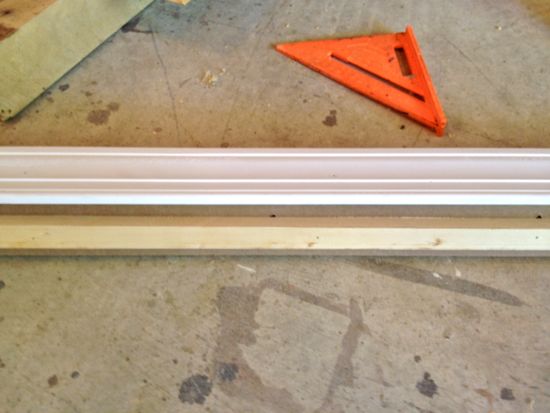
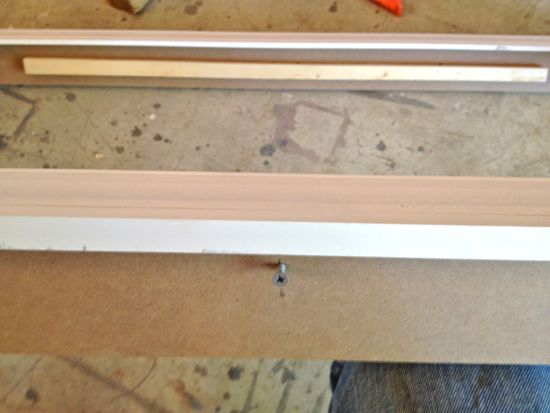
I gave it a test fit and noticed that the bottom floated away from the wall. In order for the TV frame to stay on the wall I did two things. I measured the void space behind the top of my TV and there was a 2″ gap…so I nailed a 1″ strip of scrap wood exactly 2″ from the edge of the MDF. That would keep the top of the frame from coming off. In order to keep the bottom from floating away from the wall, I again measured the void space behind the bottom part of the TV and determined there was a 2.25″ gap. For the bottom, I simply marked and drilled a pilot hole at exactly 2.25″, after the frame is placed over the TV, I could simply tighten up a set screw enough to secure the bottom of the frame to the TV/wall. Make sense?
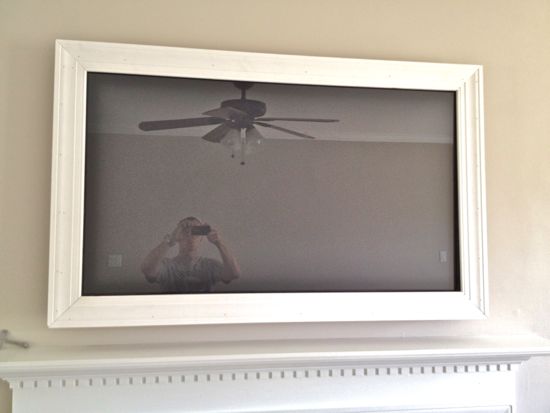
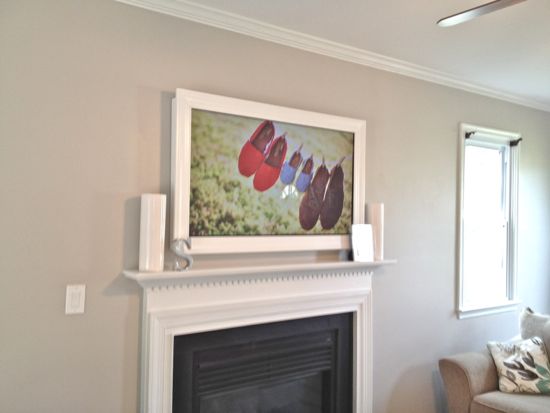
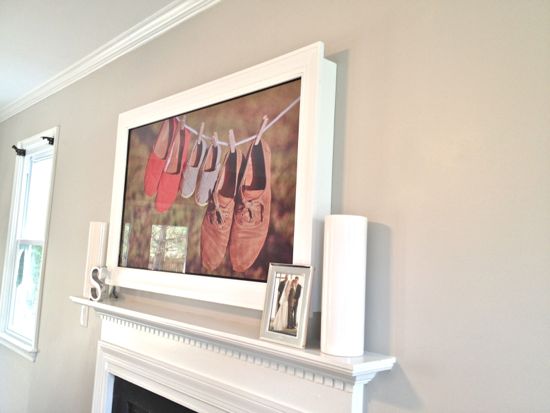
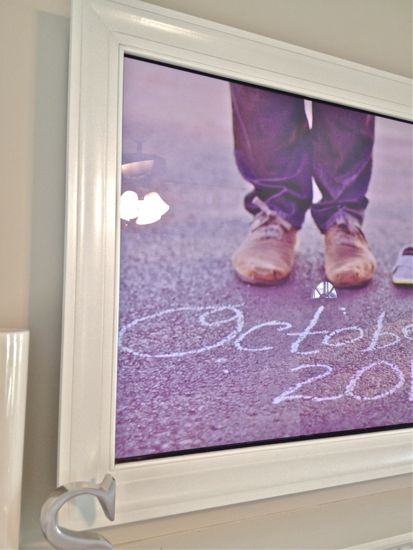
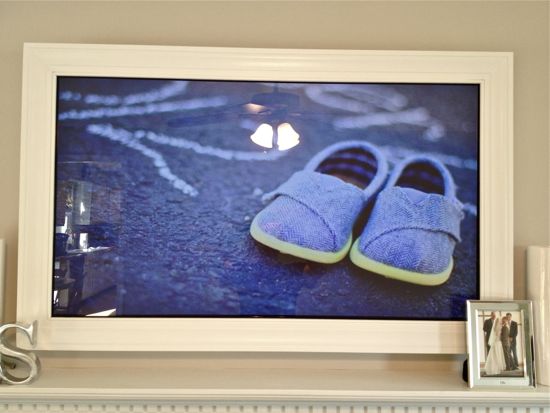
After the test fit passed the test, I drilled some holes on the bottom for ventilation (better safe than sorry), I sanded the frame down, caulked the corners and nail holes, and primed/painted. It took a few hours, cost $21, is a perfect fit for our TV, and is not permanent construction….so if we don’t like it or if we want to change the location of the TV, we simply lift it off.
So….Do you like the TV over the fireplace better now that it’s framed? Is there any difference at all? Whatcha think?
Trackbacks
There are no trackbacks on this entry.


Comments
There are no comments on this entry.