Armchair Turned Baby Rocker
I already gave a sneak peek at my latest project, now it’s time to fill in on the details.
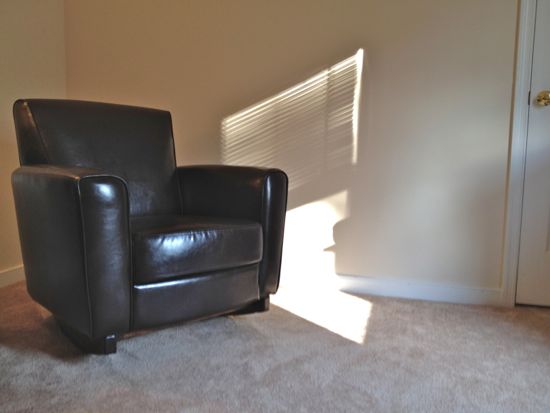
Our adventure started with a trip to Target where we picked up a nice/comfy armchair. We brought it home and began to assemble it. I skipped over the step which involved attaching the 4 legs.
I measured the standard legs and they came in around 4″…..but the chair also sat fairly low. I decided to increase the height just a tad so I ripped down some scrap pieces of 2×8″s to 5.5″. I experimented with a couple lengths and for our chair decided to have the rocker legs approximately 32″ long. I cut 4 pieces total and tried to cut my own arch for the rocker by tracing and using the jigsaw to cut them out. The first set didn’t work out too well.
Plan B. I took my scrap pieces over to my brother-in-law’s and set them next to his rocking chairs and traced my outline. I used a steady hand and a jigsaw to cut the arch. I test fit it to see if it rocked well….and it passed. I then gave it a preliminary sanding and made sure the the arches were identical and flat/square.
Next step was to mark and drill the holes needed to bolt my pieces of wood to the bottom of the chair. I drilled one hole all the way through that was the size of the bolt and then drilled a second hole slightly larger than bolt head in order to countersink it. The front holes were drilled less than the back holes due to the height. Once these were drilled, I could bolt it up to the chair and really give it a try. It worked well and rocked smoothly so it was on to aesthetics.
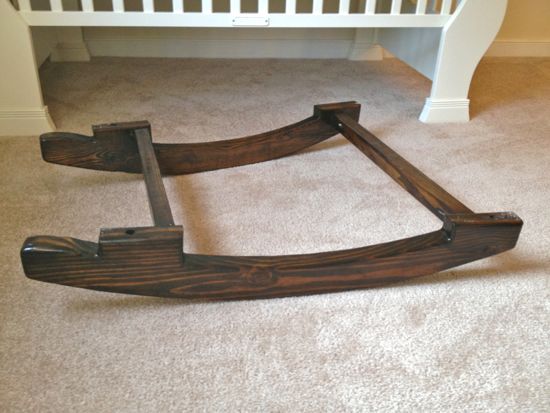
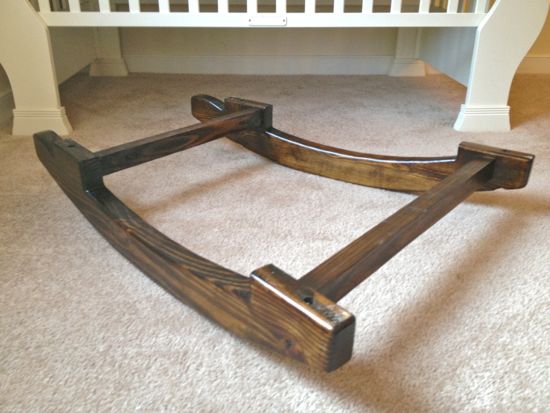
I free handed an additional arch and other turns/curves and cut those out with the jigsaw. As best as I could I sanded everything down and tried to make them identical. I also rounded all the edges. I bolted them on once again and decided to add two small pieces for additional support.
I took two measurements right around where it would bolts to the chair and cut some thin pieces of scrap to connect the two rocker legs to one another. My chair flares out slightly, so I need to cut these pieces at a 5 degree angle. I then drilled some pocket holes and used some wood glue to connect these support pieces to the rocker legs (important…I did this while the legs were securely bolted to the chair to ensure everything would bolt on/off).
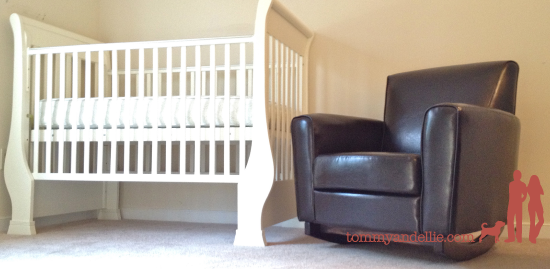
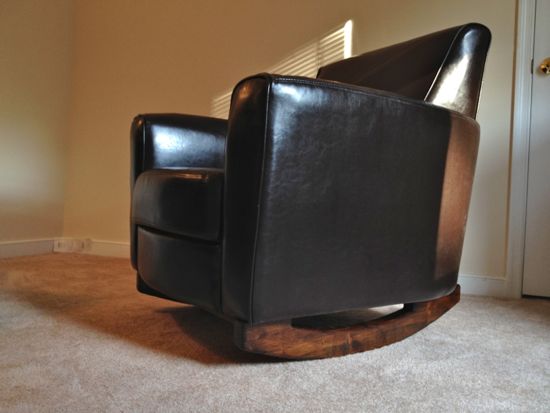
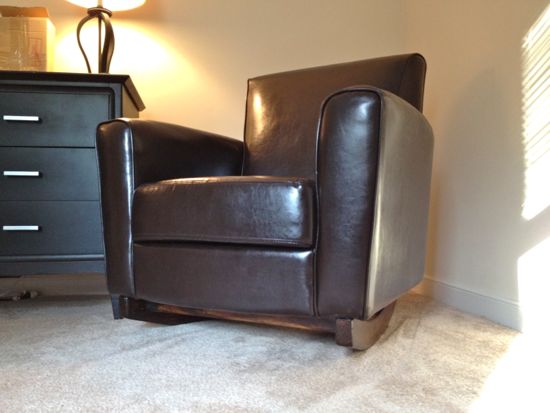
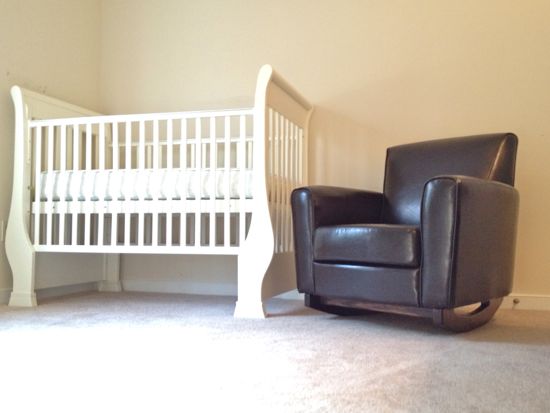
I gave it one last sanding and then put on two coats of dark walnut stain and two coats of General Arm-R-Seal to seal it off. You may noticed, I made one little mistake….but not a big enough issue for me to start over. Here’s the finished product…..whatcha think?
Trackbacks
There are no trackbacks on this entry.

Comments
There are no comments on this entry.