Farmhouse Bench Plans
So this is long overdue but here’s my newly revised plans on how to build the matching farmhouse bench.
Cut List
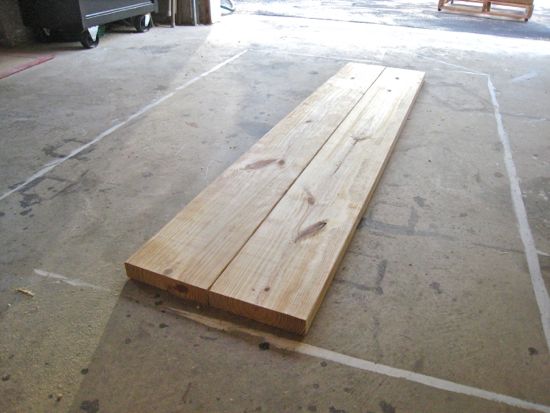
Benchtop: 2, 2×8″s @ 64″
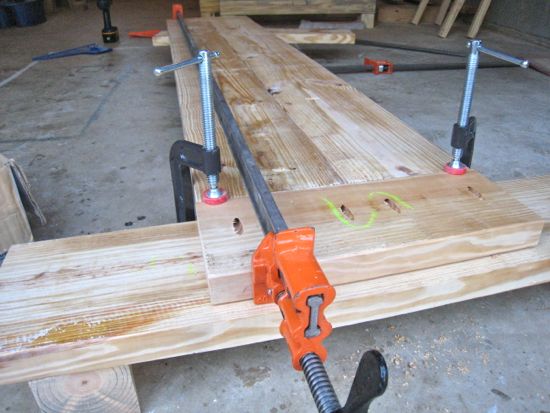
Breadboards: 2, 2×6″ @ 14.25″
Bench Legs: 4, 4×4″ @ 16.5″
2×4 Stretcher: 2, 2×4″ @ 12.25″
Under Supports: 3, 2×4″ @ 8″
End Apron: 2, 2×4″ @ 5″
Side Apron: 2, 2×4″ @ 61″
I start by cutting the bench table legs at 16.5″. I then notch those out using the same method and measurements as the table. I make the cut just a little under a depth of 1.5″ and make it 3.5″ from the bottom of the bench leg. After the bench legs are cut, I cut the rest of my wood.
I typically start with the benchtop first. I used to use 4; 2×4″s to make the benchtop but have recently switched to simply using 2; 2×8″s. It simplifies the build and I think matches the table design slightly better. I lay them out and figure out which way works best and begin to mark them for pocket holes and an end cut. I also distress them using my method of banging things against the wood. Using my trusty Kreg Jig, I join the two pieces together. For the breadboards, you can use a 2×6″…..or I usually just cut a scrap piece of 2×8″ down to a width of approximately 5.5″. Once ripped to 5.5″, I cut it @ 14.25″ long. I mark and drill the pocket holes and join it all together. Afterwards, I round off the edges and sand it down.
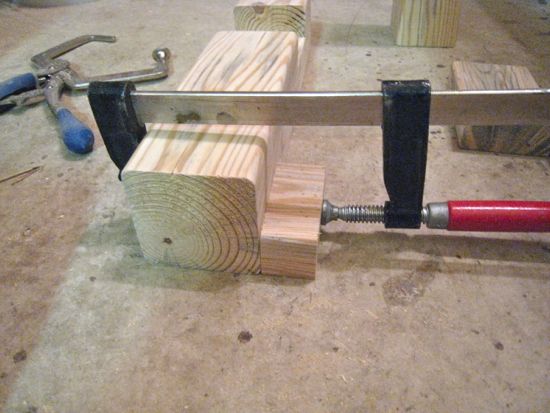
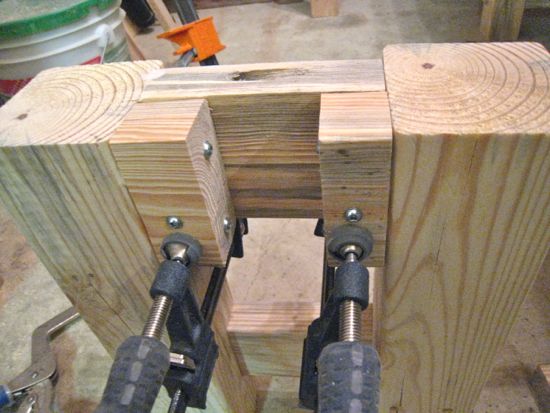
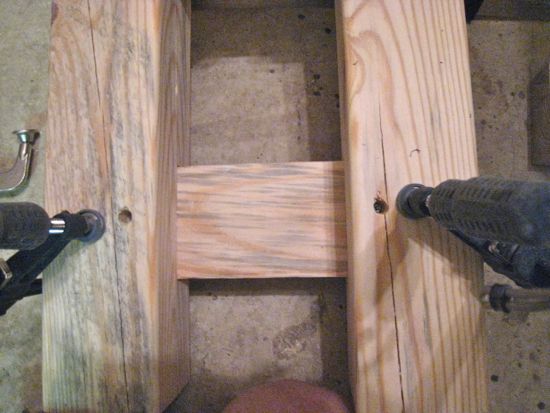
Once the benchtop is built, I put it to the side and build the base. This is something I do differently now. I cut little scrap pieces of wood down, drill two holes into the side and attach those to the top of the 4×4″ and flush to the edge. I then just place a pocket hole along the top of the end apron. I start with the end apron, clamp it in between the legs as well as to the little scrap pieces that I screwed into the legs. I screw that all together and then clamp the 2×4″ stretcher into place and screw that in through some countersunk holes.
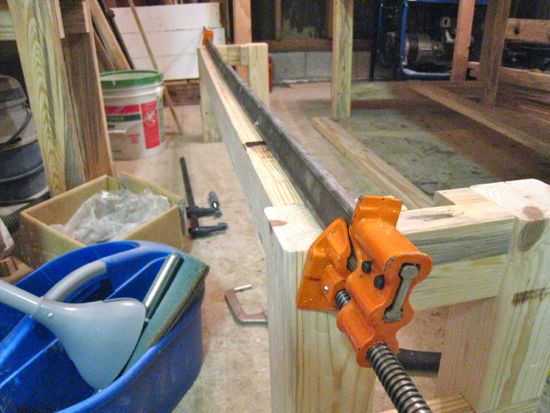
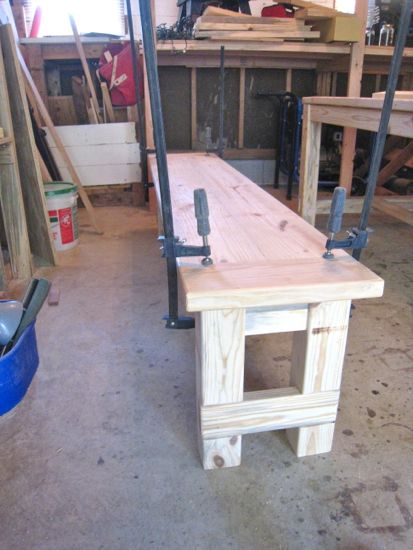
I clamp the side apron into place and screw that all together. The only thing left is to clamp the benchtop down to the base and screw it together using the pocket holes on the underneath.
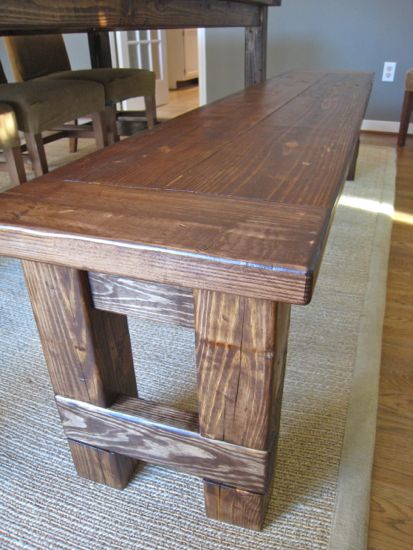
For the finish….I sand, use a pre-stain wood conditioner, 2-3 costs of stain, sanding sealer, 3-4 coats of General Arm-R-Seal (all with some 220 grit or steel wool sanding in between).
A pretty fast and inexpensive way to add tons of seating to your table. Other ideas for where else you could use a bench like this?
Trackbacks
There are no trackbacks on this entry.


Comments
There are no comments on this entry.