More Seating for Us
Our weekends have been pretty filled here lately…so here’s another old post that’s been updated. Enjoy.
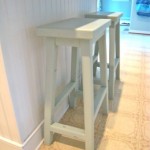
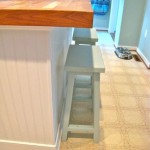
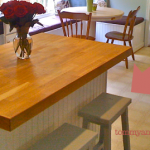
When I first built the island, I included a 7” overhang to accommodate for some nice saddle back stools in the future. I thought this would be as simple as heading over to Target and picking out a pair for $20/each. Instead it’s been a couple month journey to try and find the right set. I/we definitely wanted a rectangular stool as opposed to a circular one….and my biggest contingency was the depth of the stool. I didn’t want to buy a stool that flared out 17” and disrupted the flow of the kitchen. I finally found the perfect set at Wal-Mart for $70/pair. I went to order them….and they were discontinued…..wah wah.
So after I built the dining room table (seen here) and the dining room table bench (check back tomorrow for details on that), I had a bunch of scrap wood lying around. As you can tell by previous posts, I am really convicted to find uses for scrap wood. As I stared at the 4 pieces of 2x12”s leftover from the dining room table top, I had the vision that it would make the perfect seat for a stool. I checked back to my new favorite site http://ana-white.com/ and came across this building plan; http://ana-white.com/2011/01/simplest-stool.html
I used the building plan from Ana-white as inspiration and changed it quite a bit using what I had available. Here’s what I did.
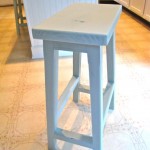
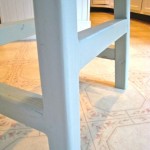
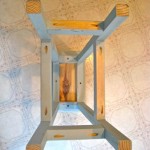
I started with cutting my seat to the size that I wanted. The 2x12” scraps were already 15” wide so that became my width…but I wanted it a little thinner so I cut the depth down to 9”. My granddad recently gave me this amazing Ryobi Planner and I used that to shave it down to 1.25” thick. This made the seat extremely smooth and straight. I only had a couple feet of 2x2”s leftover, so I took some 2x4”s and ripped them down the middle to create some 2x2”s. I sent those through the planner as well to get them down to 1.5”. Once I had all the wood that I needed, I checked back to the building plan and used my compound miter saw to cut the legs. The legs were double beveled at 5 degrees. When mounted to a flat surface this makes the legs flare out in two different directions. If you increase the degree of your cut, you’d increase how far it flares out. Depth of overall seat was the most important factor for me….so this was a real important step of the process.
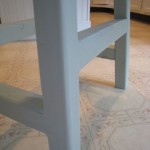
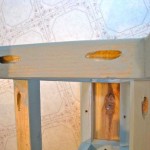
Once I had the legs cut, I labeled the inside corners and laid out my legs in sets. I’ll spare you some of the boring steps….but I then just guestimated (yes, that’s a word) where I wanted to place the support pieces. The important thing here is to keep it consistent across the sets of legs as well as for the matching stool. I cut those pieces with a single 5 degree bevel. Once everything was cut and laid out, I used my Kreg Jig to drill some pocket holes on the underneath of the support pieces but on the top side of the top aprons.
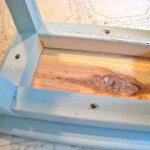
I <3 Clamps! I placed some wood glue at the joints clamped it all together and used the pocket screws to join it and to create the bases. Once the bases were complete, I centered the seat onto the base, glued it, clamped it, and countersunk some screws from the underneath side.
Once it was all put together, I used my router to round off all the sharp edges, sanded it down, and painted it to match our kitchen walls. The overall dimensions of the base are now; 10.5”d x 16”w….so they just barely stick out from our island and add an amazing new seating option for what’s become the center of all our entertainment.
Also, in case you were wondering…..it took me about 2 hours to make the first stool and then an hour to make the second (learning curve) and the cost was $0. Boo-yah.
Trackbacks
There are no trackbacks on this entry.

Comments
There are no comments on this entry.