Farmhouse Table Extensions….Must Do.
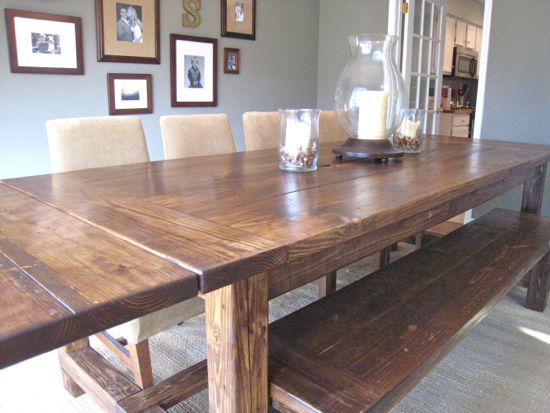
If you’ve stopped by our blog out of an interest in building yourself a farmhouse table…..you owe it to yourself to build the extensions that go along with it. Even if your current room doesn’t have enough room to handle a longer table, this is a table that will last a long time and you’ll be kicking yourself for not taking the couple extra minutes and the couple extra dollars to build the extensions.
Now with all that hype behind the extensions……I think they are the easiest thing to build and I have the most fun putting it together. First things first, you’ll need to prepare the table base to handle the extensions….I covered that in detail in the Farmhouse Table post found here.
Here’s your cut list (for a tabletop that’s 41″….there’s some minor adjustments for a wider table);
- 4: 2×8″ @ 41″
- 4: 2×2″ @ 38″ (with a 45 degree end cut)
- 2: 2×2″ @ 20″
Now onto the 2×2″s…..In the past, I would buy all my lumber from a local mill EXCEPT for the 2×2″s. I would then sift through about 100 2×2″s from Home Depot to find 2 or 3 ones that were straight enough to work. Nowadays, I just rip a 2×4″ down to two 2×2″s. To do that, I set my table saw fence to exactly 1.5″ (the true width of a 2×2″). This saves me the time of digging through the pile at Home Depot. You can do it this way too if you prefer….if you feel more comfortable just picking one out from the big box….that works too….just try to pick out one that’s nice and straight.
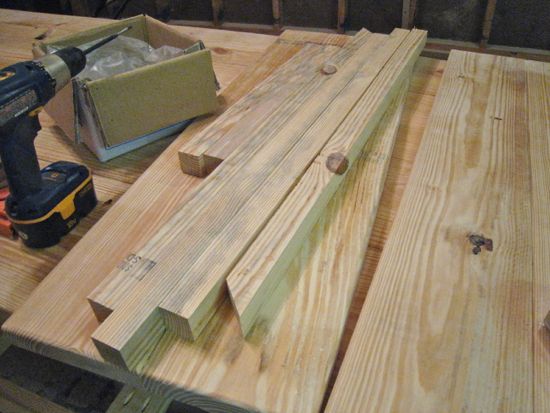
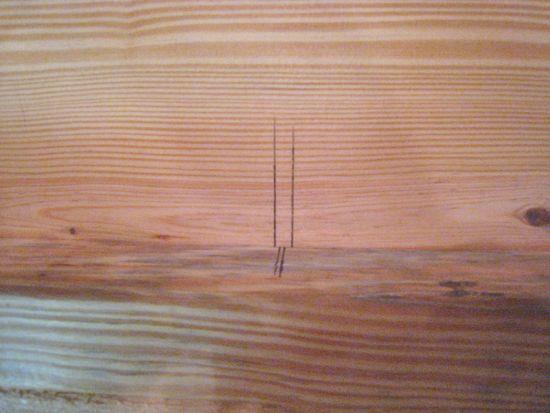
I’ll find the center of the two 2×8″s…let’s call them breadboards….and make a mark using my square. One trick I do is I take a measurement and mark from both ends of a board to ensure that I’ve found the true center. I also mark the center for the 2x2x20″.
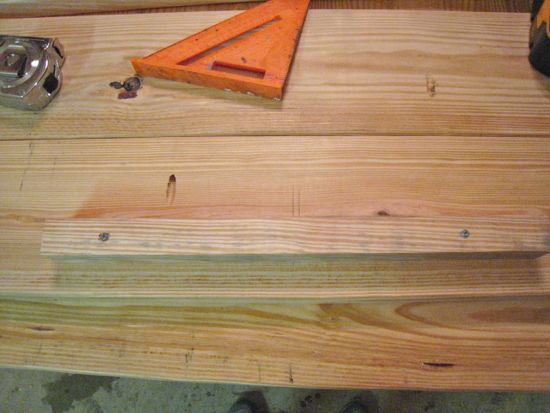
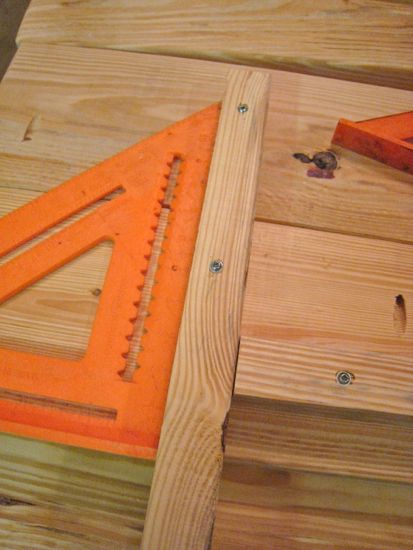
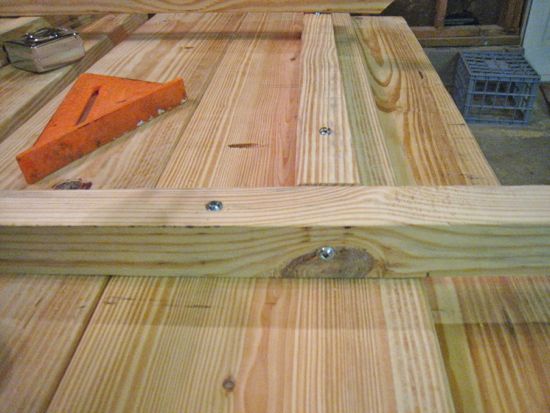
I space it out approximately 1.5″ from the edge of the breadboard that will be pushed against the table. I spread some wood glue on it, center/square it onto my board, and screw it in.
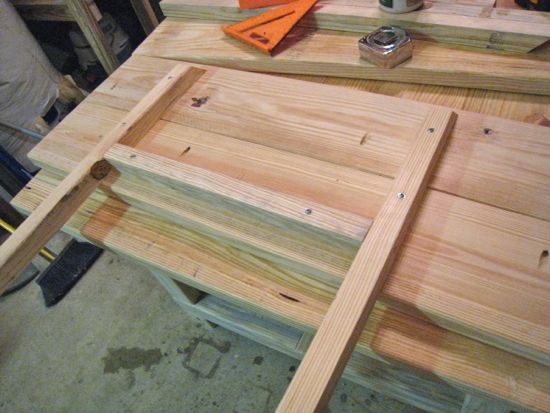
For the side pieces, I make a mark at 13″ from the angled cut. I line that up with the edge, push it against the 2×2″ that we just screwed down, ensure that it’s square to the edge, and screw it down. I try to place my two screws in the center of each breadboard. I also then place one additional screw through the side piece and into the first 2×2″ that we screwed down.
increased the total potential length of my table by 30″
We love to hear from our readers….so feel free to drop a comment or ask any questions you might have.
Trackbacks
There are no trackbacks on this entry.

Comments
There are no comments on this entry.