DIY Window Cornices
If you like to avoid sewing as much as possible (which I do, because I stink at sewing), window cornices or pelmet boxes are a great way to dress up your windows with just some fabric and a staple gun.
Here’s my quick supply list:
- Staple gun
- mdf/composite board
- Wood glue
- Nail gun
- Fabric spray adhesive
- Batting (it comes in a roll; I bought mine by the yard at Jo-Ann Fabrics)
- Fabric (for four 33.5 inch wide windows, I bought three and a half yards of fabric and rail-roaded it)
- L-brackets
- Decorative trim
Step 1: I began by tracing a scalloped shape onto some computer paper and transferring it to the mdf with a sharpie. Then, Tommy used a jigsaw to cut the shape and we assembled the front piece and the two side pieces together.
FYI, our windows were 33.5 inches wide, so we made the center piece about 34 inches wide, and then made the two side panels five inches wide (so the pelmet box extends five inches out from the wall/window).
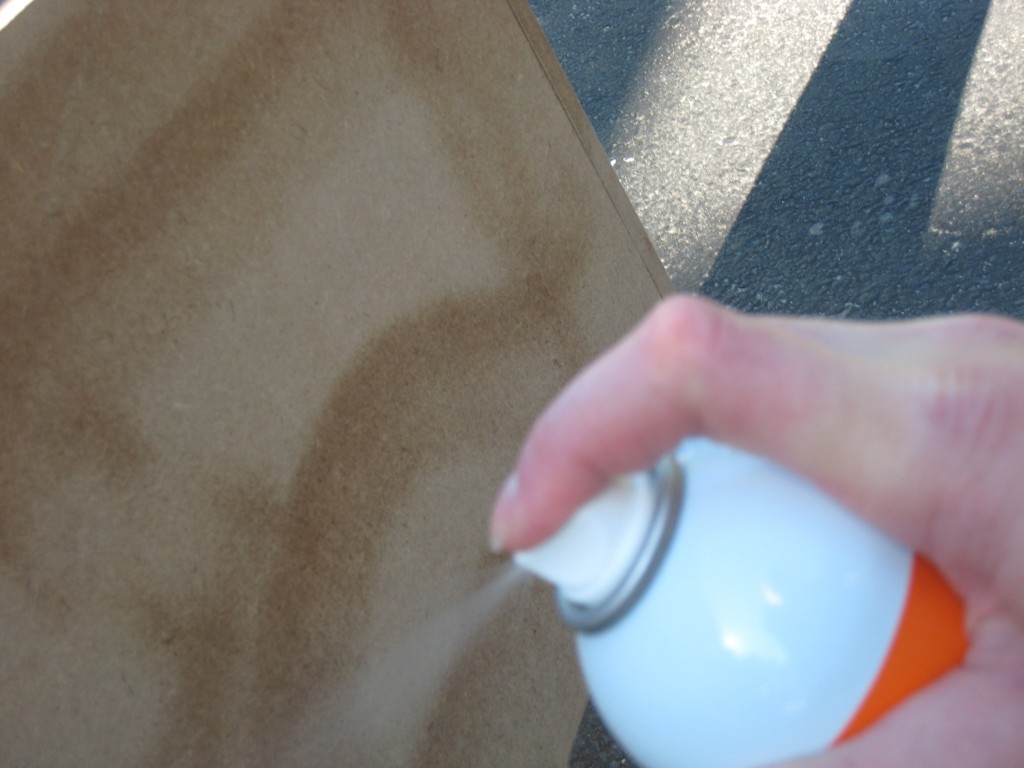
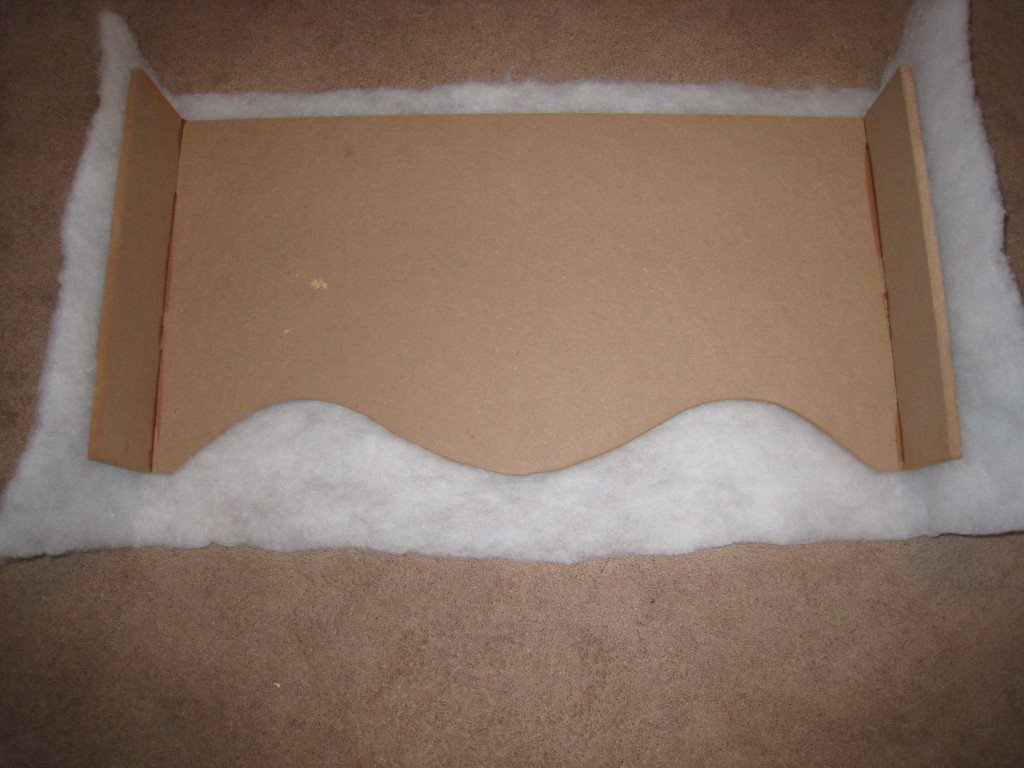
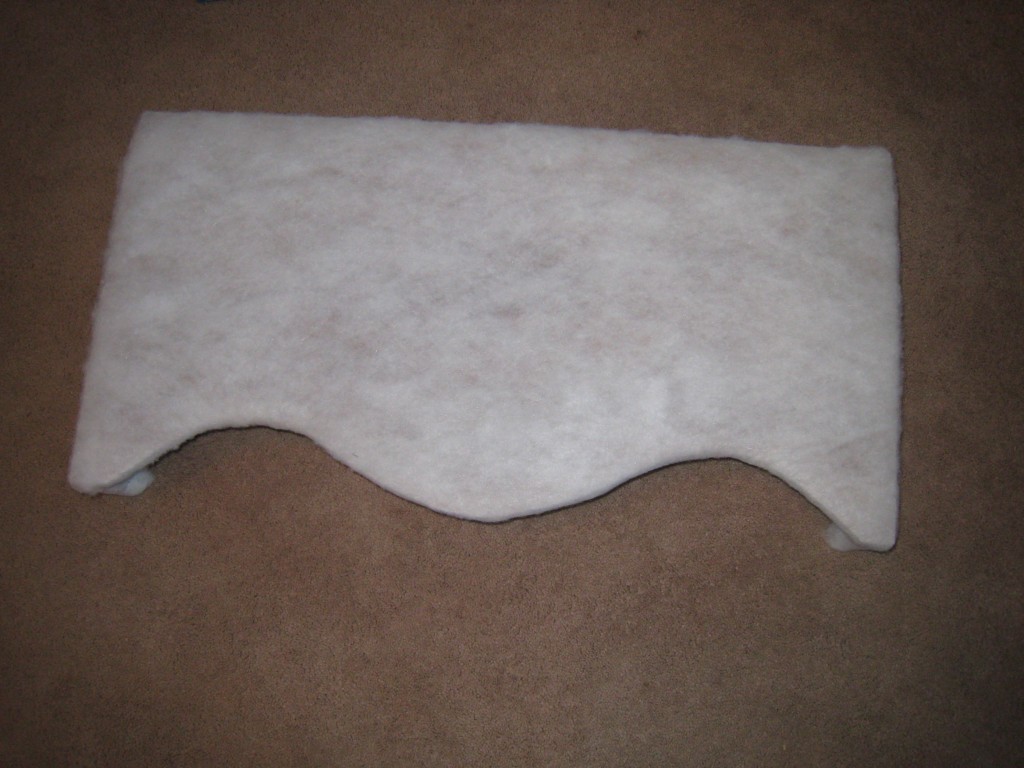
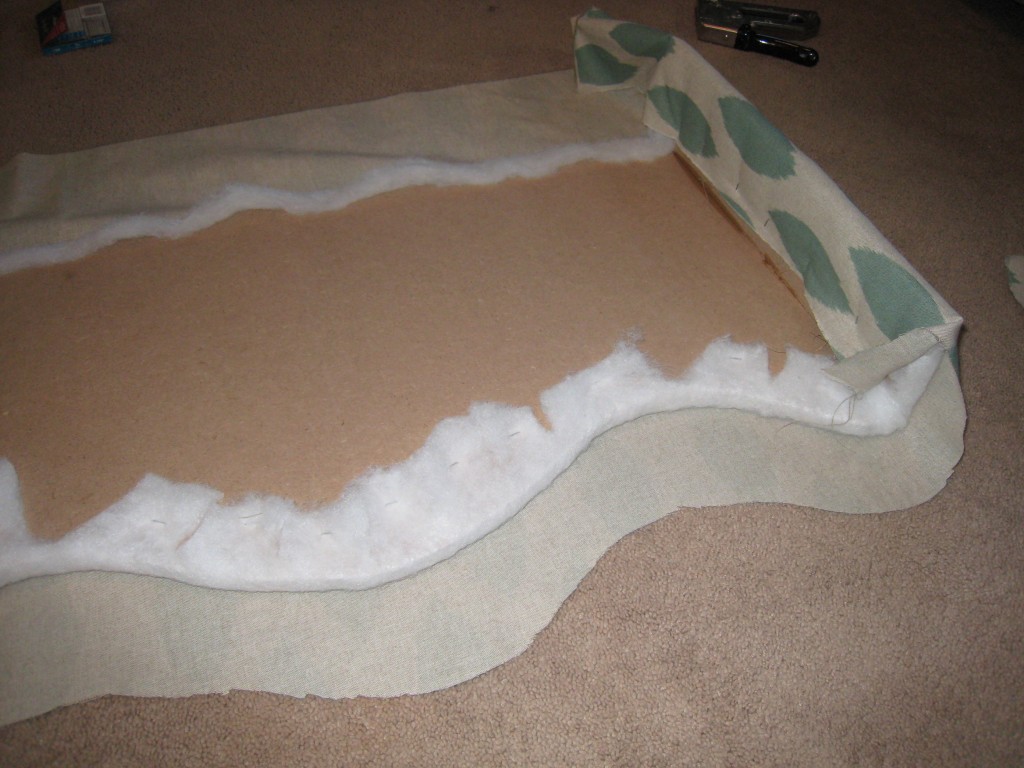
Step 2: We used wood glue and a nail gun to put the pelmet boxes together. After the wood glue was done drying (we let them dry overnight to make sure they were good and sturdy), I sprayed them with a fabric spray adhesive to attach some batting. Then I stapled the excess down tight to the board.
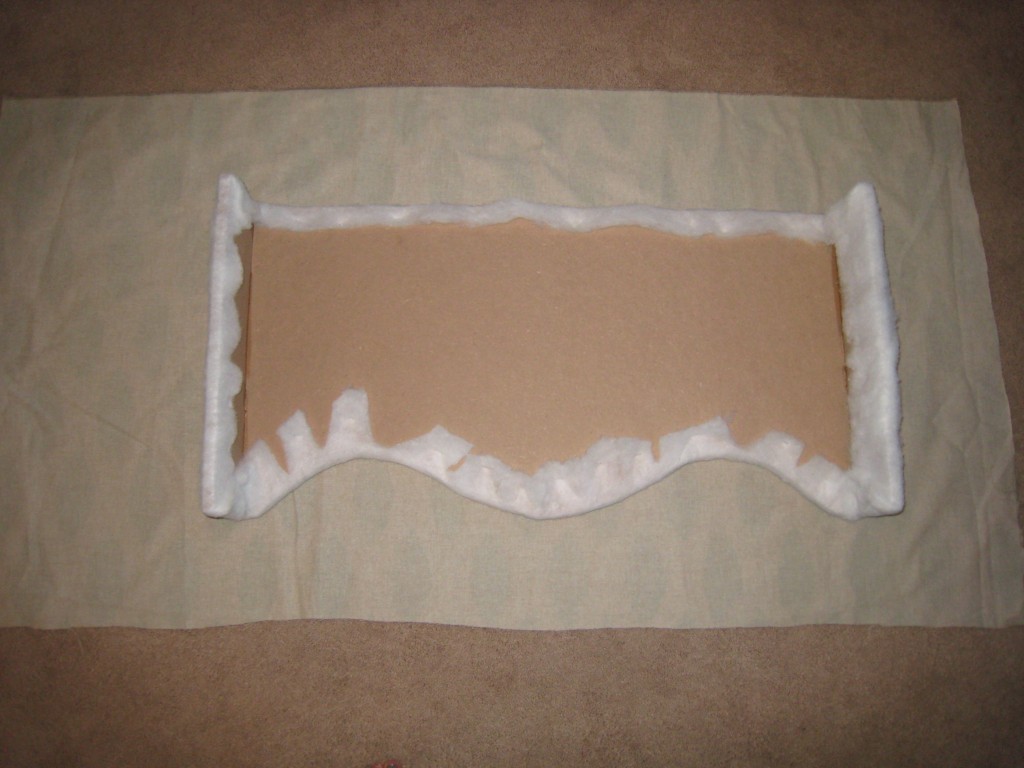
Step 3: I set my batting-covered box face down on top of my fabric and trimmed away some of the excess. This way, I wouldn’t have to deal with lots of extra fabric bunching when it came time to staple it down.
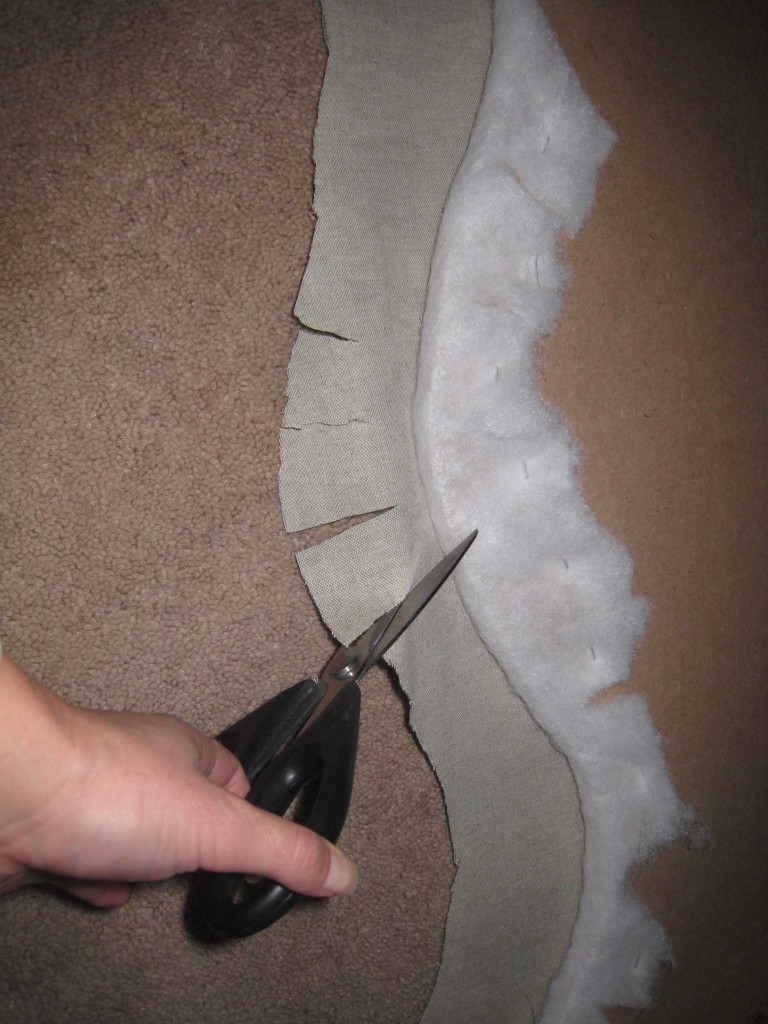
Step 4: Around the scalloped edge, I snipped some slits in the fabric to help it bend more easily as I pulled it tight around the corners.
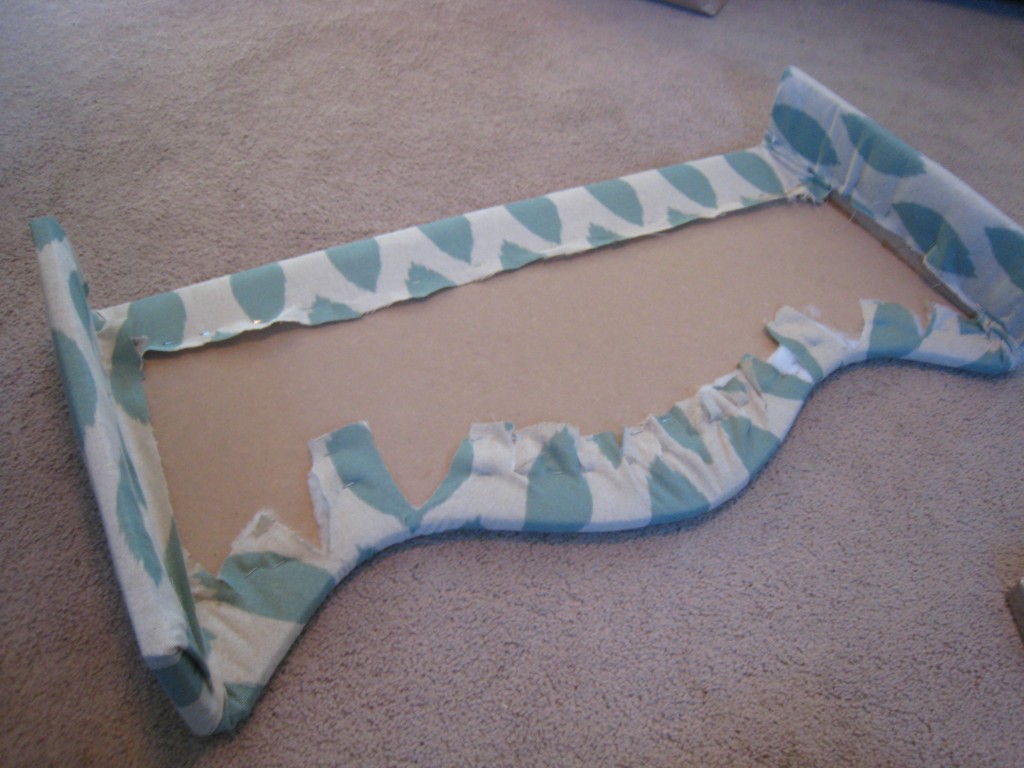
Step 5: Pulling the fabric tight as I went, I stapled the fabric down to the board, about two inches in from the edge. Pulling the fabric “tight” is the key, because it straightens out wrinkles and creates a smooth finish.
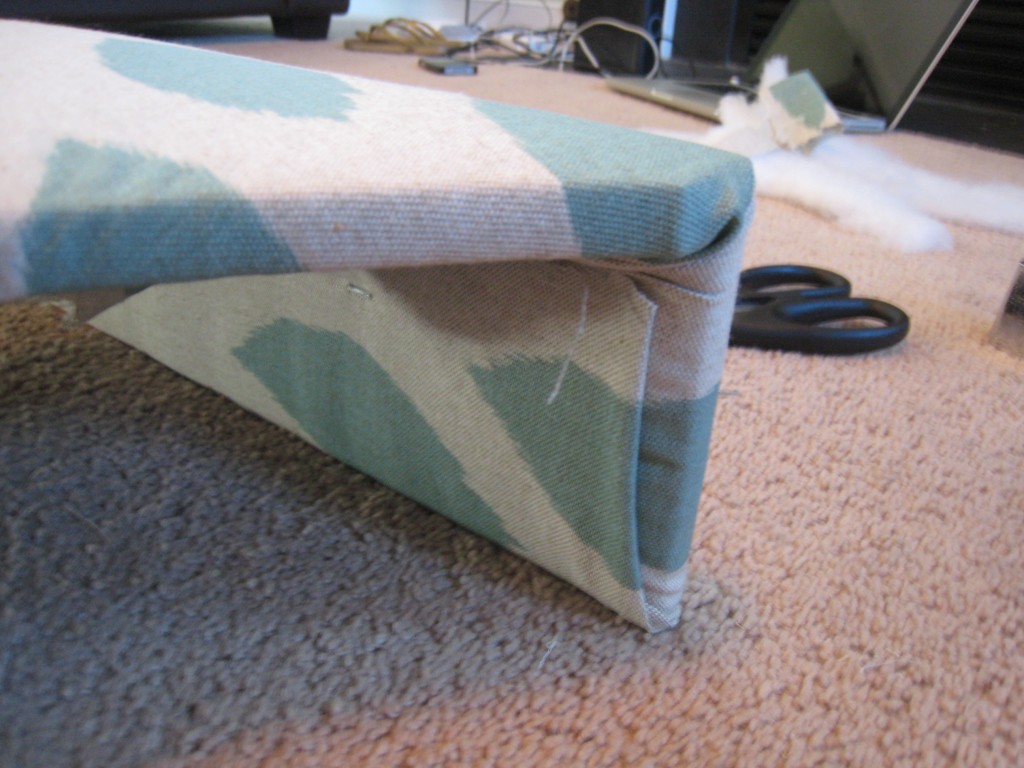
Step 6: I didn’t finish the back (which many people do) and probably looks very nice. Instead I just tried to do a nice job finishing the corners that I knew would be visible.
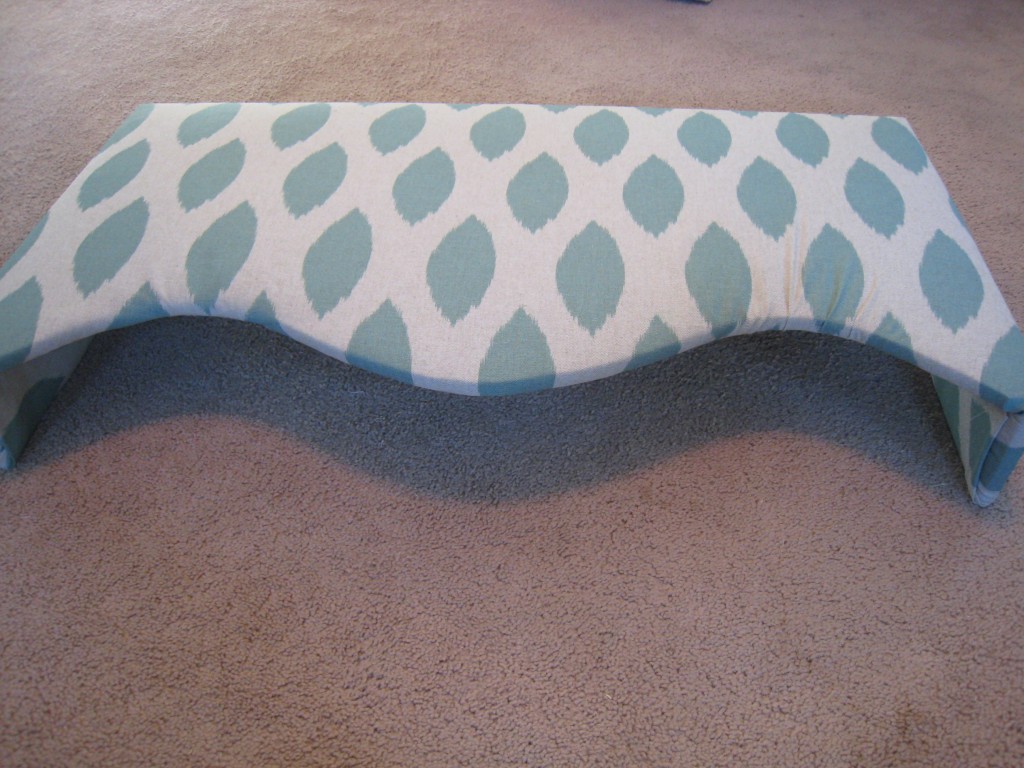
Step 7: I turned the cornice right side up to check fabric smoothness and make sure everything looked tight.
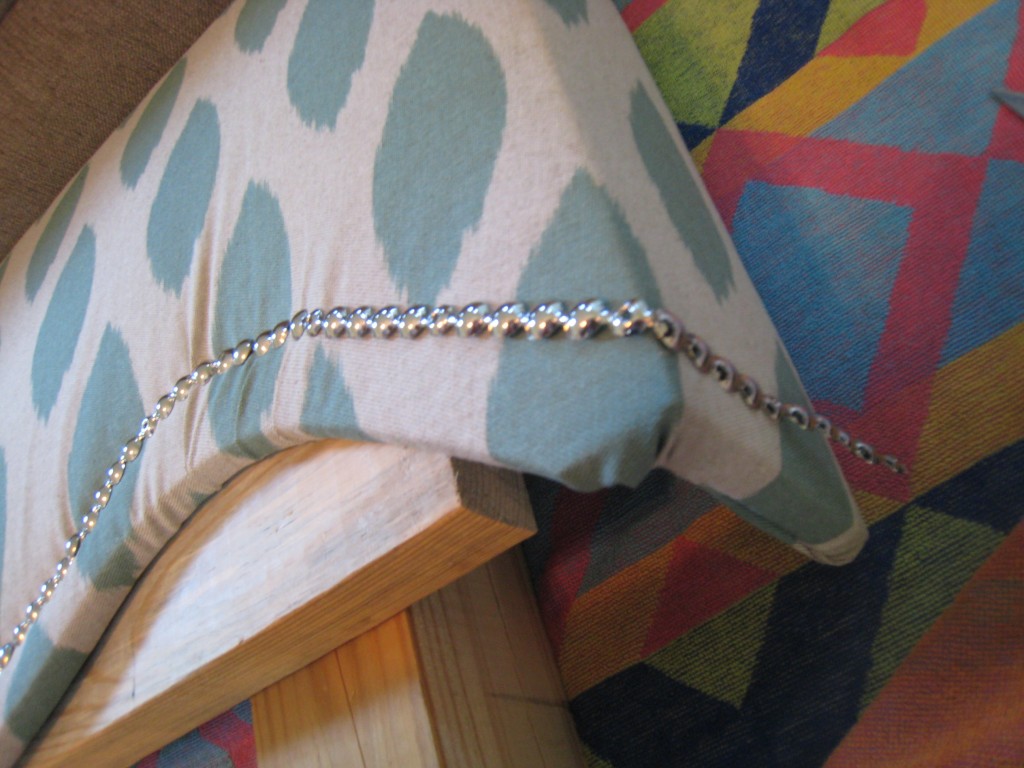
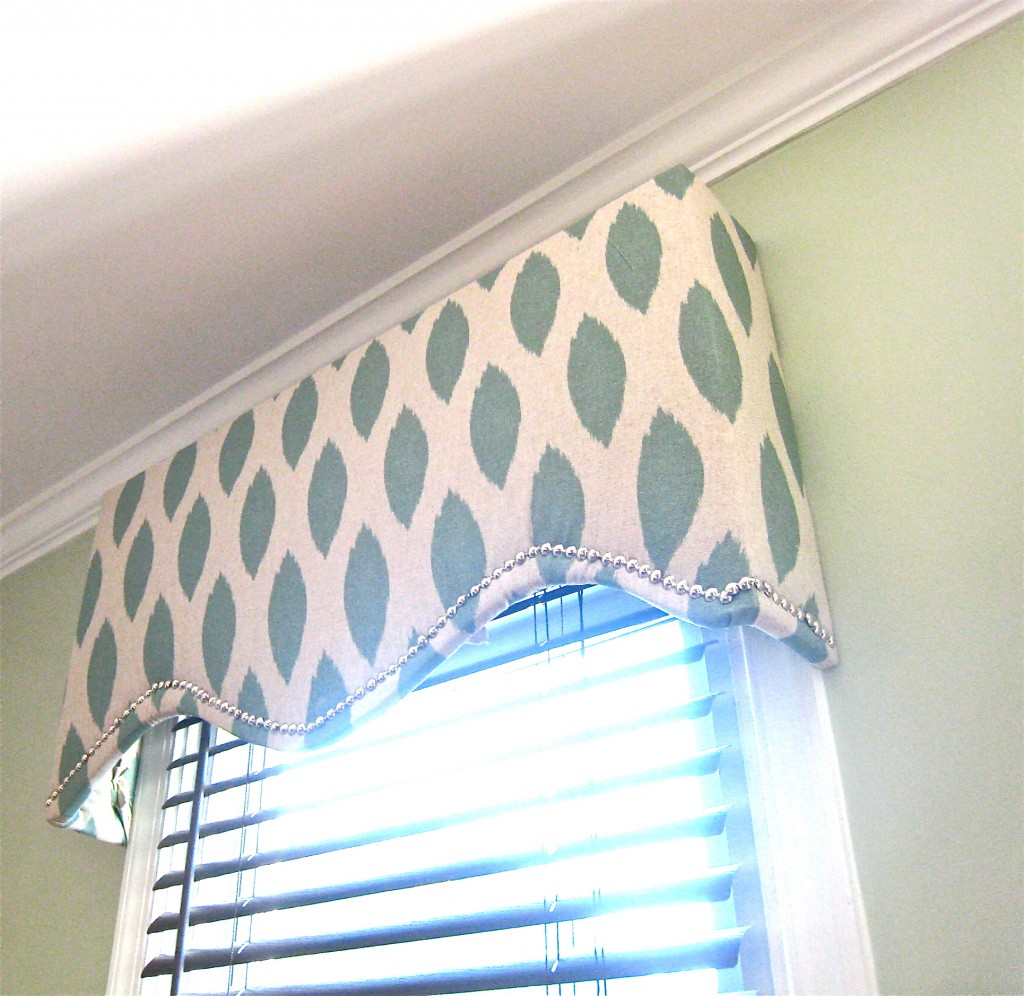
Step 8: I decided to trim my window cornices in nailhead trim. Because I am obsessed with nailhead trim. And I found nailhead trim by the roll at Jo-Ann Fabrics that you just nail in a tack every five nail heads.
Technically I should have used a rubber mallet to whack the nail heads into my board, but I was feeling too cheap to go out and buy a rubber mallet, so I used a meat pounder instead.
Don’t laugh. All you need is a wide, flat surface. A regular hammer will just bend the nailhead. (Believe me, I tried).
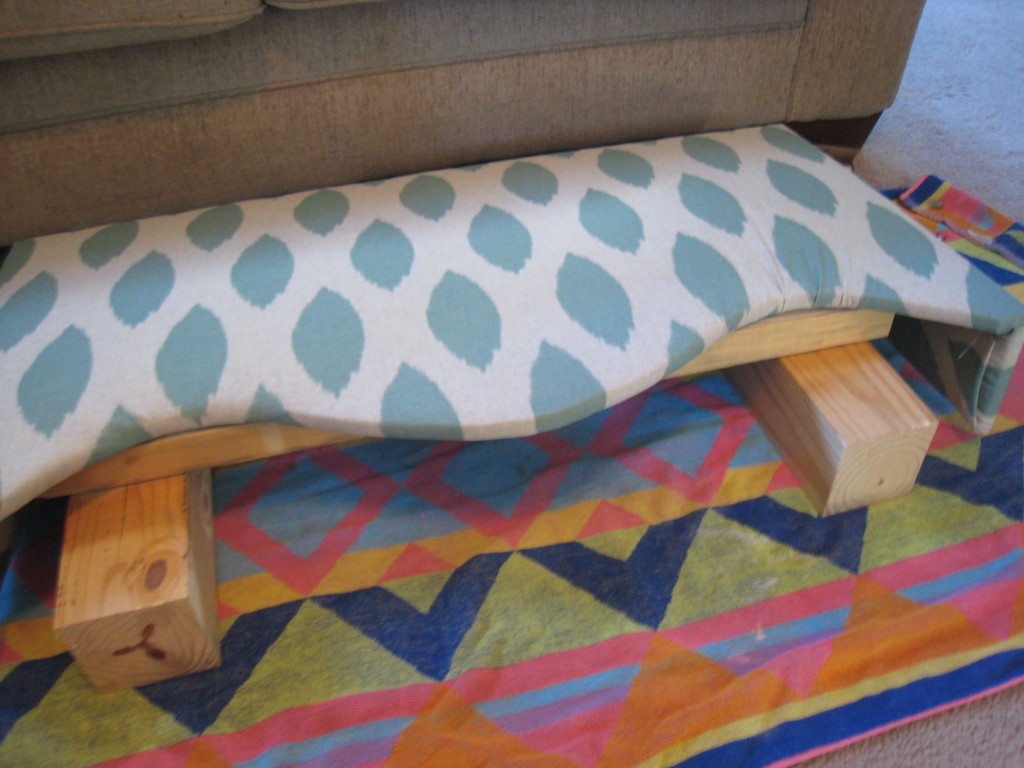
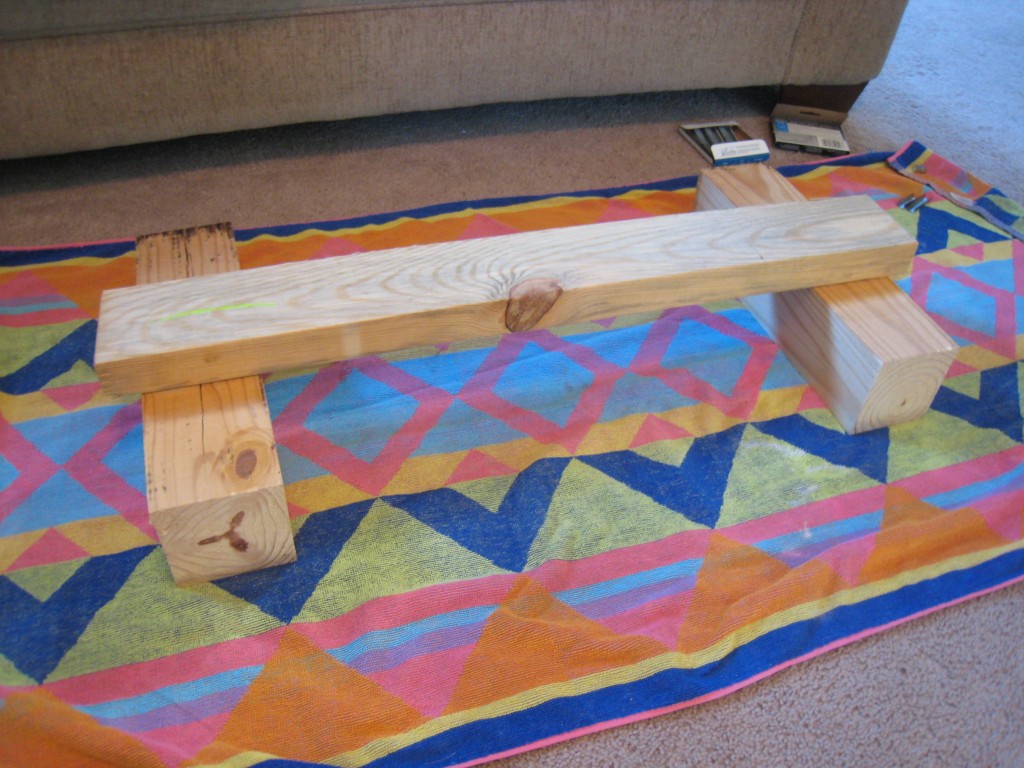
So the meat pounder worked great – and I set up a little support to lay each window cornice on like so:
That allowed me to hammer down the nail head trim without bashing the front panel of the window cornice in (and it gave me some support to hammer down on to).
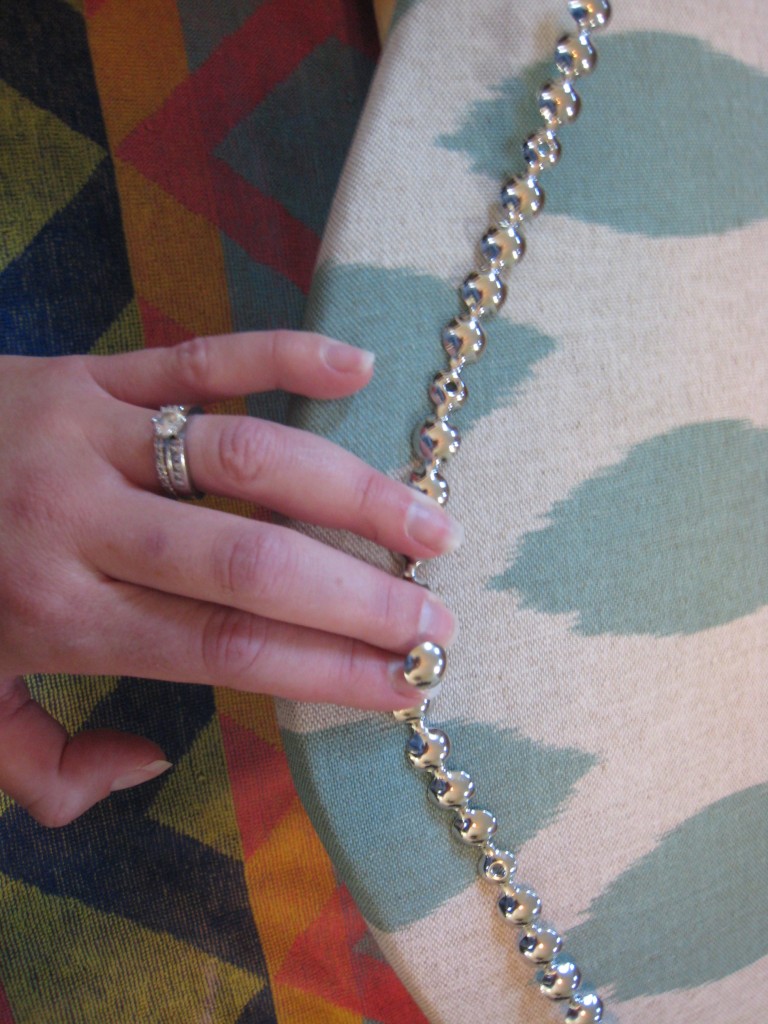
Step 9: Next came the nailhead trim.
I am holding one of the nailheads between my two fingers to mark where I will nail it down. You can see one of the holes the nailhead gets hammered into right above my pinky finger.
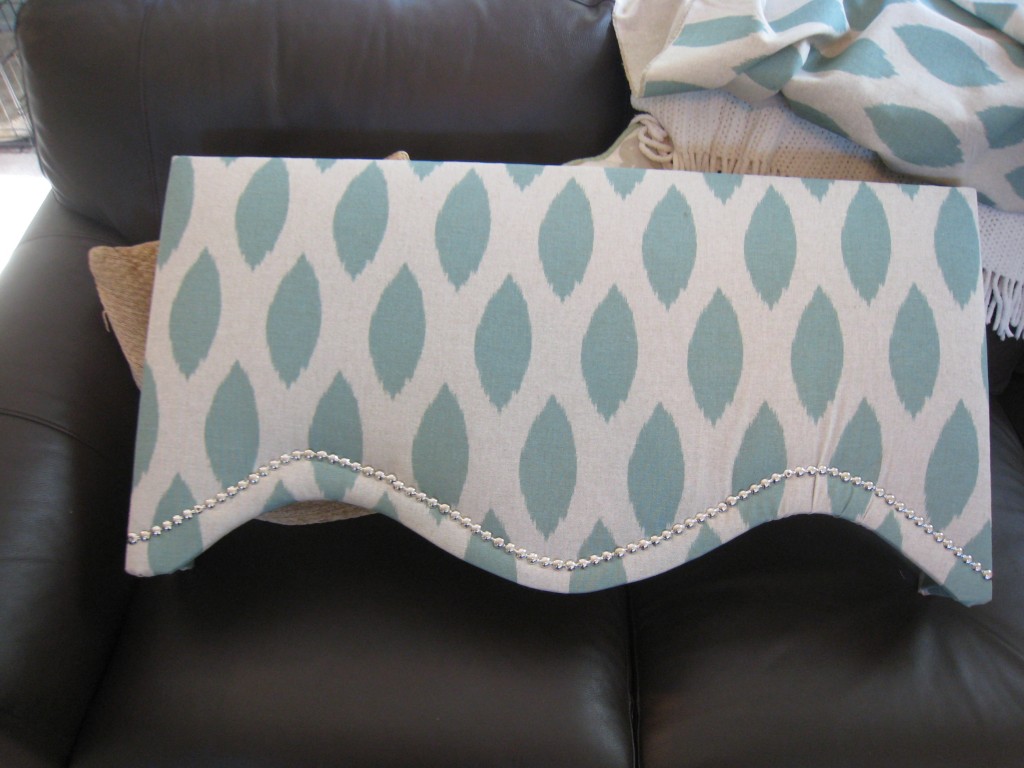
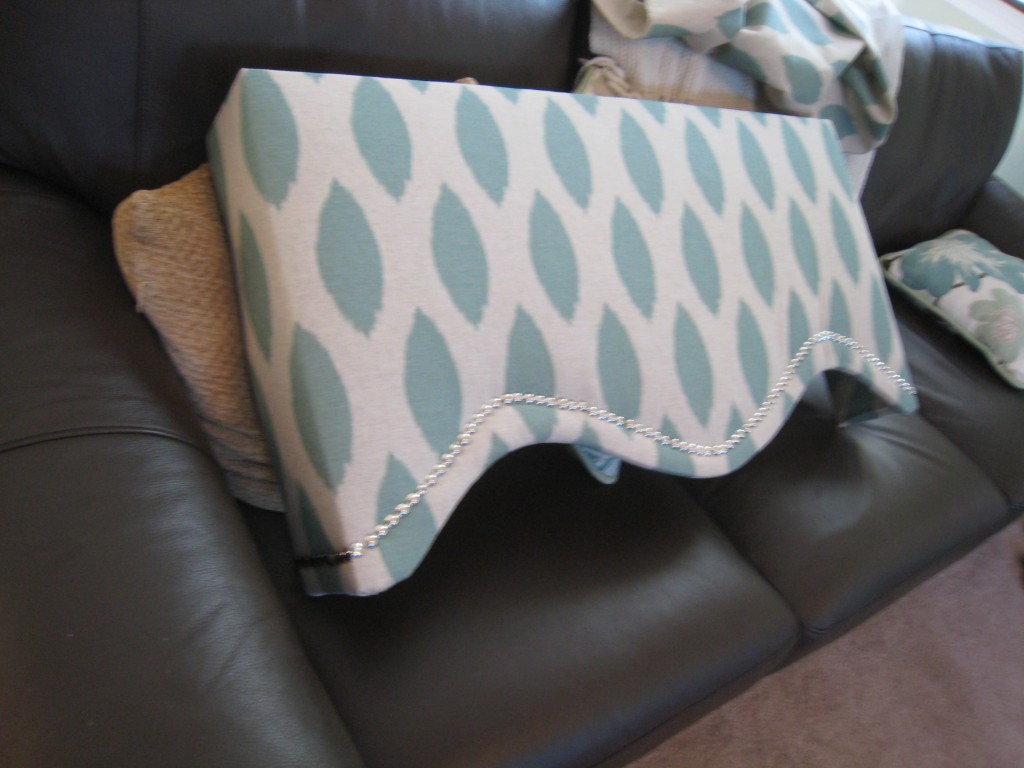
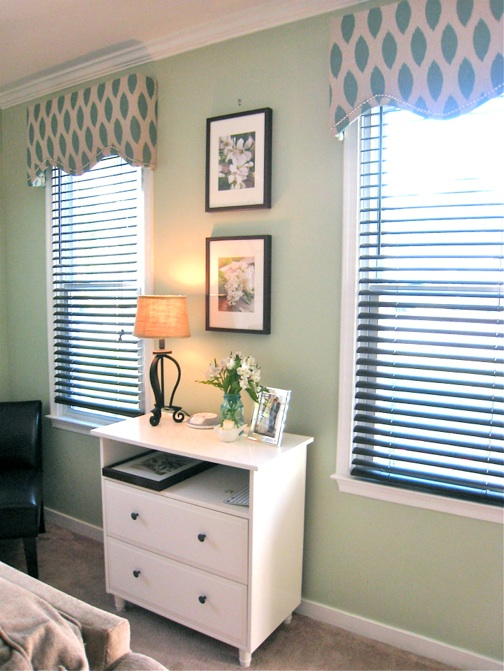
Here’s the finished product, all trimmed in.
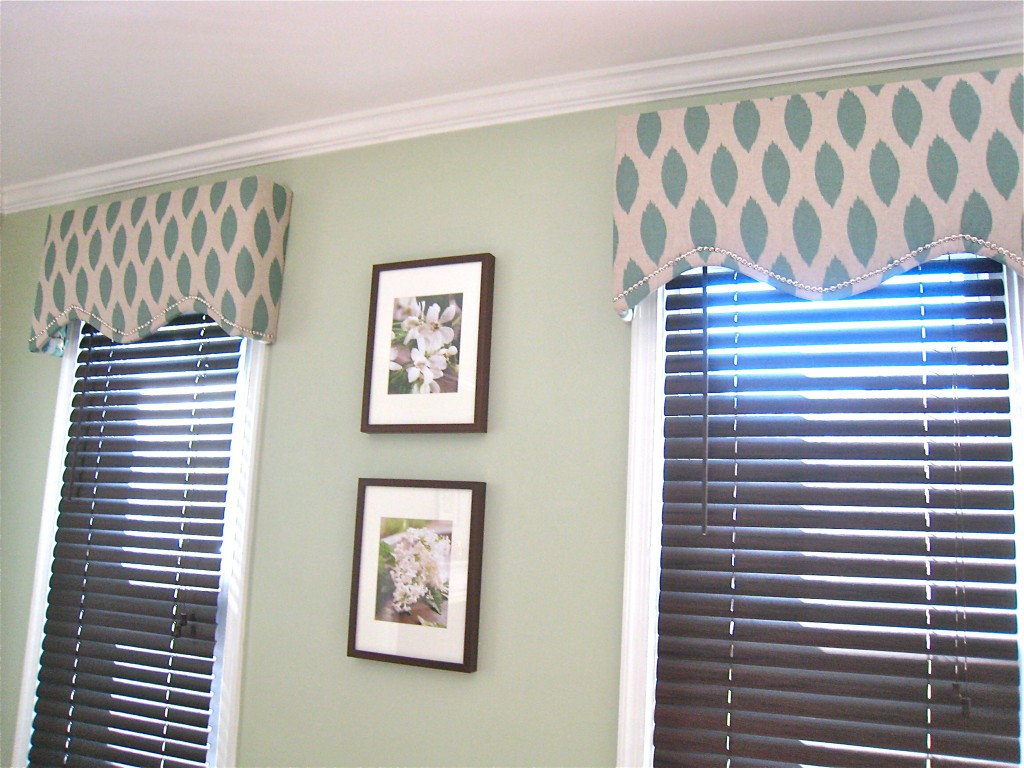
Tommy used L-brackets to mount them on the wall.
Done! A great weekend project.
Trackbacks
There are no trackbacks on this entry.


Comments
There are no comments on this entry.