Deck Remodel
Life is swimming along back home now-a-days and I came up for air long enough to knock out a small deck remodeling project that I’ve been wanting to do for quite some time now. When we first moved in, the deck received some immediate attention. Our fresh cream/white vinyl siding was no longer meshing well with the red dilapidated deck. I spent way too much time sanding and powerwashing the deck and then painting it with a solid wood stain to better compliment our new color scheme.
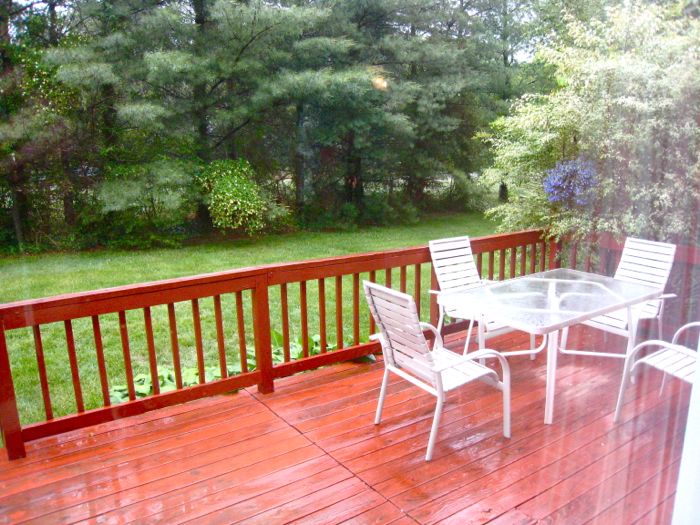
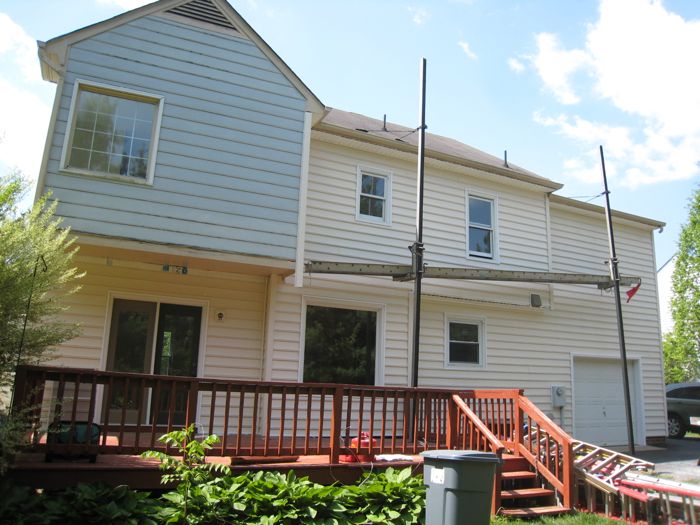
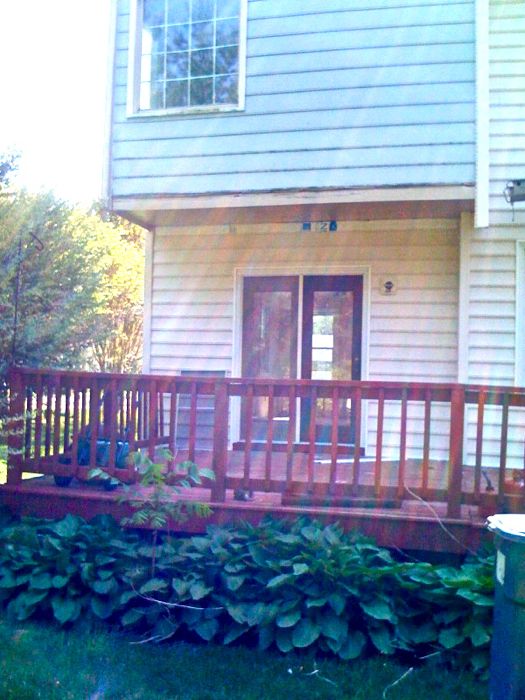
Here’s when we first moved in;
And here was our old “new” deck;
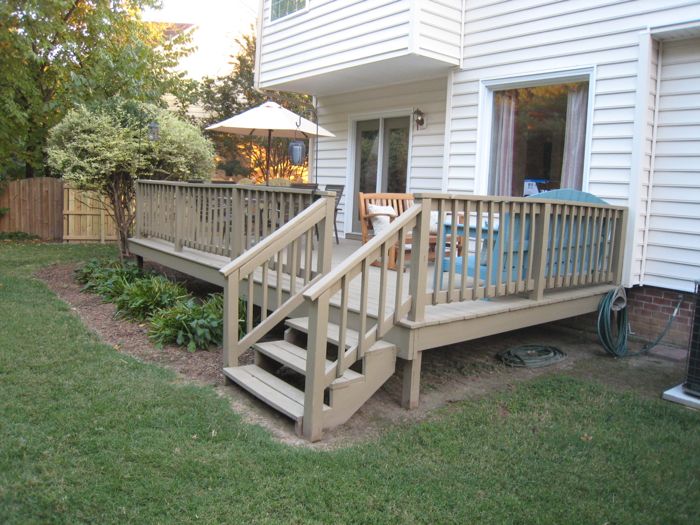
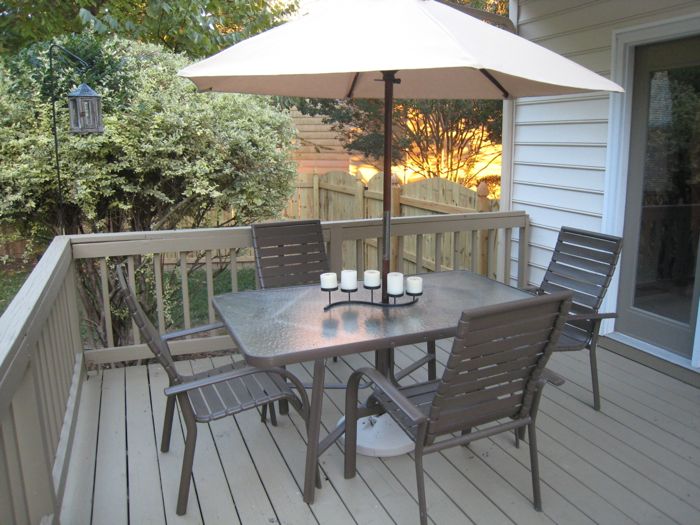
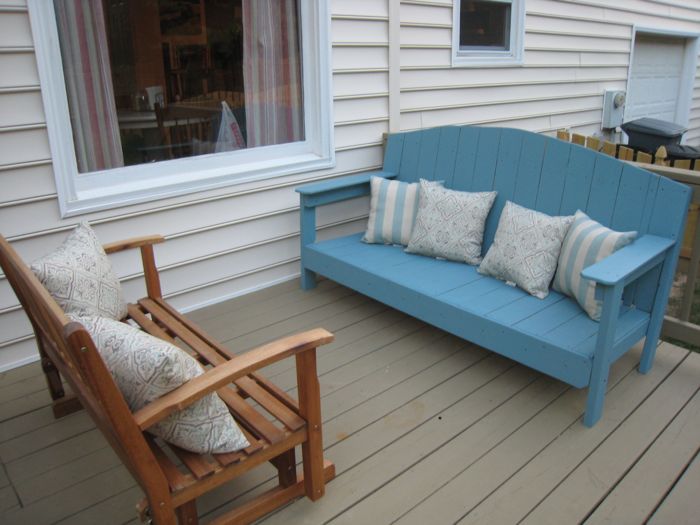
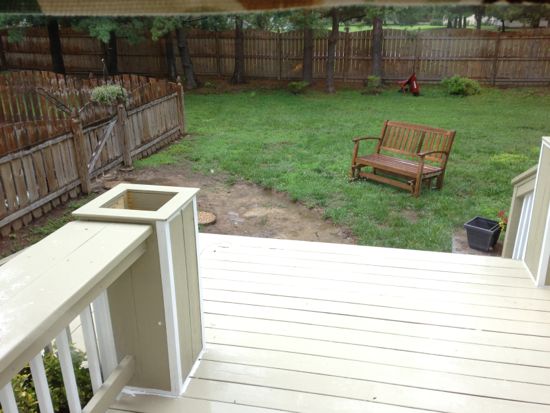
So, for the last 3 or so years we’ve been happy with the color of the deck but I haven’t liked the function of the deck. When we would have people over, we were confined within our 12′ x 21′ block. People wouldn’t really sit in chairs and instead just spread to the edges…partly because we didn’t have enough seating and partly because anywhere else would disrupt traffic flow. I wanted to create a space that would pull folks into the rest of the yard and give us some more entertaining space. It needed to have a clear visual line into the yard, provide lots of seating, and have nice and wide steps leading into the yard. So, I came up with a design, knocked down all the railings and began to build.
Using the old deck’s 4×4″s, I created framing for a 12′ x 12′ L-shaped bench. The styling is very similar to the farmhouse table benches that I build and the L-Shape mirrors our window bench within our kitchen. As you look out the kitchen window, visually, our inside now connects with our outside.
On the other side of the deck, I maintained the railing height but repurposed that part as a serving table using the same 2×8″s that I used on the bench seating.
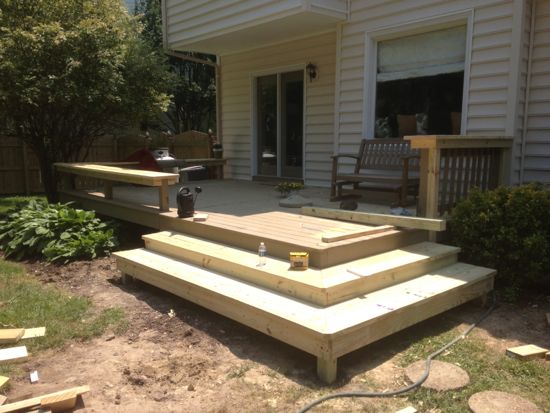
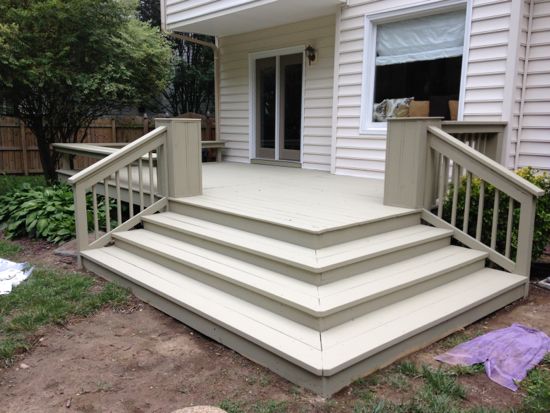
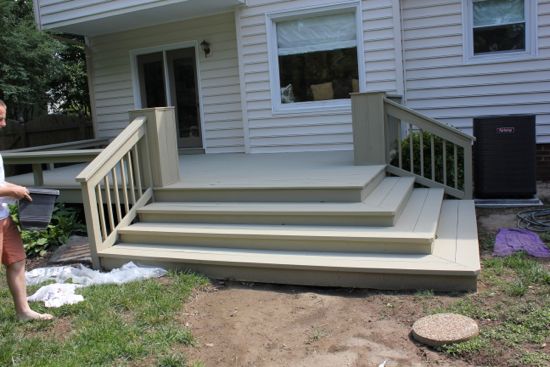
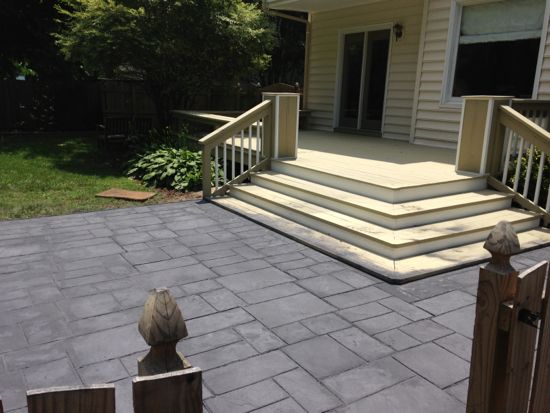
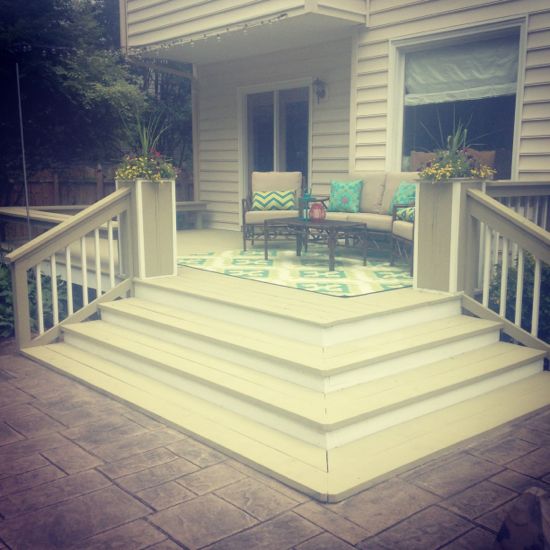
I then began to build the steps. I opted for a a method that is basically like building three sets of smaller decks. I cemented in 4×4″ posts and used 2×6″s for the framing. A typical step is about 11″ deep but I wanted steps that could be dual purposed as seating so I built them 14″ deep using 2″ 2×8″s.
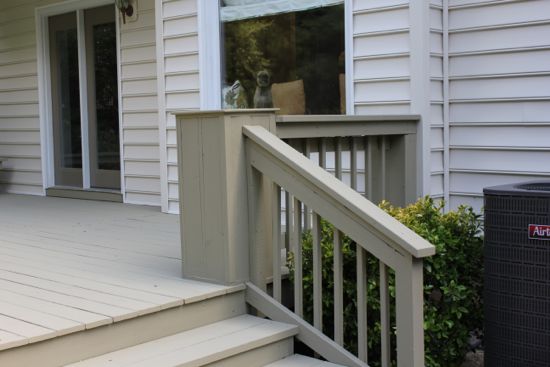
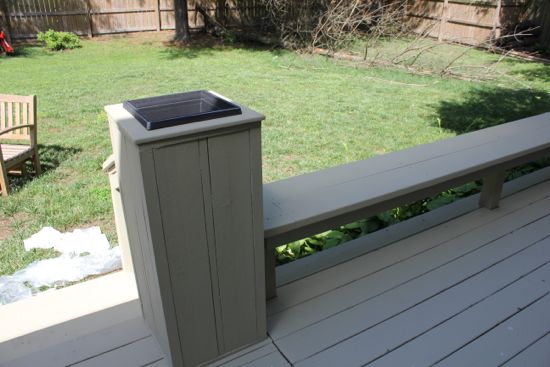
I originally wanted no handrails but when I stood back and looked at the deck, it didn’t seem right to have nothing. I was also worried about people falling off the one side. On the bench side, in order for a handrail to make sense it needed a little something something. I decided to build a planter box that the handrail that could then flow out of. Once I built the first planter box, I realized that the other side needed one to balance it out and give us some symmetry. I had to then rebuild the serving table portion and beef it up some to match the beefiness of the planter box.
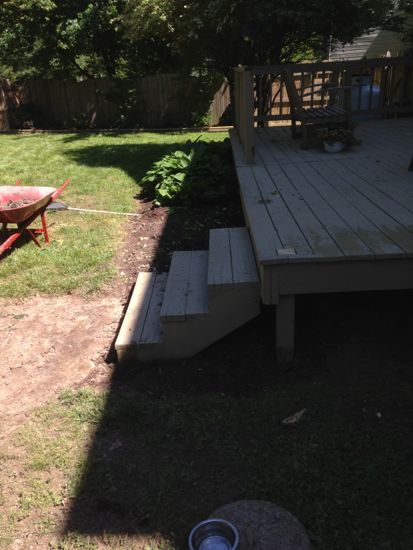
The building was complete and then I slapped on a couple coats of this amazing new deck paint called “Deck Over.” It’s 10x thicker than paint, has a little texture to it, and fills in cracks from old wood making it look new again. I painted everything with two coats of the tan and then hit up some detail work with some fresh white. There’s some better pictures to come but here’s the gist of the deck remodel.
The “New” Old Deck;
Trackbacks
There are no trackbacks on this entry.

Comments
There are no comments on this entry.