Kitchen Island Redo
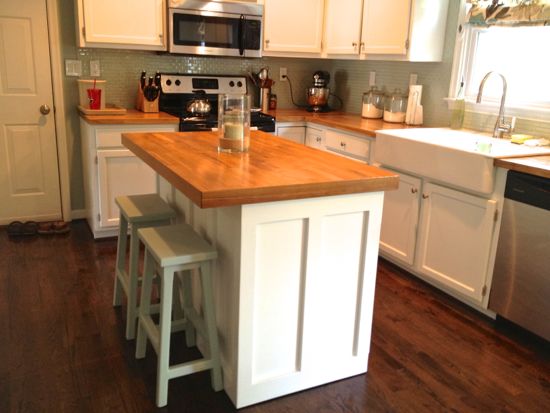
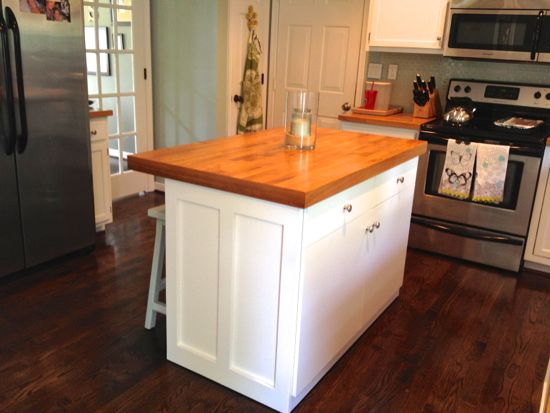
I finally put the finishing touches onto our kitchen island. When I refinished our floors, I disassembled our kitchen island (to take a look at what it used to look like; click here). On the rebuild, I wanted to do 2 things; add doors/drawers to it and put it on wheels so that we could clean underneath the island and protect my new floors.
In order to reach counter height, I needed to raise the cabinet up about 3″ (the cabinets originally came with legs but I ditched those during the first build). So I bought some 2.5″ casters and picked up a 3/4″ 2×4′ hand panel. I trimmed the plywood just a little bit. I joined the cabinets together and then flipped it upside down and attached the plywood to the bottom. I then screwed the casters to the plywood. Once my height was set, I could begin to trim it off in the board and batten style. I used some 1×4″s for the top and bottoms and then 1×3″s for the verticals. That went real fast with some wood glue and my finish nailer. *I wanted the island to be able to roll but I didn’t want it to look like it could roll….to accomplish this I just used paint sticks to hold my bottom pieces slightly off the ground while nailing it into the island. For the front piece, I wanted it squared off (no toe-kick) so I needed to rip down a 1×4″ to an exact height of about 3″.
Once it was trimmed off, I filled the nail holes, caulked, and sanded it down. I’m tying to get better at spraying with my HVLP so I decided to tape the island off and try it out.
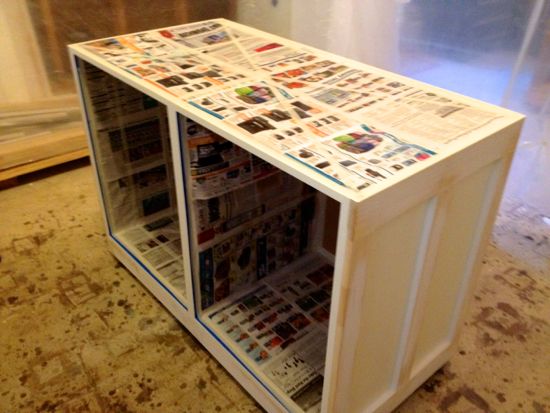
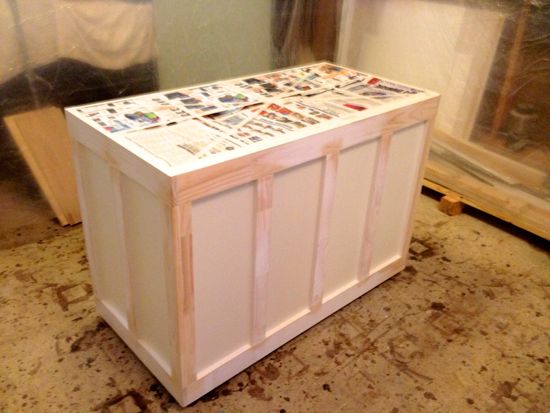
Once the base was painted it was time to install the doors/drawers. I was originally going to build my own doors/drawers but for the sake of time/ease I just bought them from IKEA’s clearance section (the cabinets came from IKEA). I was amazed by how simple this was! After that it was just a matter of screwing the top back on.
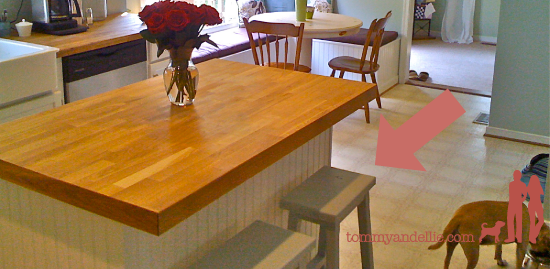
Before:
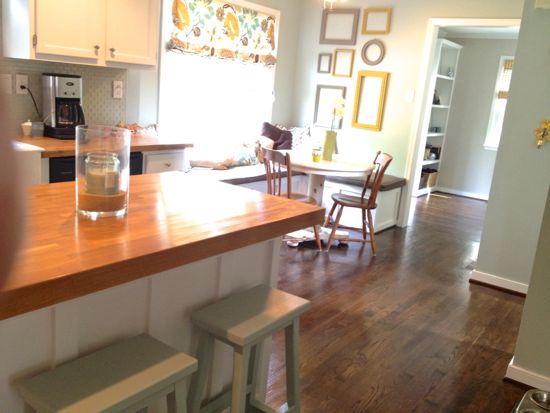
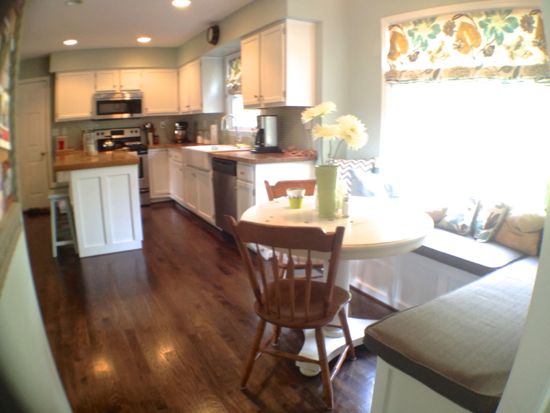
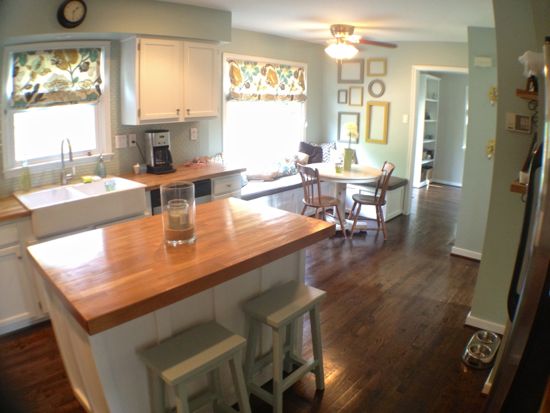
After:
Trackbacks
There are no trackbacks on this entry.

Comments
There are no comments on this entry.