Finished Floors
Question: Would you ever install unfinished floors and finish them yourself?
Answer: No. Never again.
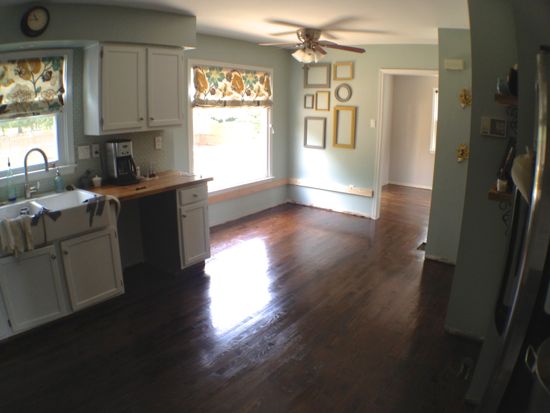
I’ve been working on our hardwood floors for quite a while now. An hour here, and hour there, and a few minutes squeezed in when I could. It was a good project to have at the beginning of our NICU process (see Tucker) because I could come home and pick up anywhere during the process and stop wherever…..but the finishing process was very labor intense.
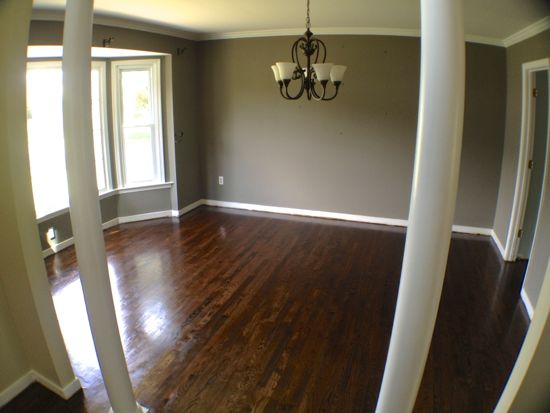
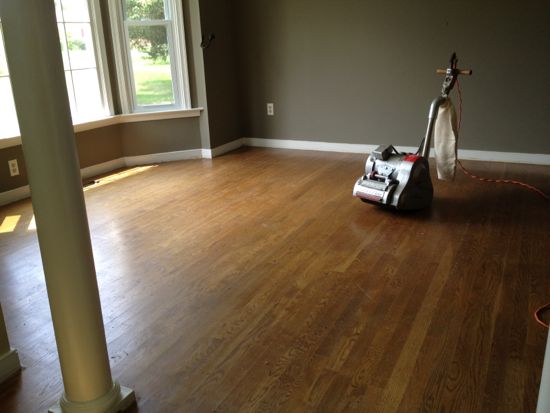
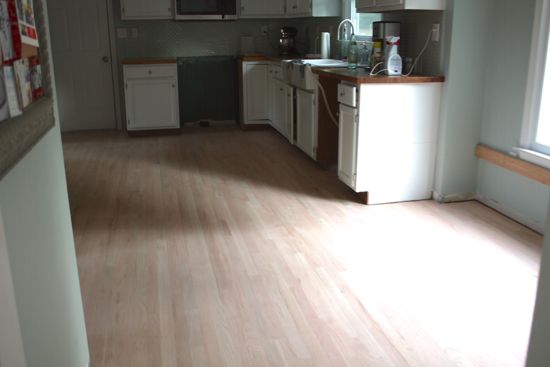
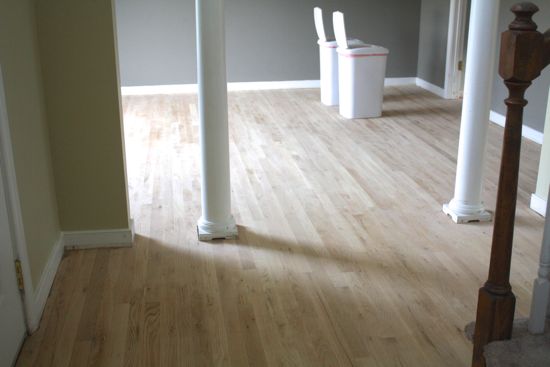
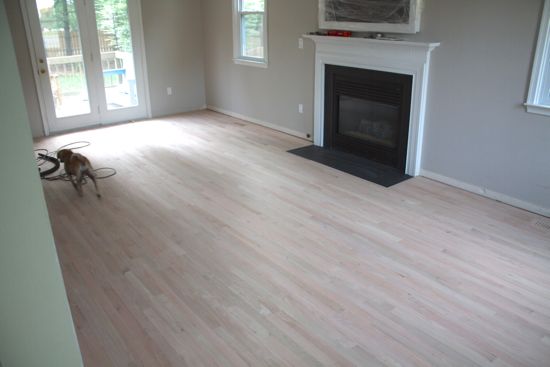
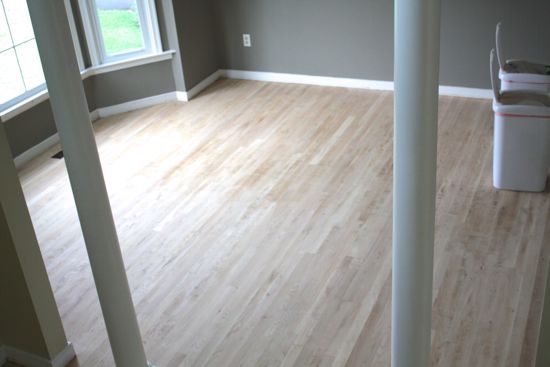
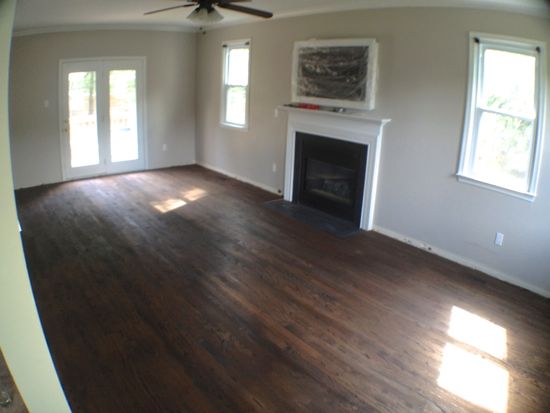
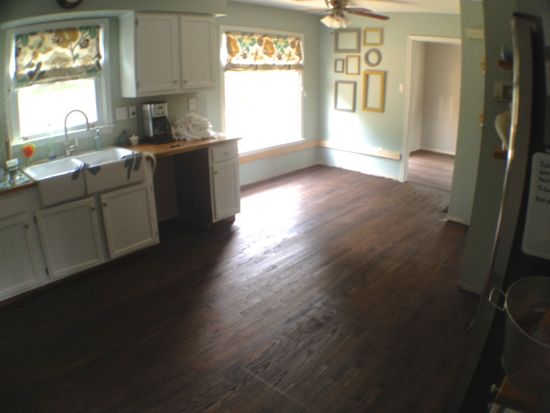
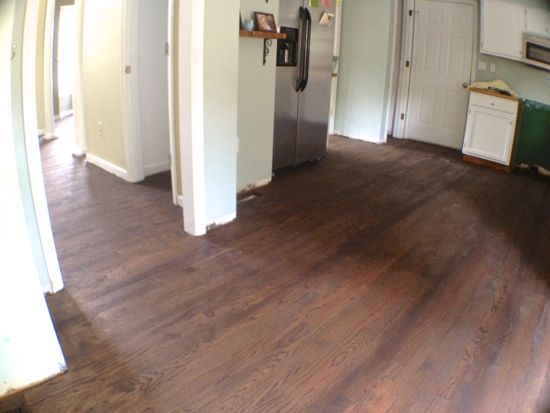
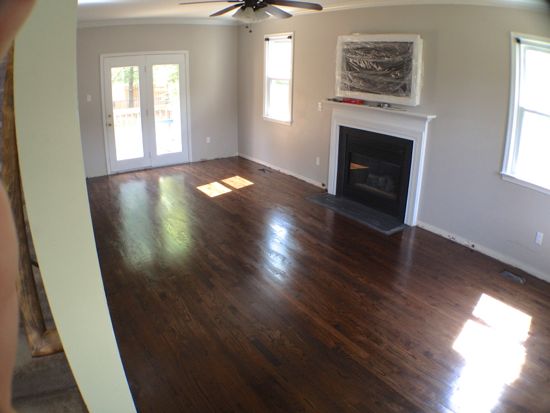
Long story short. I rented a drum sander and sanded with 60, 80, and 100 grit paper. The dining room previously had hardwood so to refinish that I needed to use 36, 60, 80, and 100. I then rented a edger and followed the same pattern. I then meticulously went over the entire floor with a palm sander and 100 grit paper. I vacuumed, wiped, used a tack cloth, and waterpopped the floor before staining. I did one coat of Minwax “Dark Walnut” on the floor. Below is a snapshot of the dining room before sanding, the floors sanded and ready to go, and then the floors with stain.
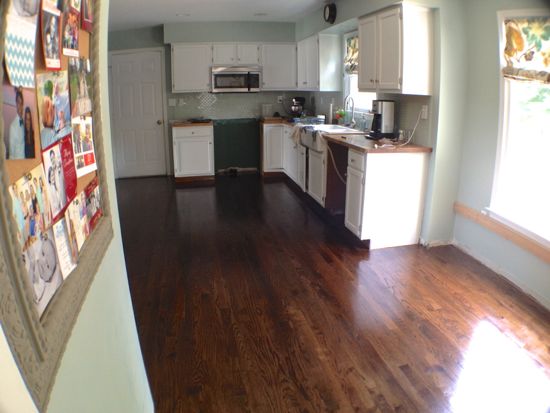
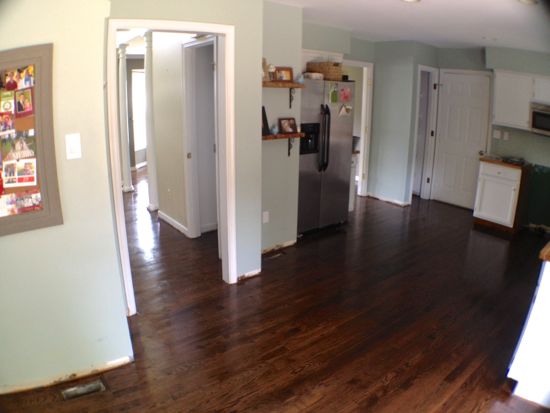
To seal the floor, I opted for oil-based Varathane polyurethane. I strongly considered water-based but for me it was ultimately a decision based on my comfort level….I’m more accustomed to oil-based polyurethane. Before applying the finish, I scuffed the floor with a rented buffer, vacuumed and used a tack clothe. I used a lambswool applicator to apply the finish. I ended up doing 4 coats and scuffed, vacuumed, and cleaned before the final coat.
Our house is slowly coming back together so forgive the current state of these pictures and be sure to check back soon for additional progress. Feel free to leave some comments and let us know what you think of the change thus far.
Trackbacks
There are no trackbacks on this entry.

Comments
There are no comments on this entry.