Window Bench Redo
It’s been a while since we’ve posted but there’s been a lot going on around our house. Besides the arrival of our son, Tucker (about 14 weeks premature), we just finished laying, staining, and sealing new hardwood floors throughout the whole first story of our home. When I ripped up the old floor, I also disassembled our kitchen island and window bench in order to get the new flooring underneath those and all the way to the wall. Now that the floors are done, we are back to rebuilding.
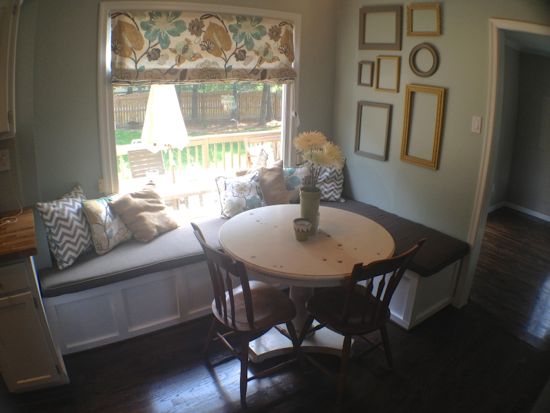
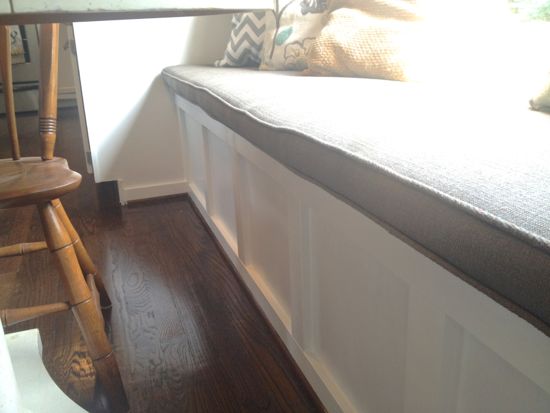
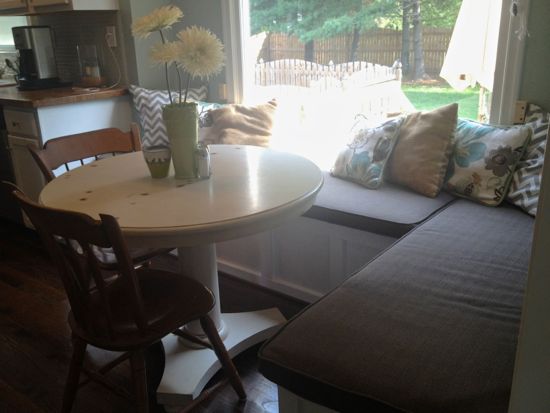
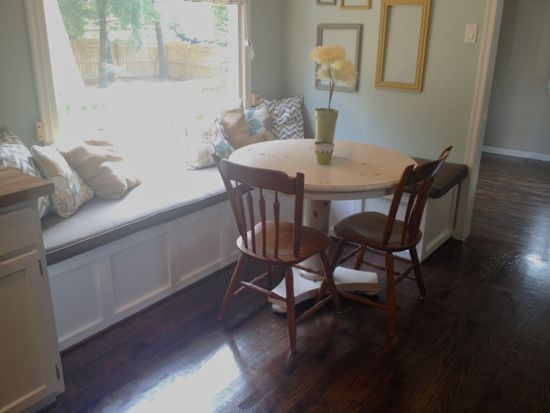
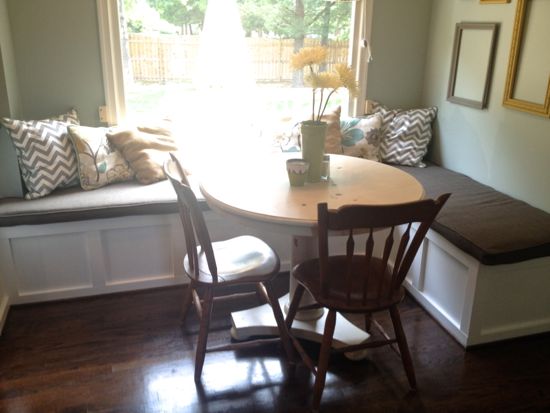
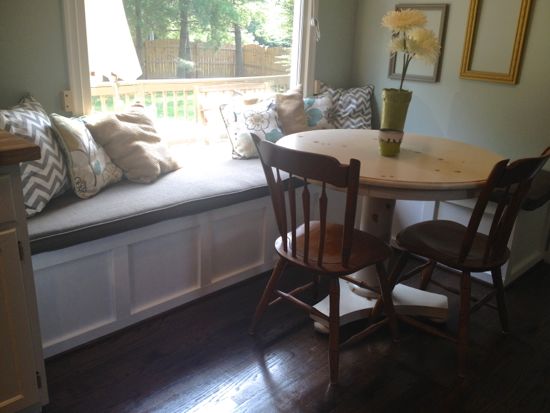
I basically reused all of the preexisting parts. The one big thing that I changed was the beadboard style to a board and batten design. I actually used the backside of the beadboard as my flat surface and bought some new 1×3″ for the baseboard, top pieces, and vertical pieces. I simply nailed those into my framing studs, caulked, and painted. When I rebuild the kitchen island I will be following a similar process to bring the board and batten style onto that.
A small little change is that I shortened the depth of the framing all around to allow for the bench cushions to hangover by 1/2″. I’m really pleased with that change and think it makes it real sharp. What do you think?
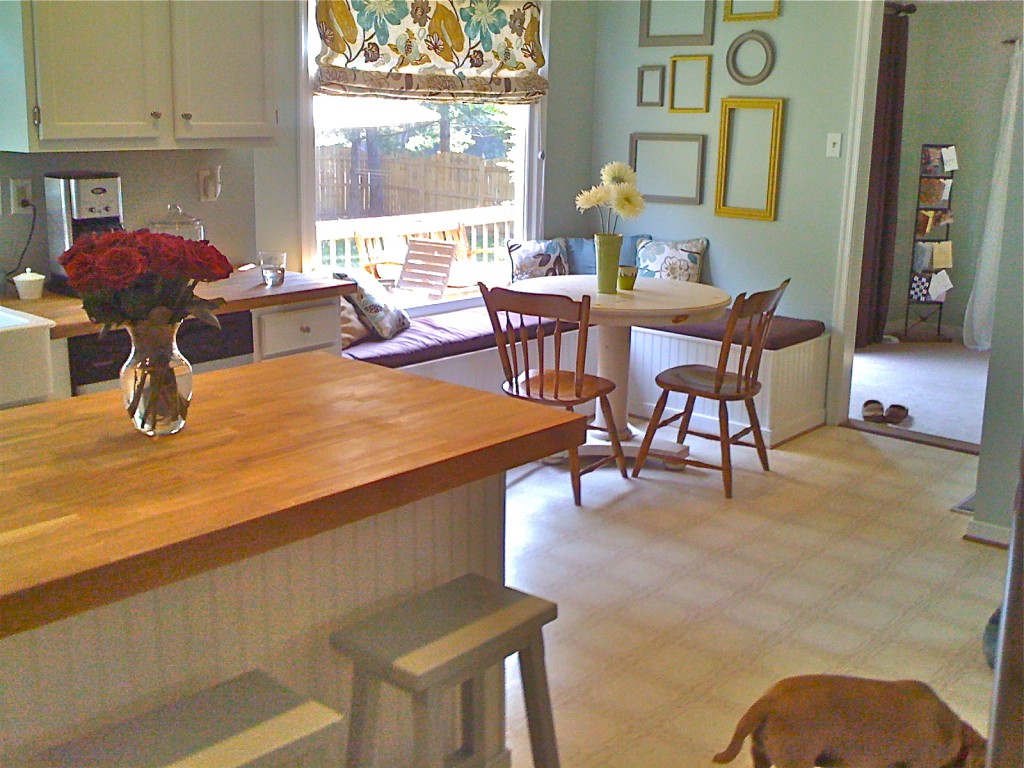
And just for fun….here’s a little snapshot of what the old window bench looked like;
Trackbacks
There are no trackbacks on this entry.

Comments
There are no comments on this entry.