Classic Baby Bumpers with Piping Tutorial
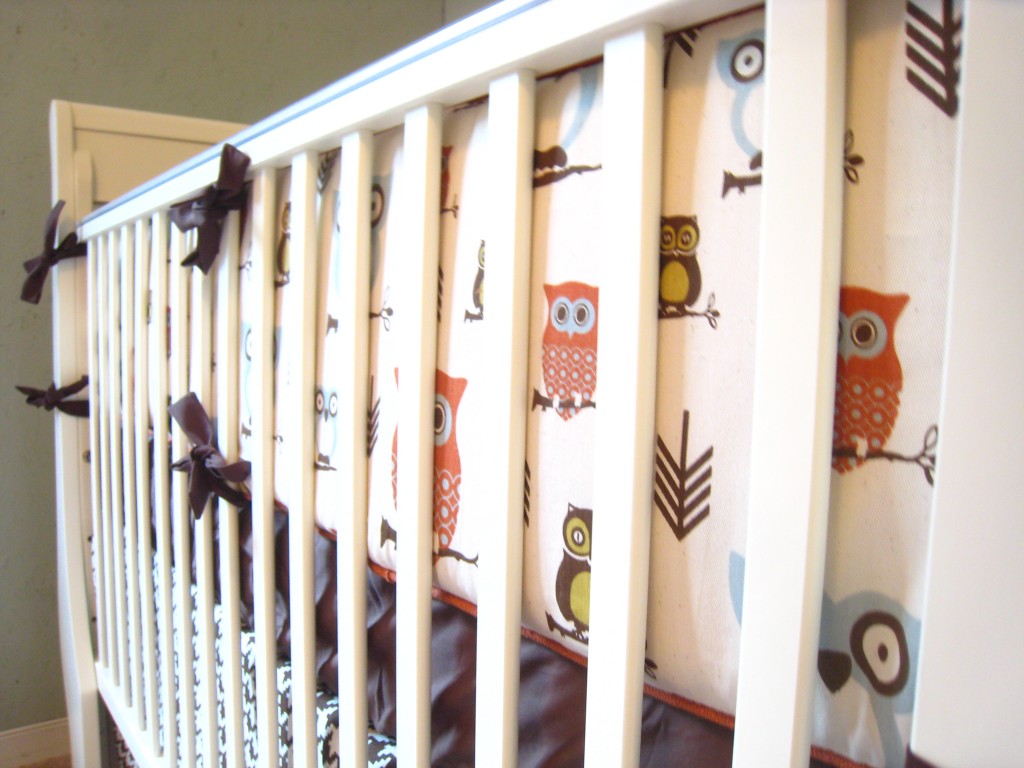
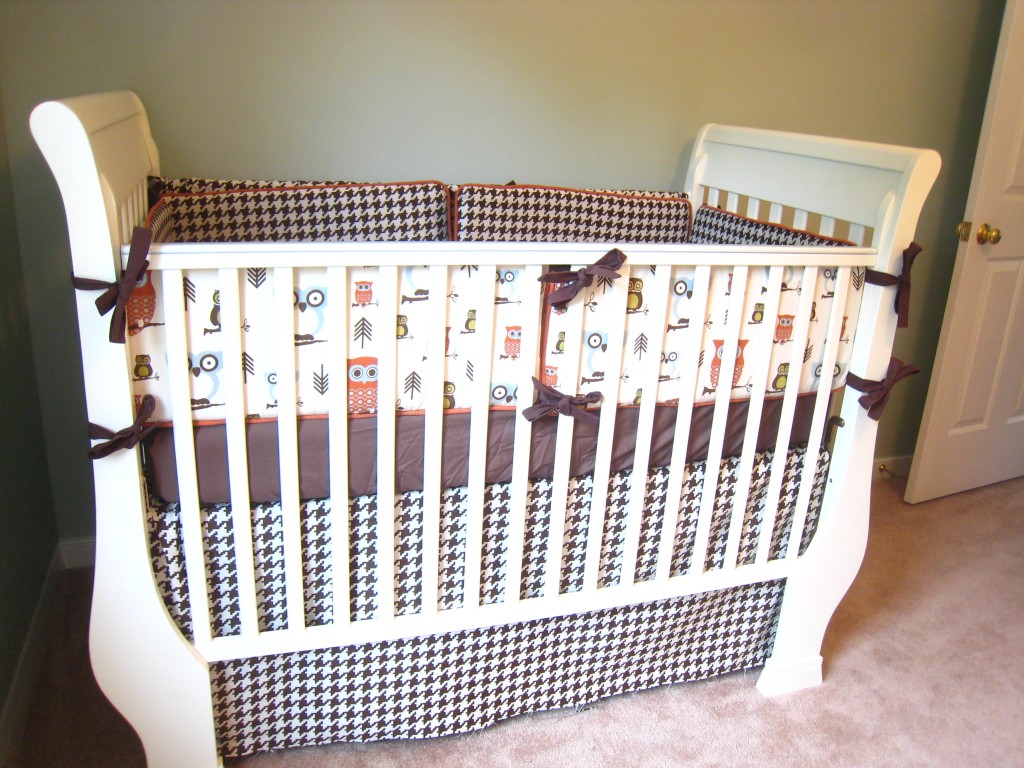
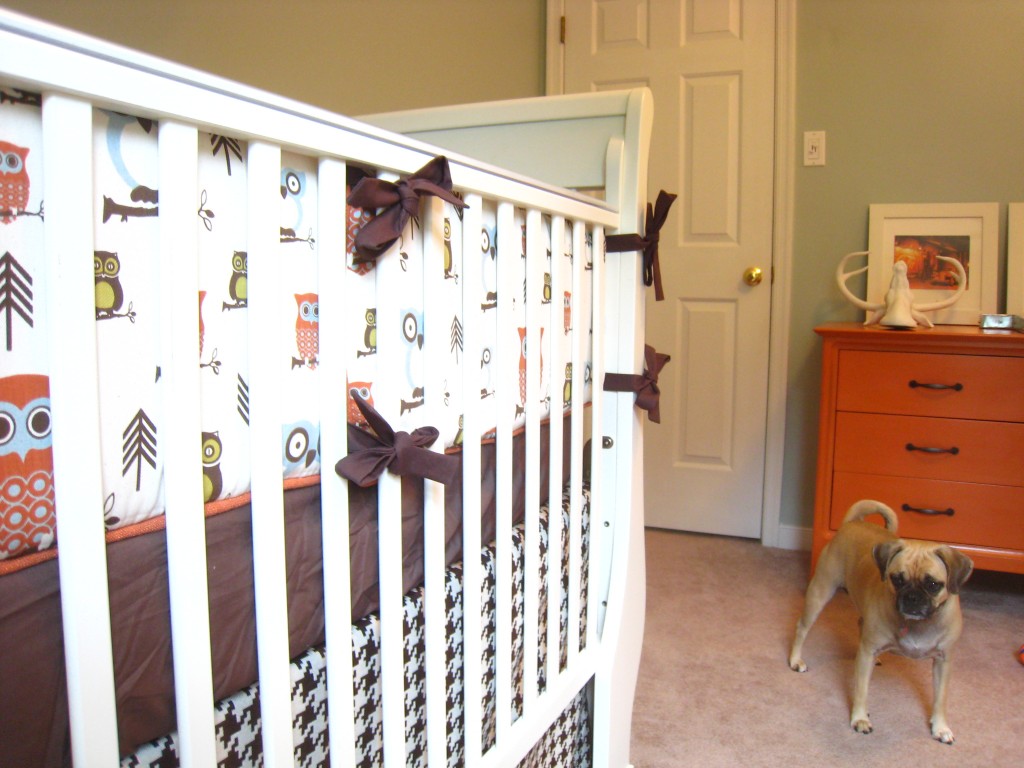
I just finished sewing the bumper for Tucker’s nursery and we are so pleased with the way it turned out. I am not a proficient seamstress like my mom, but these bumpers were a lot easier to sew than anticipated.
I used a tutorial that I found online by Vanessa Goertzen. Here’s her tutorial with some of my own additions and comments. This bumper fits a standard 27 x 52″ crib.
Bumper Materials:
- 1 pkg. Fairfield NU Foam Baby Bumper Pads (six pads to a pack) and they should measure 1″ x 10″ x 26″ each). I purchased mine from Hancock fabrics for $14, but they also sell them at Joann’s.
-2 yards cotton fabric for bumper exterior.
-2 yards cotton fabric for bumper interior.
-3/4 yd cotton fabric for fabric ties.
Piping Materials:
-3/4 yd cotton fabric for piping.
-14 yards 6/32″ cotton filler cord
-Matching cotton thread.
Tutorial:
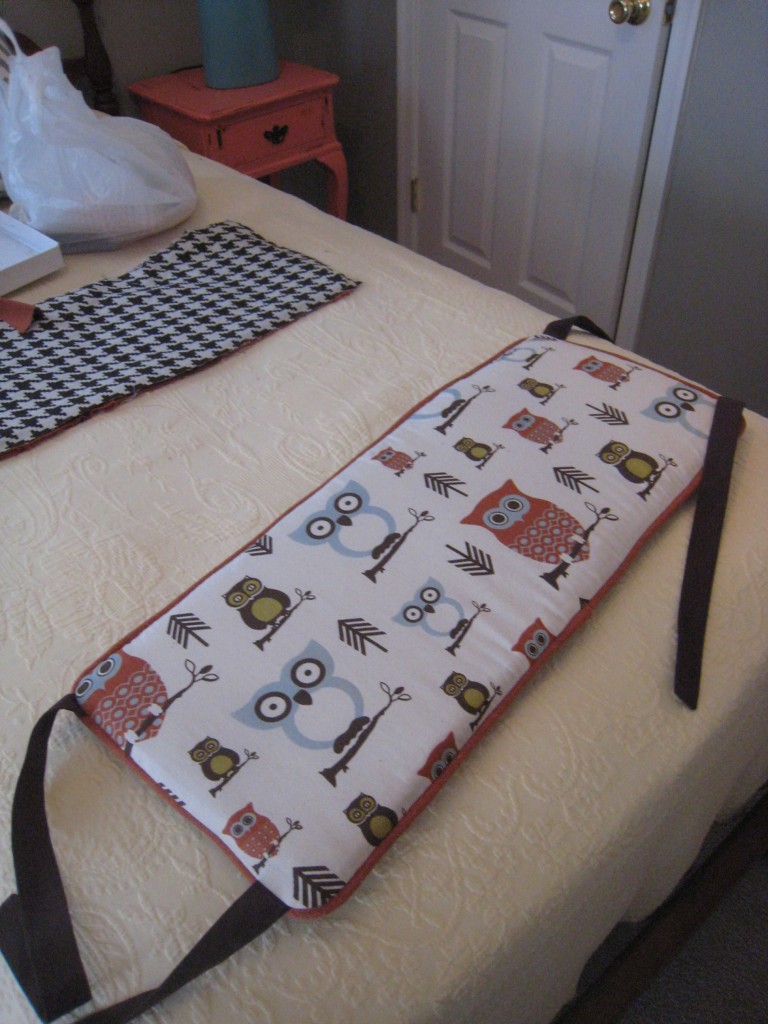
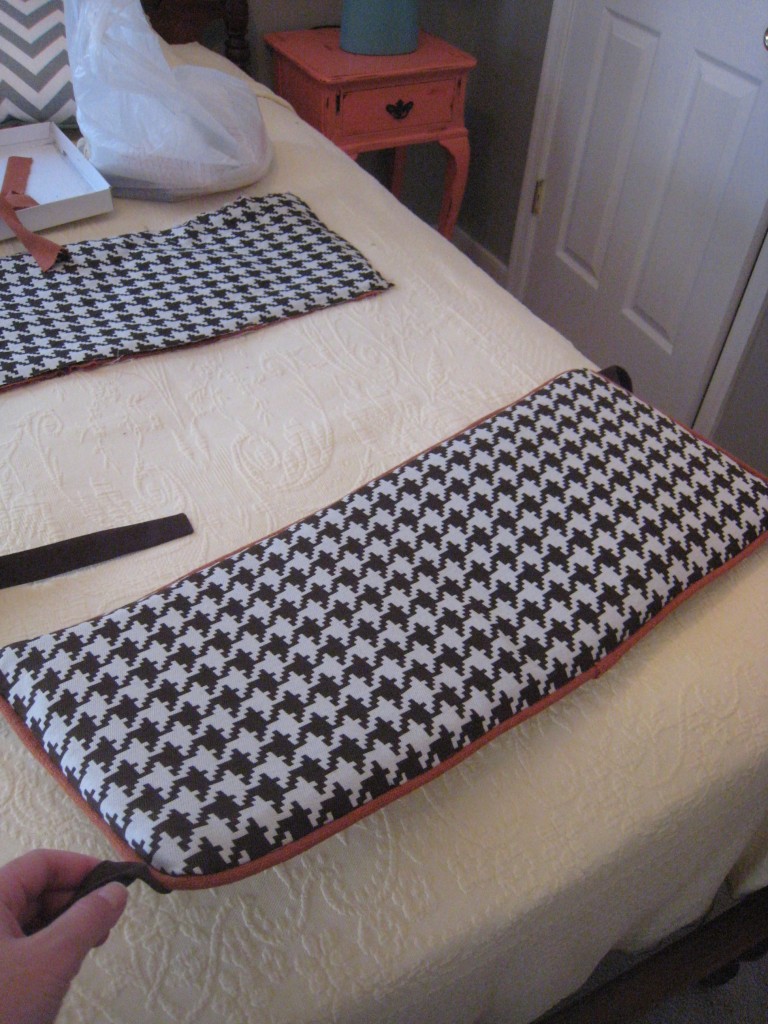
1. From each bumper fabric, cut six 11 3/4 x 27″ rectangles for a total of twelve rectangles. For me, that was six “owl rectangles” for the outside and six “houndstooth rectangles” for the inside.
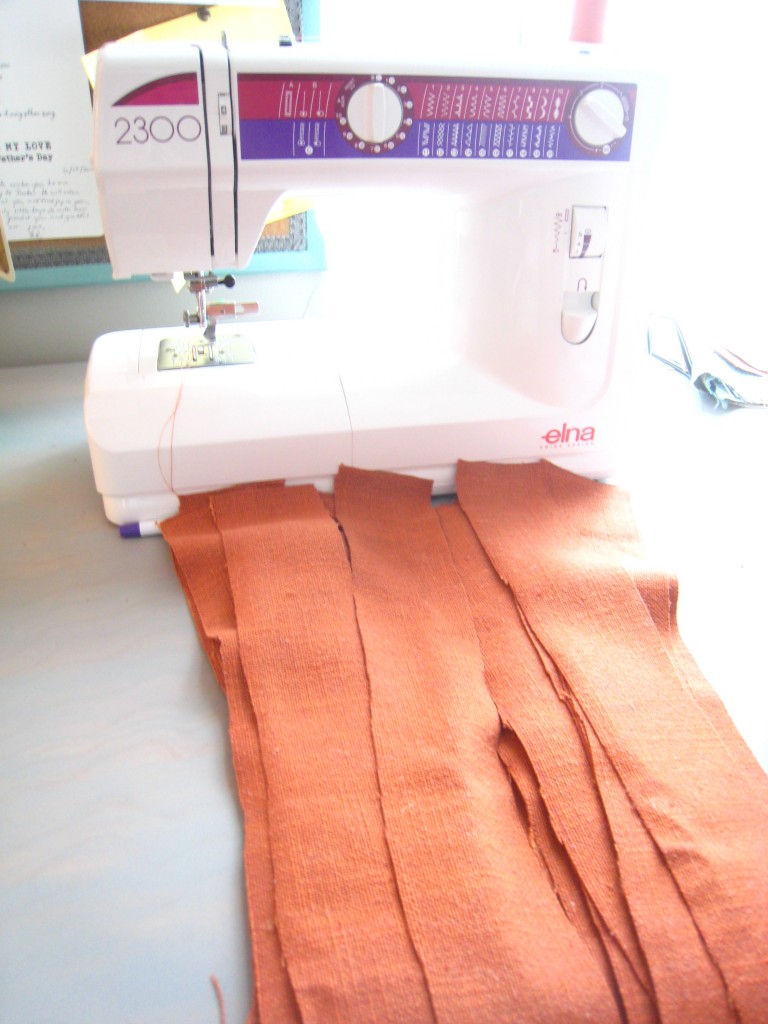
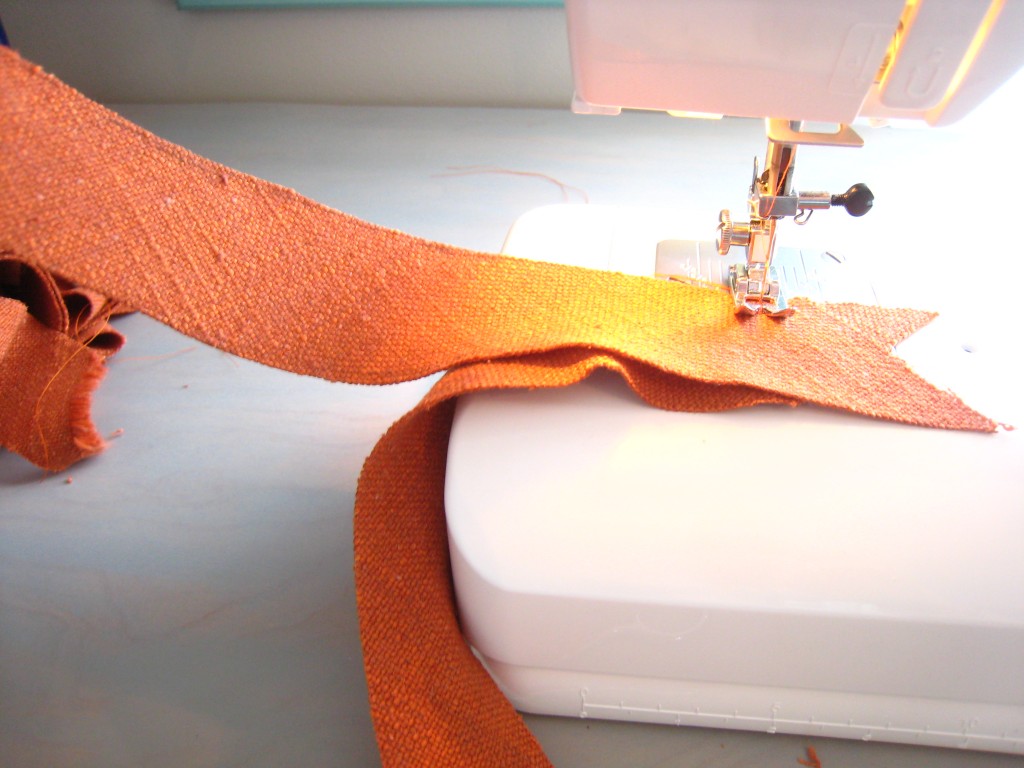
2. For the fabric ties, cut twenty-four 2.5 x 16″ strips. *TIP – use a thin-weight, cotton duct fabric for the ties. I originally tried to use the orange nubby fabric that I purchased for the piping. The ties were impossible to turn right side out after I sewed them. I eventually switched to a chocolate brown cotton duct that was much easier to work with.
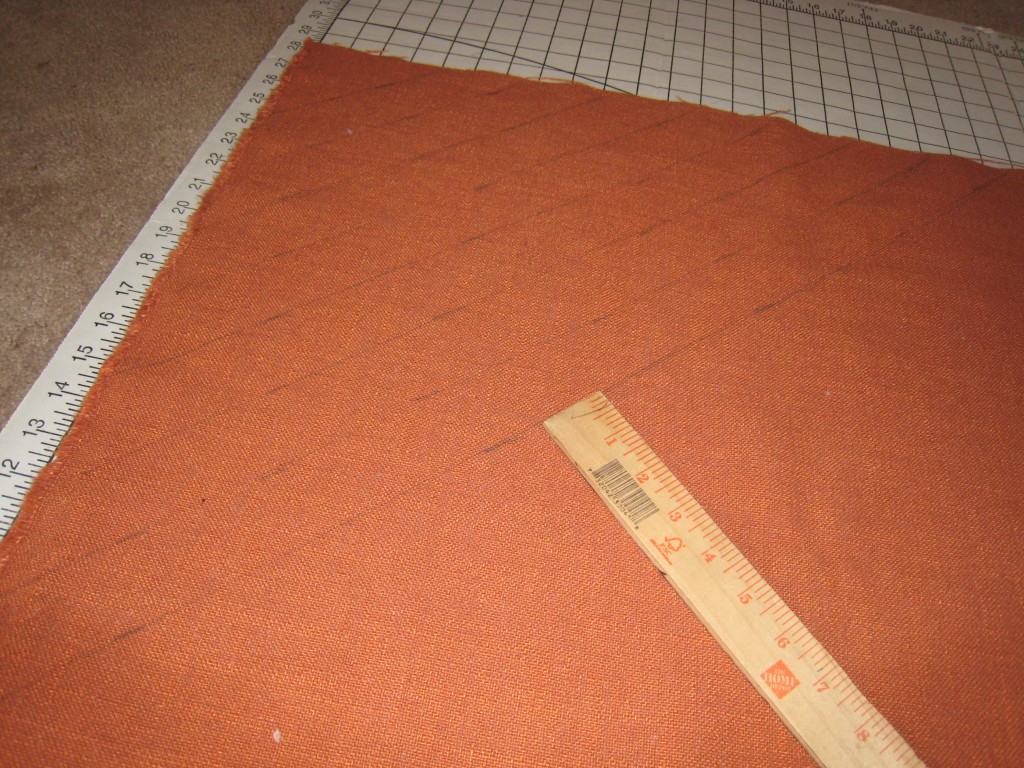
3. For the piping, cut 1.75″ strips on the bias from the 3/4 yard of piping fabric. Join the bias strips end-to-end to make one long continue tail.
To Make the Fabric Ties:
4. Fold each 2.5 x 16″ strip in half lengthwise, right sides together and iron the fold in place. Using a 1/4″ seam allowance, stitch along one short side, pivot your sewing needle 90 degrees, and stitch along the long side. You should have one remaining short side open.
5. Trim the corners of the stitched short side. Turn the strip right side out by using a dowel or skinny tool. Iron the strip flat and repeat until all fabric ties are complete.
To Make the Piping:
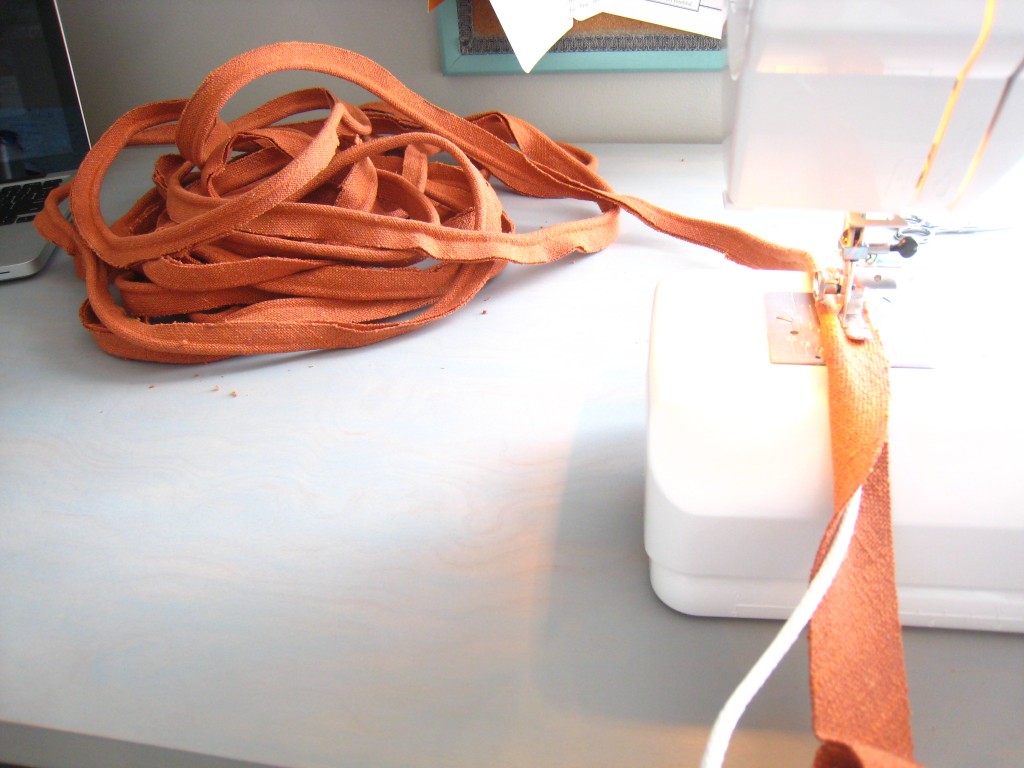
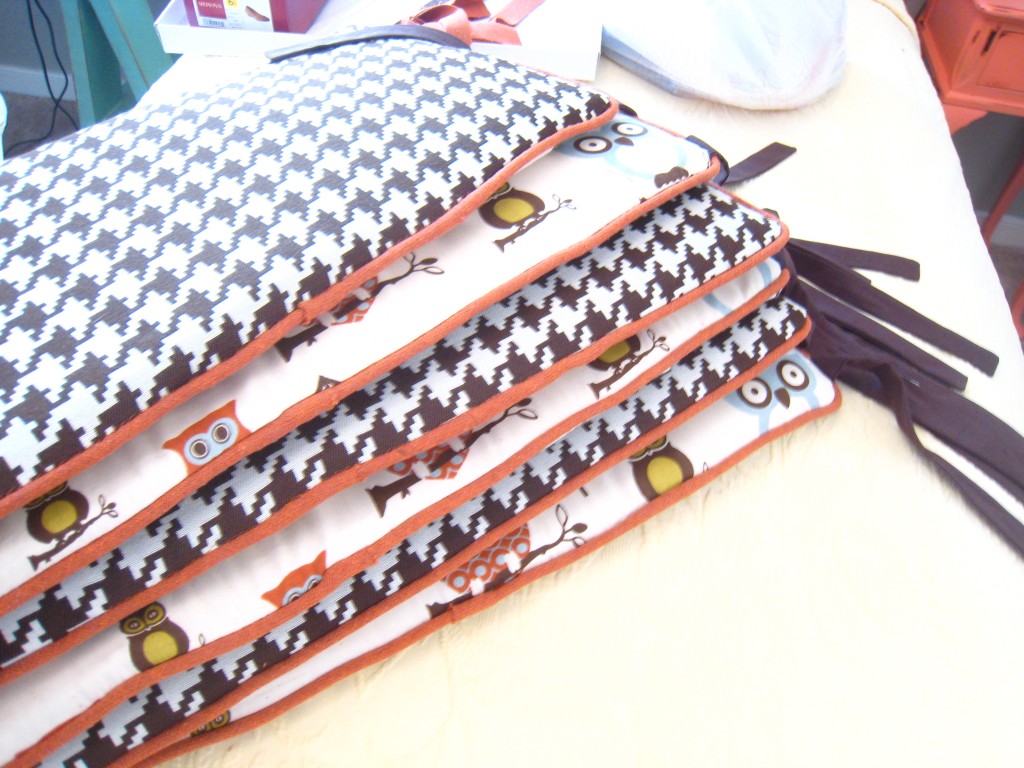
6. Fold the 3/4″ -wide extra long piping strip in half lengthwise (wrong sides together) with the filler corder inside. Line up the raw edges of the bias strip and pin to hold in place if needed.
7. Install the zipper foot on your sewing machine. Stitch as close to the cord as possible, routinely checking to make sure the raw edges of the strip stay lined up.
8. Trim loose threads and trim raw edge of piping to make sure there’s a continuous seem allowance of 1/2″.
Adding Ties and Piping:
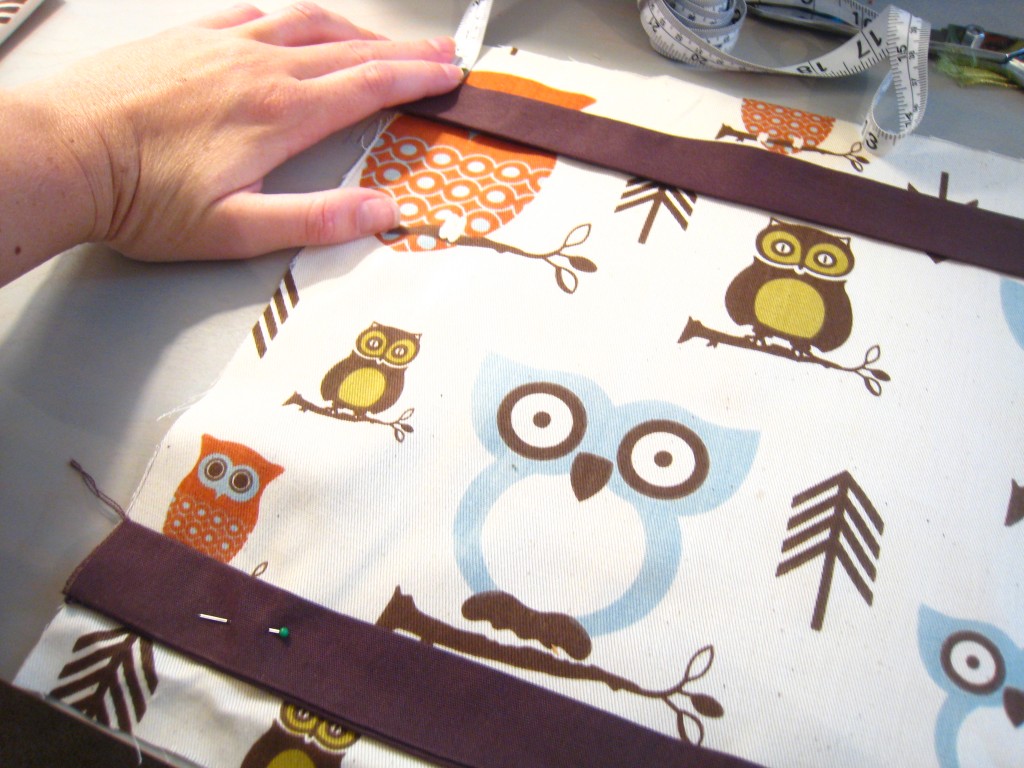
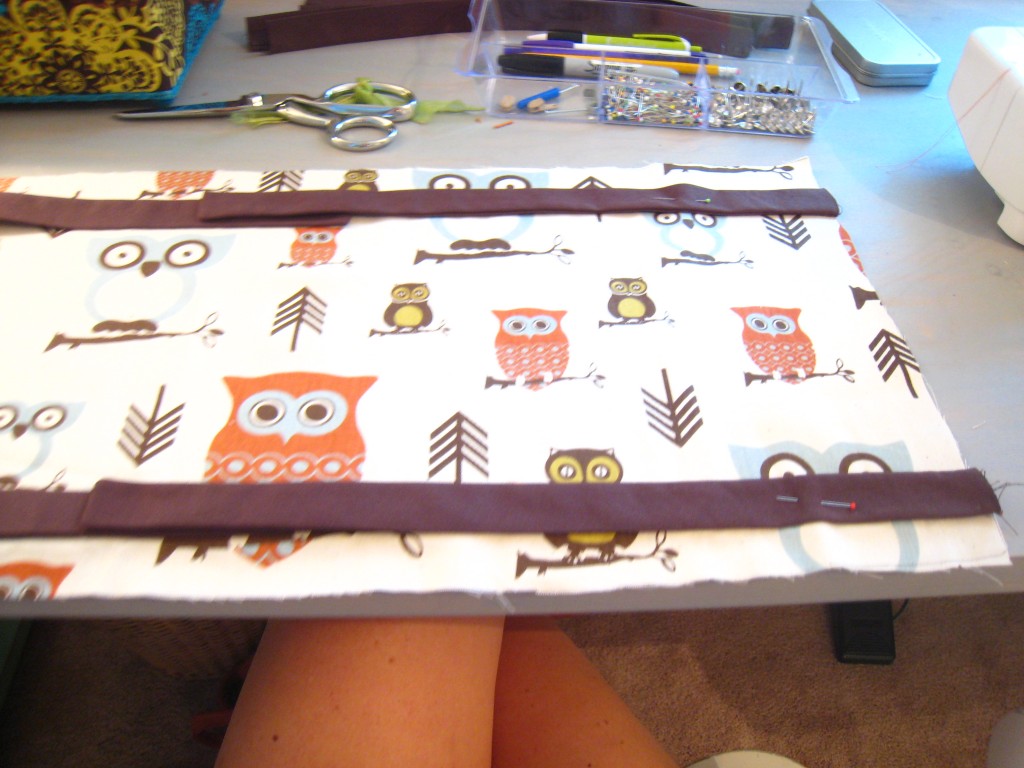
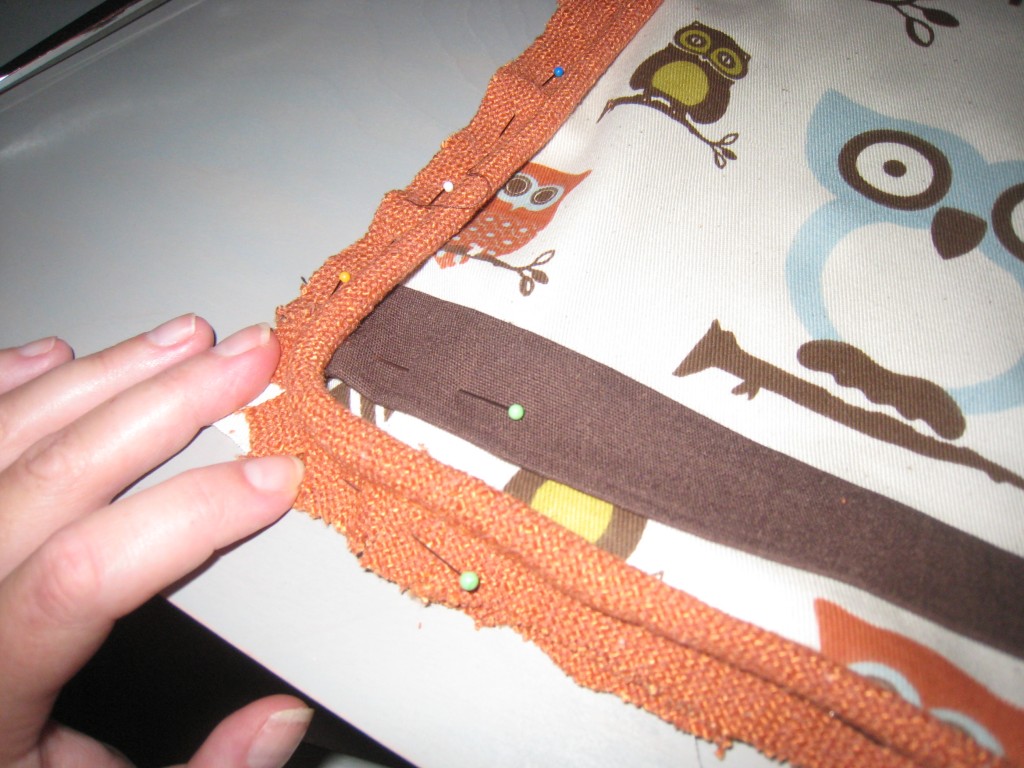
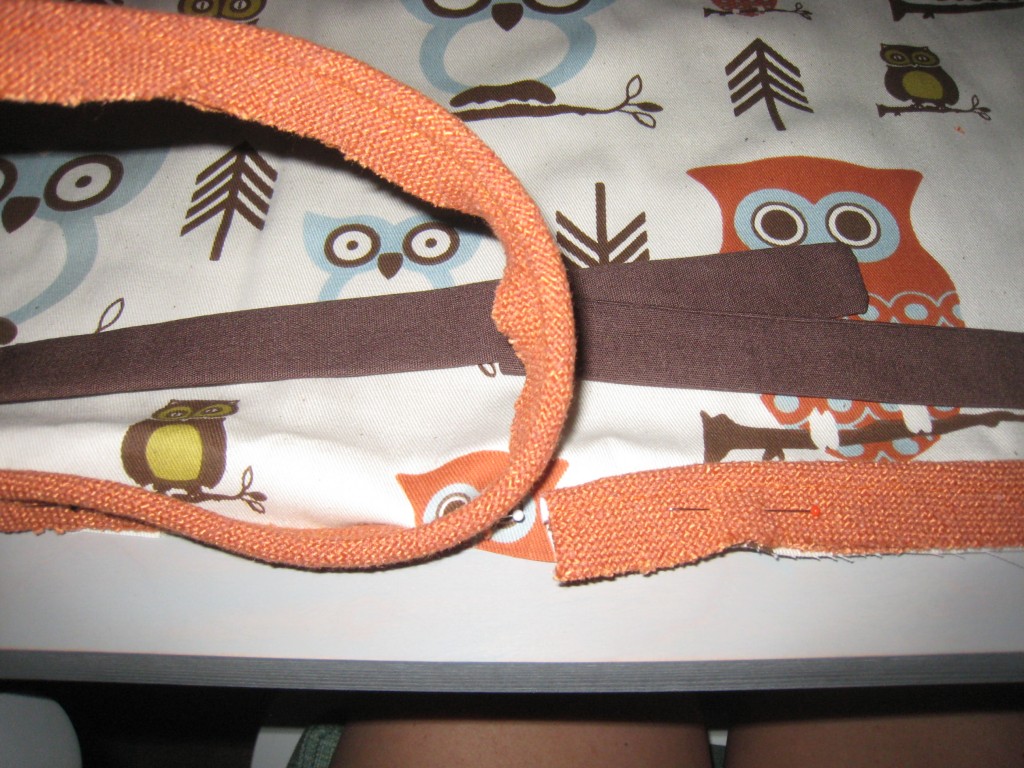
9. Lay an exterior bumper rectange right side up. Pin two fabric ties to each short side, 1″ away from the corners. The unfinished end of the tie should line up with the raw edge of the rectangle fabric.
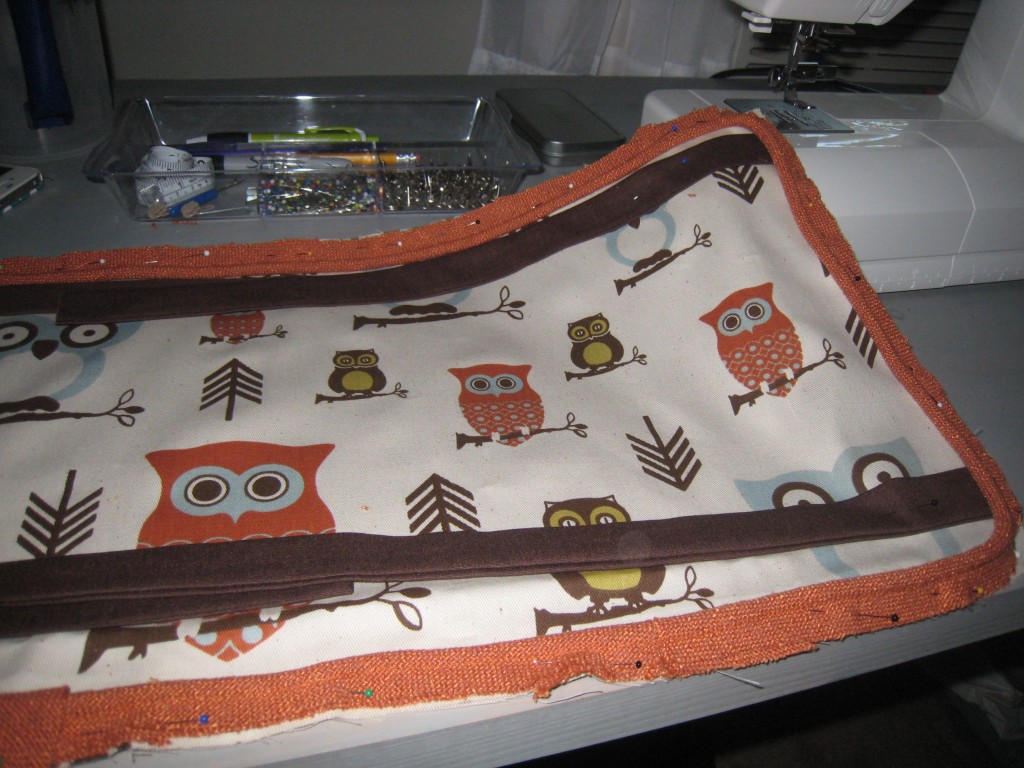
10. In the middle of a long side of the bumper, line up the raw edge of the piping with the raw edge of the bumper and pin the piping in place. Leave the first 6″ of the piping unstitched and sew the piping to the bumper fabric.
11. Stitch as close to the piping as possible while also checking to make sure the raw edge of the piping continues to line up with the raw edge of the bumper fabric. Clip the raw edge of the piping to help it move around the corners.
12. Continue sewing until you are a few inches past the fourth corner.
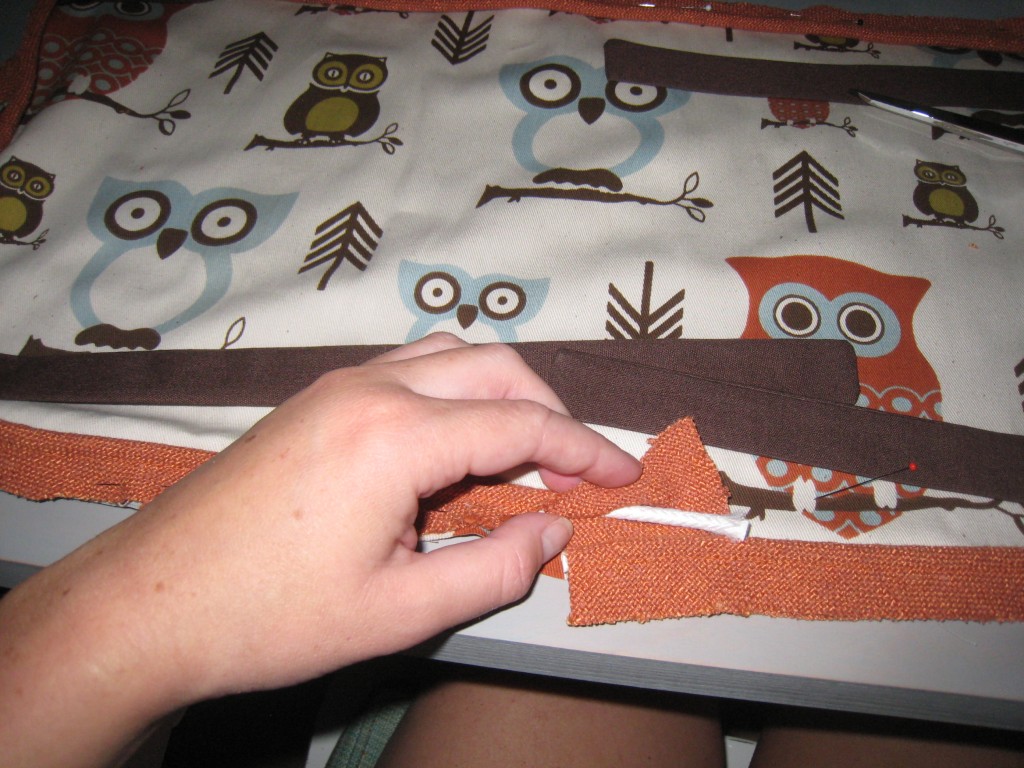
13. Join the two ends of piping by cutting one end of the piping so that it has a 1.5″ overlap over the other piping tail. Open up the seem of the piping without the extra 1.5″ tail and cut 1.5″ of the white fill cord out of the piping fabric.
14. Insert the 1.5″ overlap tail where you just removed the cotton filer from the other end of the piping. Smooth the piping fabric of the joined piping tails and sew the joining pieces shut.
Assembly:
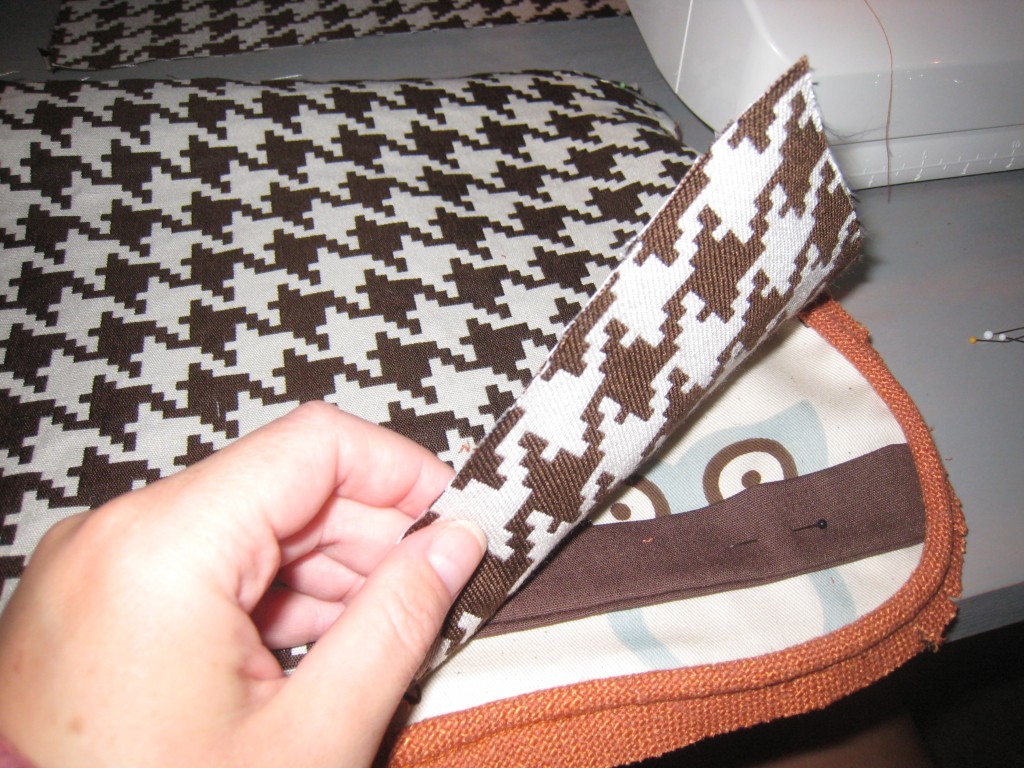
15. Lay one bumper interior rectangle on top of an exterior rectange, right sides together. Line them up at the corners and pin them in place. Continue pinning along the sides making sure the raw edges are lined up. *Make sure your cotton tie tails are on the inside of your rectangle before you sew the outer and inner rectangle together.
16. Sew around the perimeter, leave one long side unstitched. Make sure the presser foot is kept as close to the piping bulk as possible.
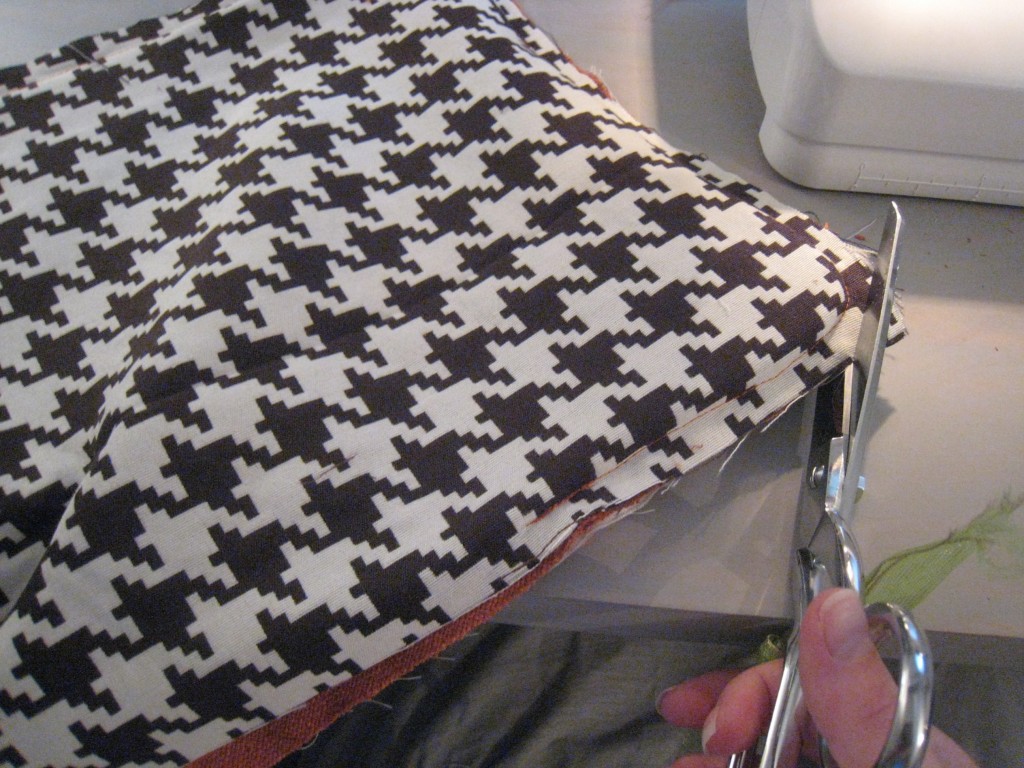
17. Trim off all four corners.
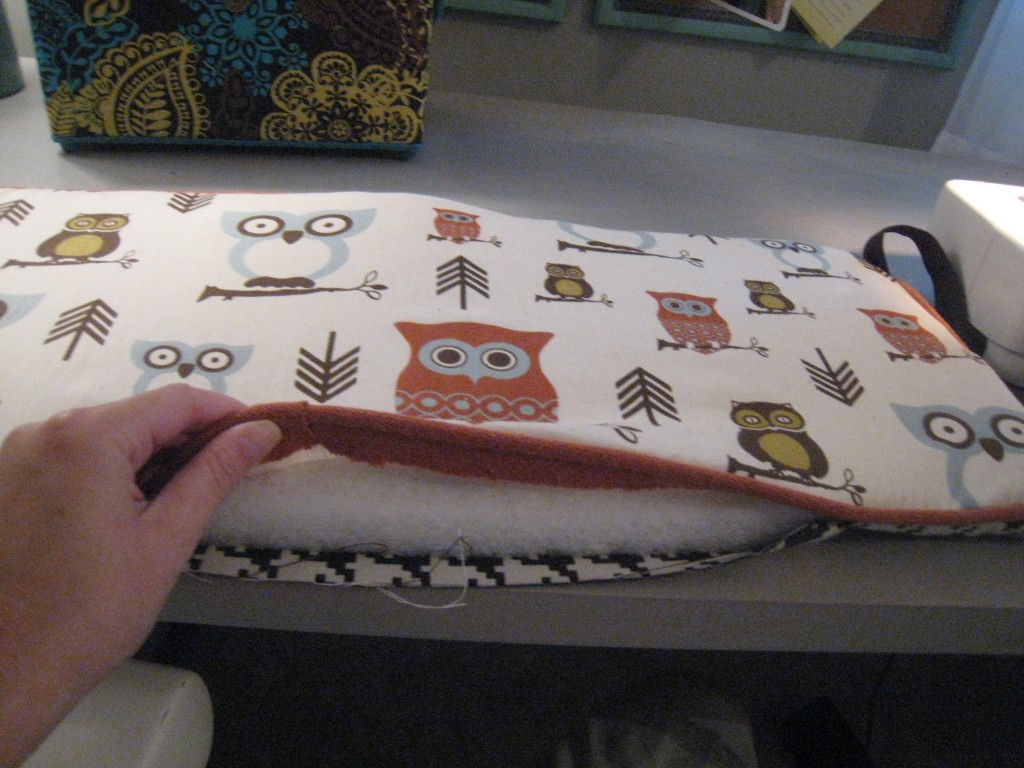
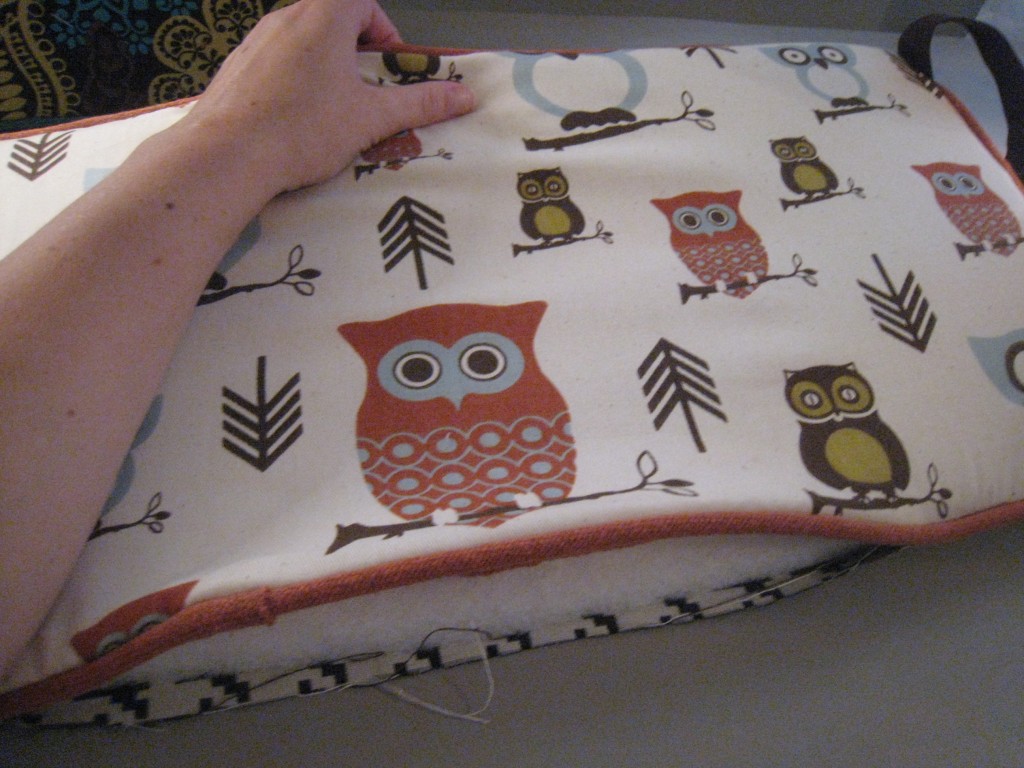
18. Turn the bumper pad cover right-side out through the unsewn open side and slide in a NU foam pad.
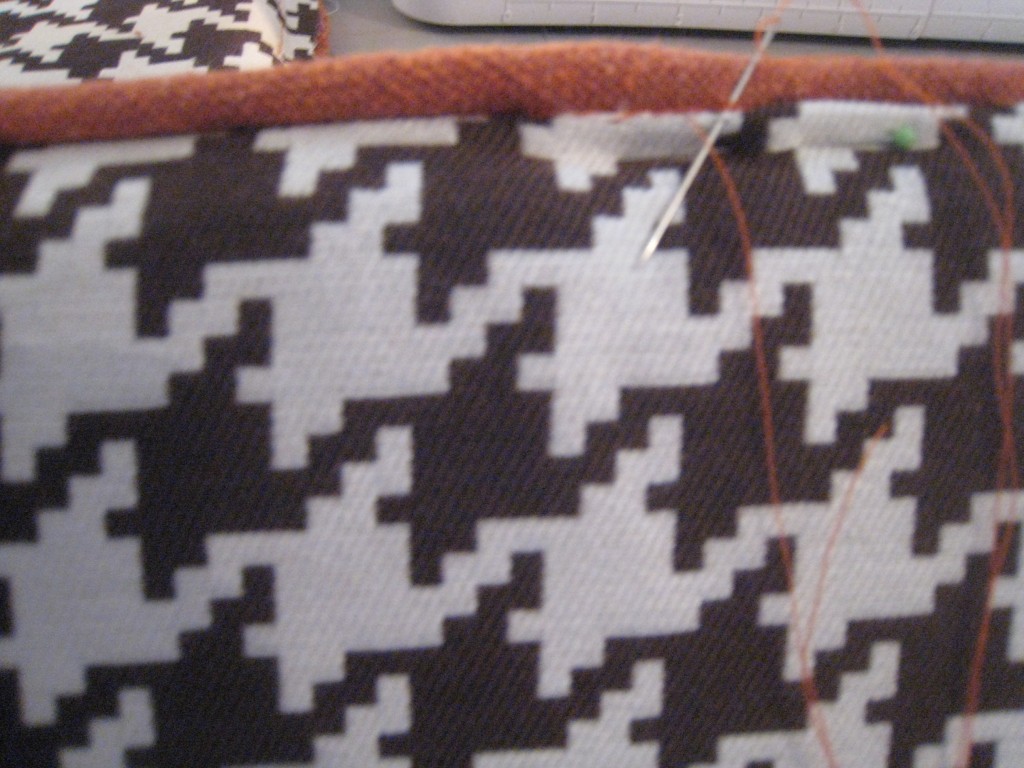
19. Handstitch the bumper cover closed using the matching thread.
20. Repeat for the other five bumpers!
Trackbacks
There are no trackbacks on this entry.

Comments
There are no comments on this entry.