Felt Flower Yarn Wreath
This weekend, one of my best friends from college came in town for a visit and we decided to make yarn wreaths with felt flowers. We went to our local Hobby Lobby here in Richmond for supplies.
Here’s what we bought:
- 18″ inch wreath (either a green foam base, or a straw base wrapped in plastic – leave it wrapped in the plastic).
- 1 large ball of yarn (around 350 yards). I used my entire ball of yarn.
- Felt. I bought four colors: cream, white, golden yellow, and gray. I bought four 8.5 x 11 sheets of each color, and I had plenty left over.
- Hot glue gun
- Pearl pins or beads (if desired).
What we thought would be the easiest part of this craft project turned out to be the hardest. We started by wrapping the wreath base in yarn.
You can start your yarn ball by taping the tail of the yarn to the wreath with scotch tape and wrap over it. What came next was pretty much a tangled mess for both of us. We found that our ball of yarn knotted as we wrapped it around the wreath, but we stuck with it , untangling as we went.
Disclaimer: if you know how to wrap a yarn ball around a wreath without it tangling, please let me know!
After we finished the yarn base, we started on the felt flowers. I made two types of felt flowers – some larger blossoms with loose petals, and some smaller blossoms with a rosebud shape.
Here’s how I made the gray rosebud flowers:
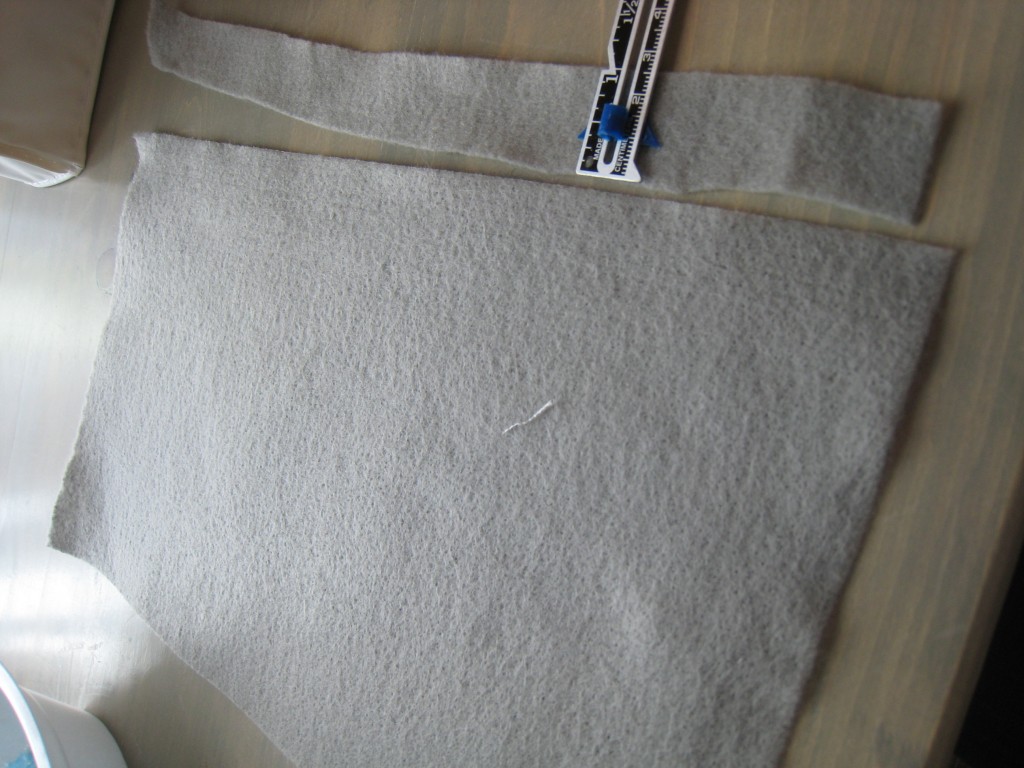
1) Cut a one inch by eleven and a half inch strip of the gray felt.
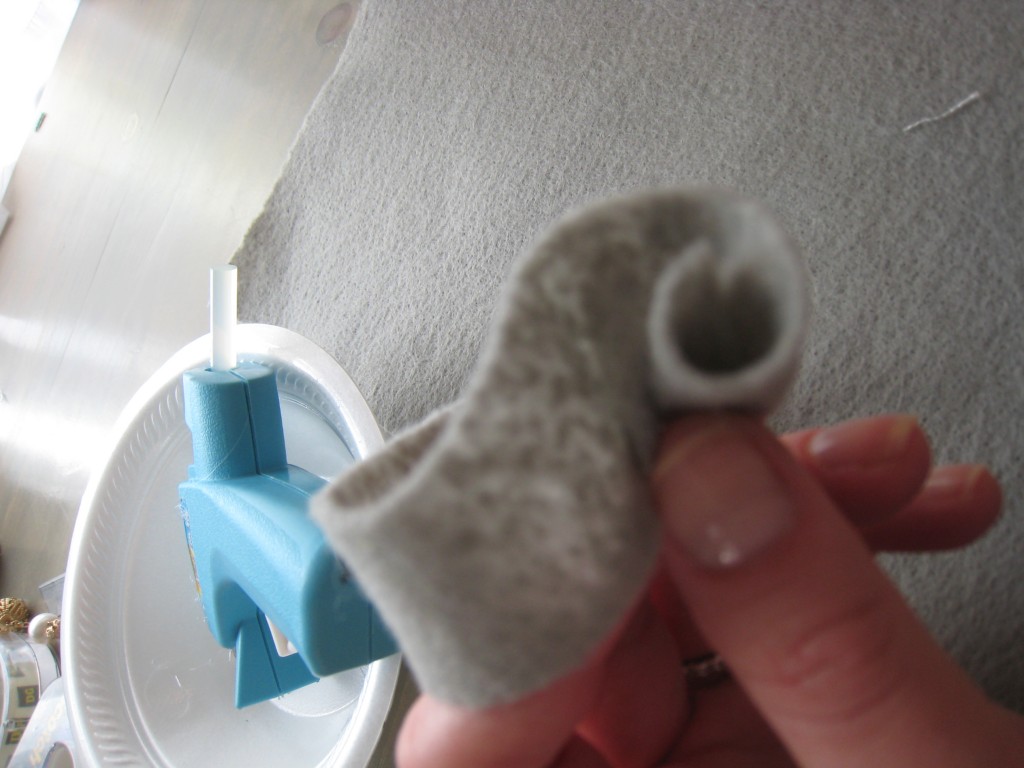
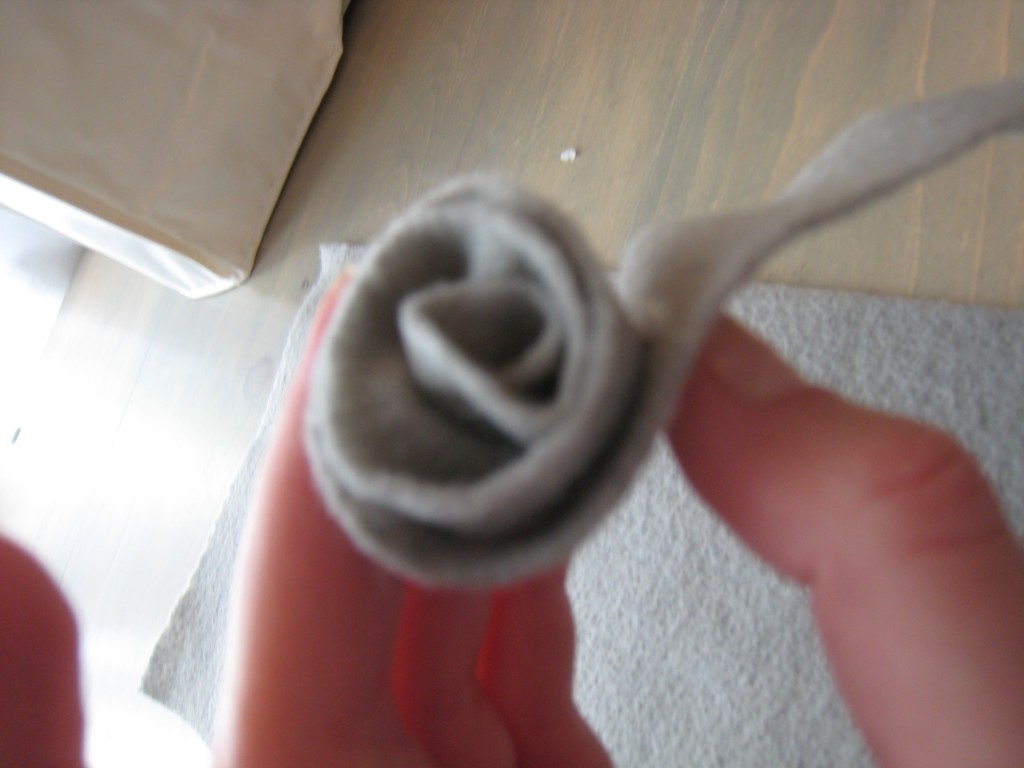
2) Add a dab of hot glue at one end of the one inch strip and roll the strip slightly, pinching the bottom of the roll as you go.
3) Add a dotted line of hot glue along the bottom of your strip, pinching a rolling the felt strip as you go so that the felt strip flairs out slightly as you roll it.
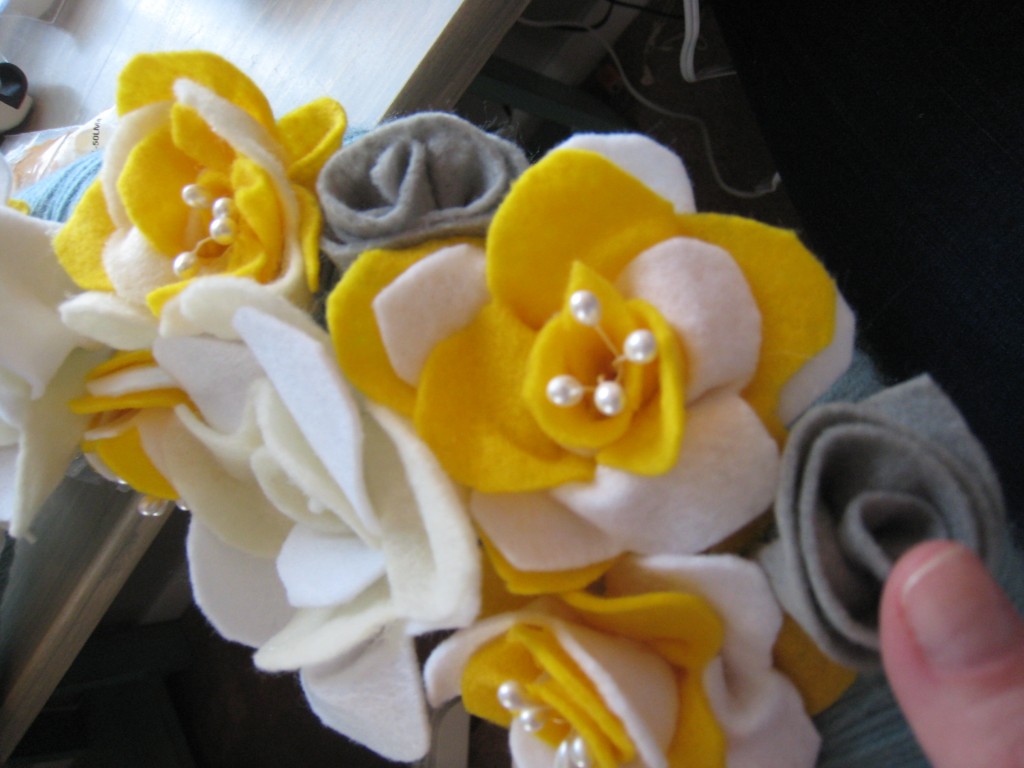
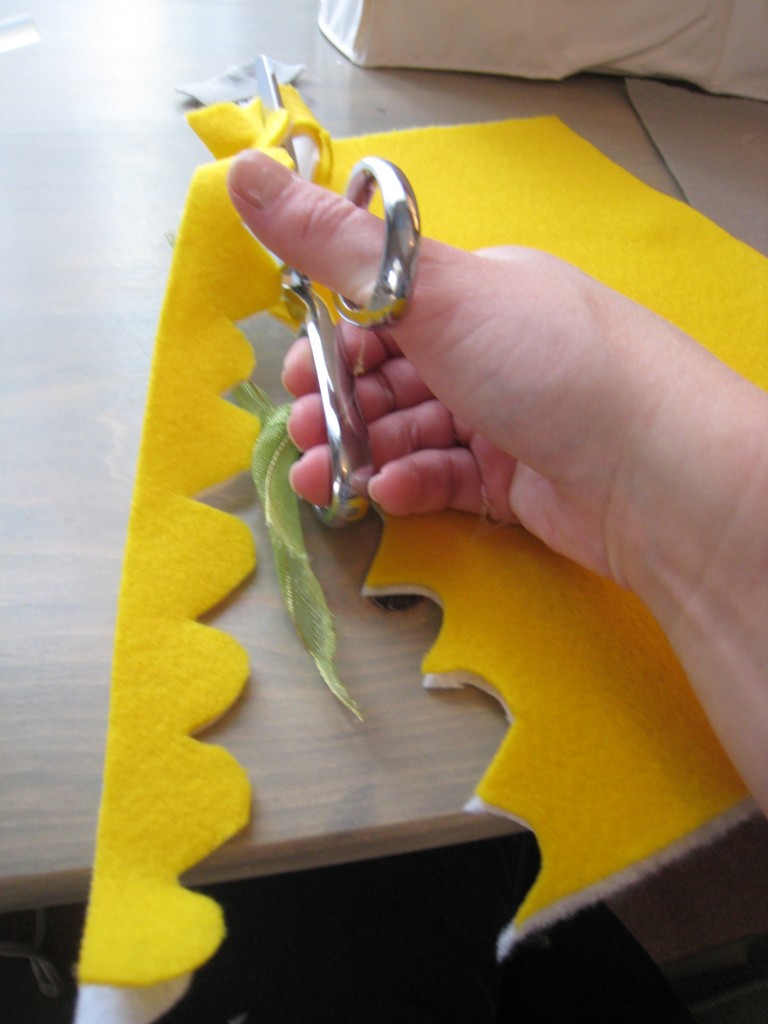
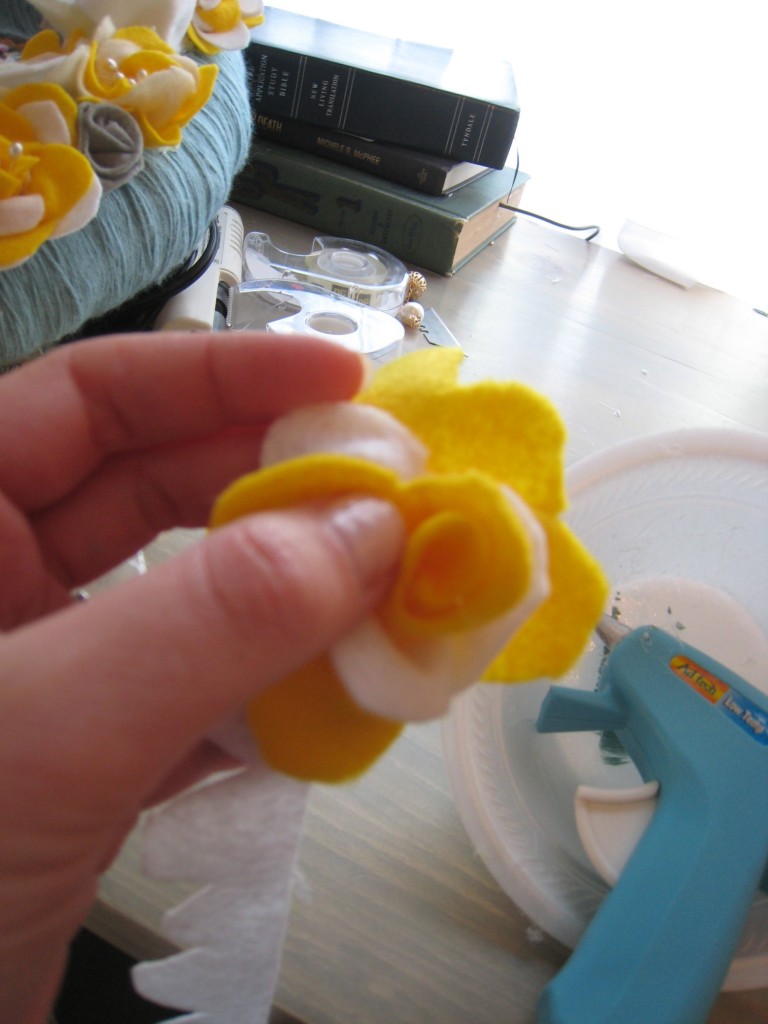
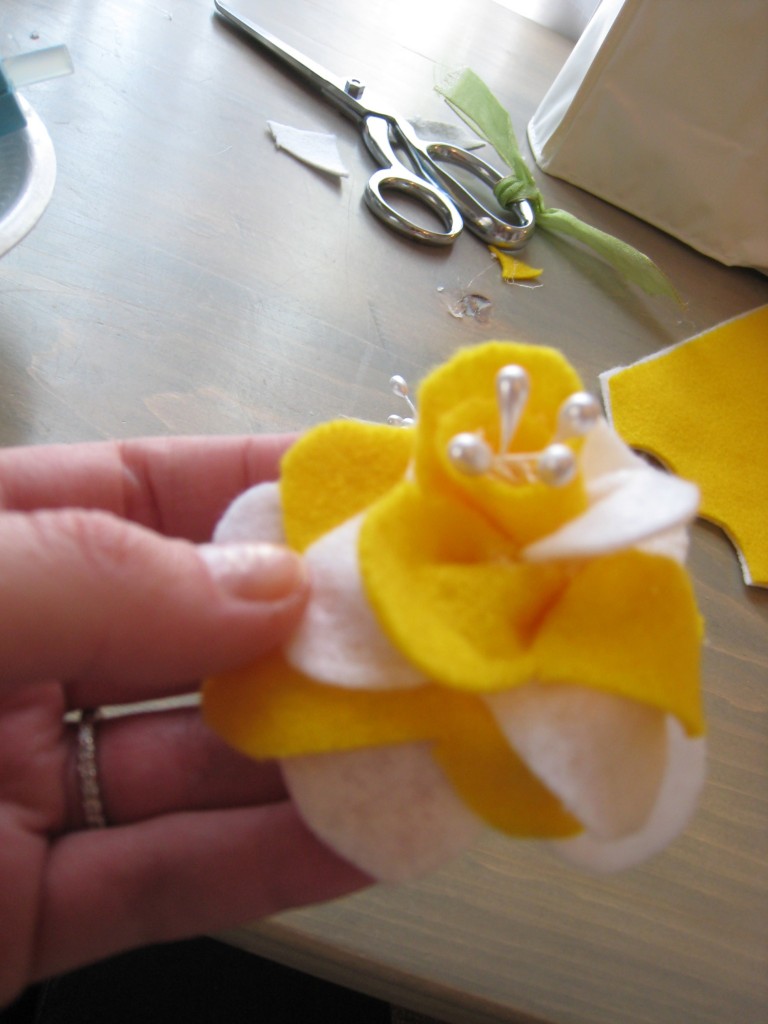
4) I followed the same “glue, roll, and pinch” method for the larger blossoms, but I cut the strips a little differently. Instead of cutting a straight one inch strip, I cut a scalloped two inch strip in two different colors (in this case, yellow and white).
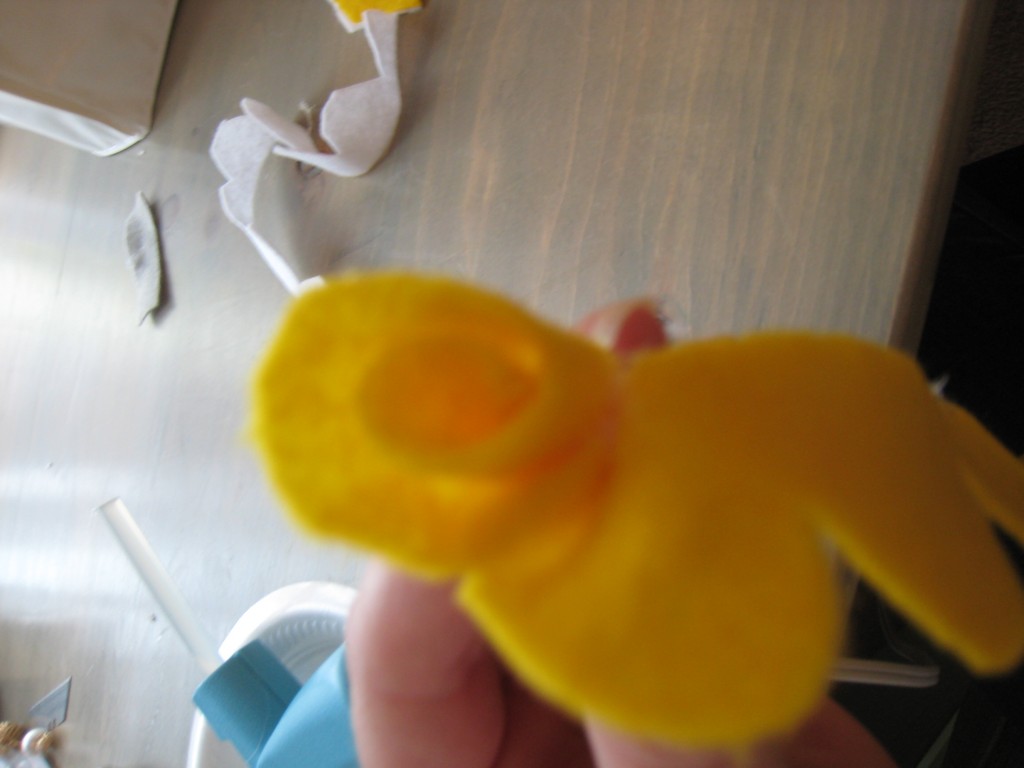
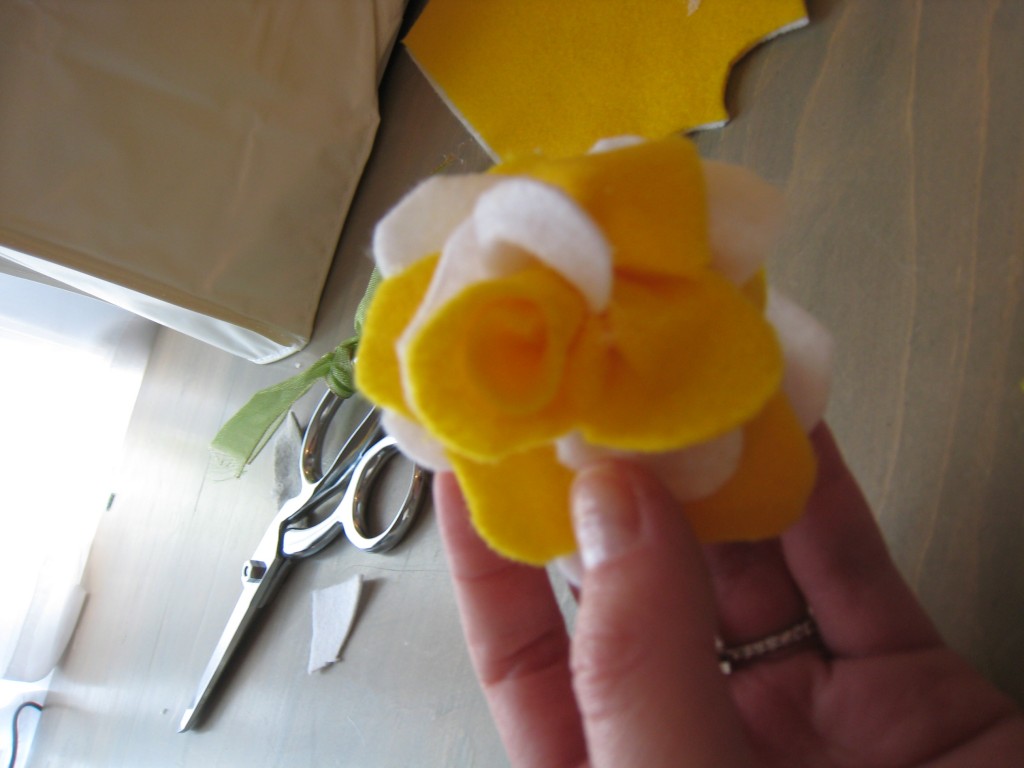
5) I started the blossom the same way I did the gray rosebuds, by adding a dap of hot glue to one end of the scalloped felt strip and rolling. I began with the yellow felt strip first and rolling it about half and inch, then attached the white strip in behind it.
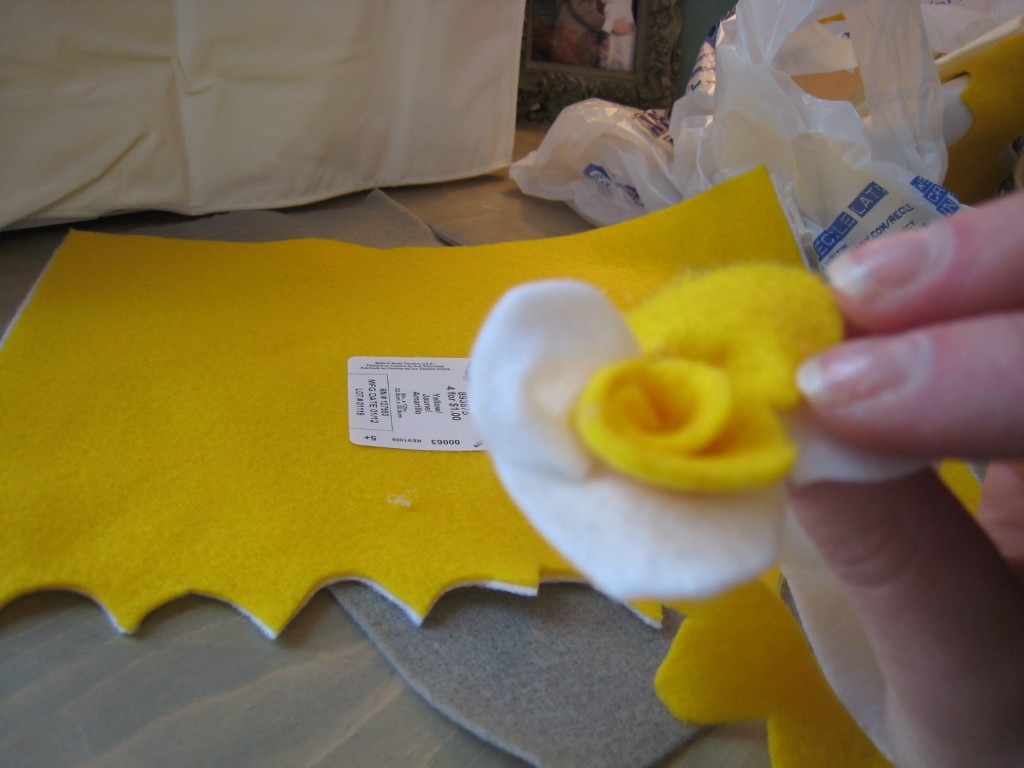
6) I alternated rolling, pinching, and glueing the yellow and white strips in alternate directions so that the petals would form a nice layer of the two colors.
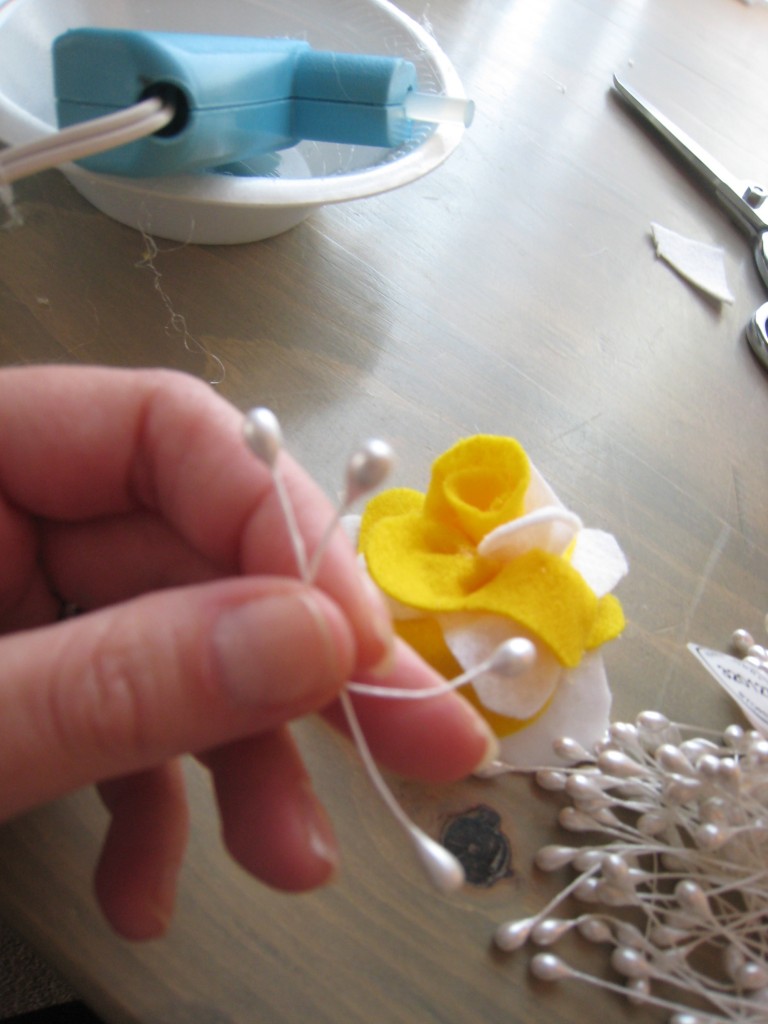
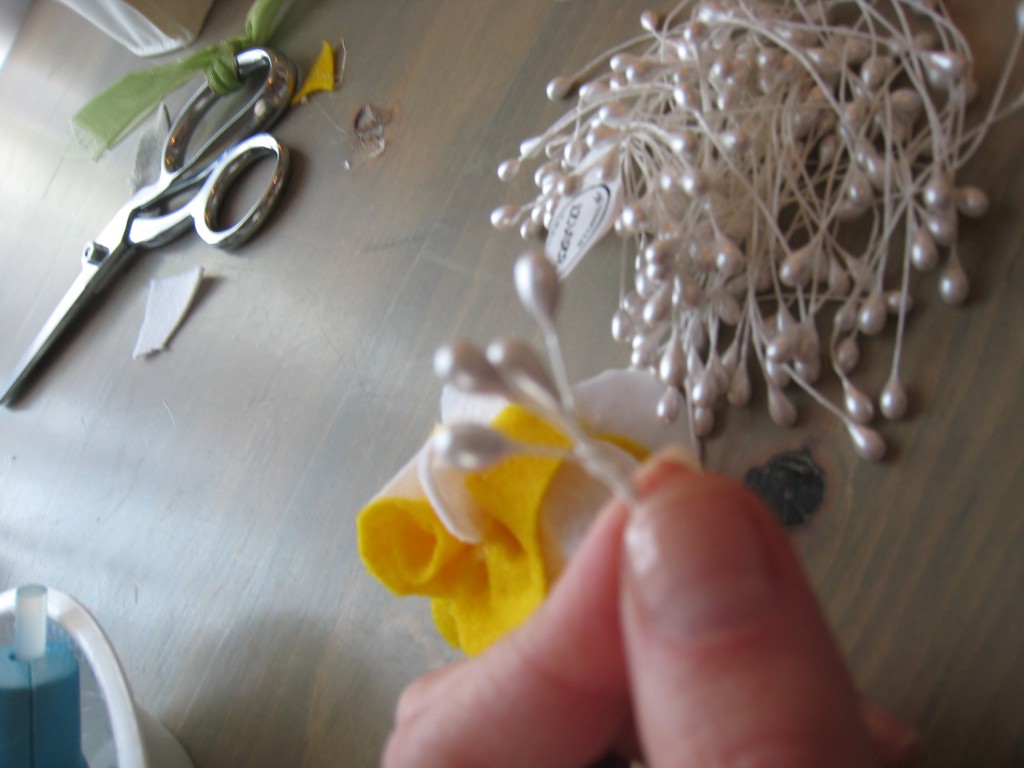
7) The last detail I added to these flowers were the pearl stems. We found these in the bridal section of the craft store and thought they would be great for the center of our flowers.
8) I twisted four pearl stems together and added a dot of hot glue to the bottom. Then I inserted the bottom of stem into the center of the flower bud.
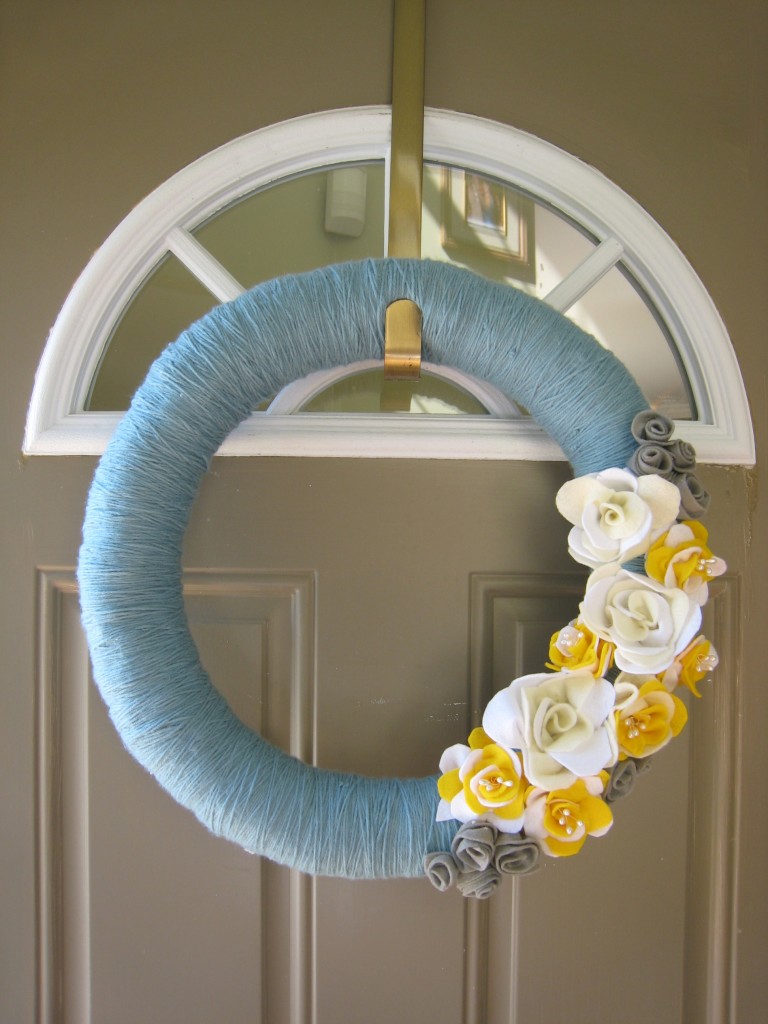
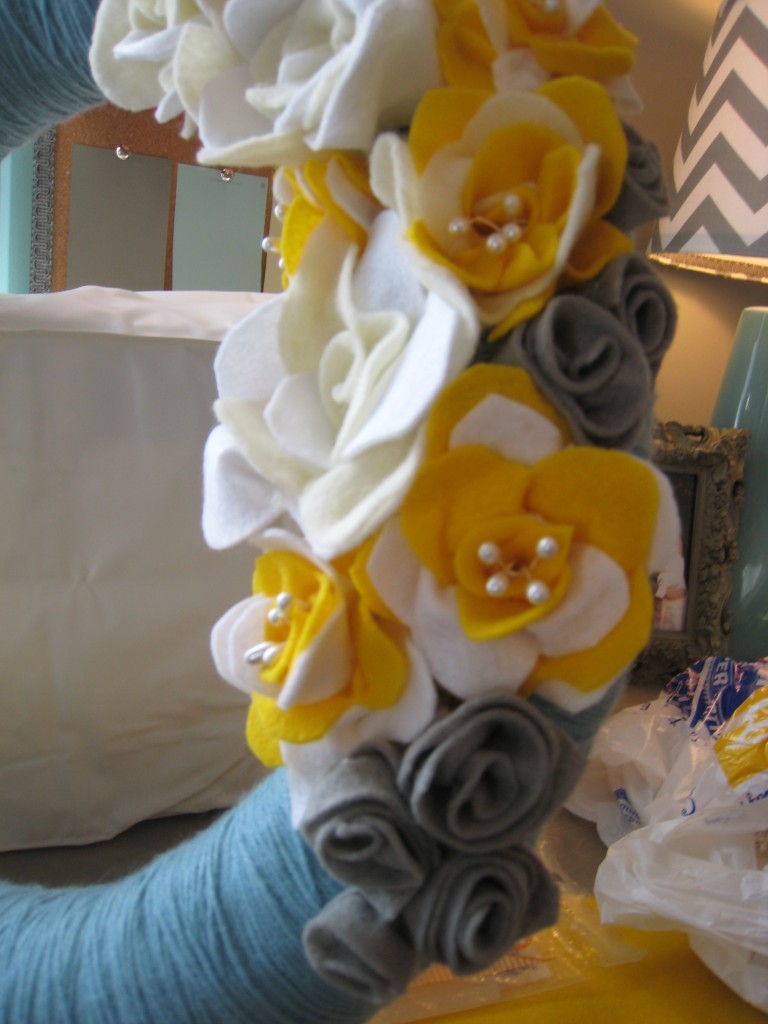
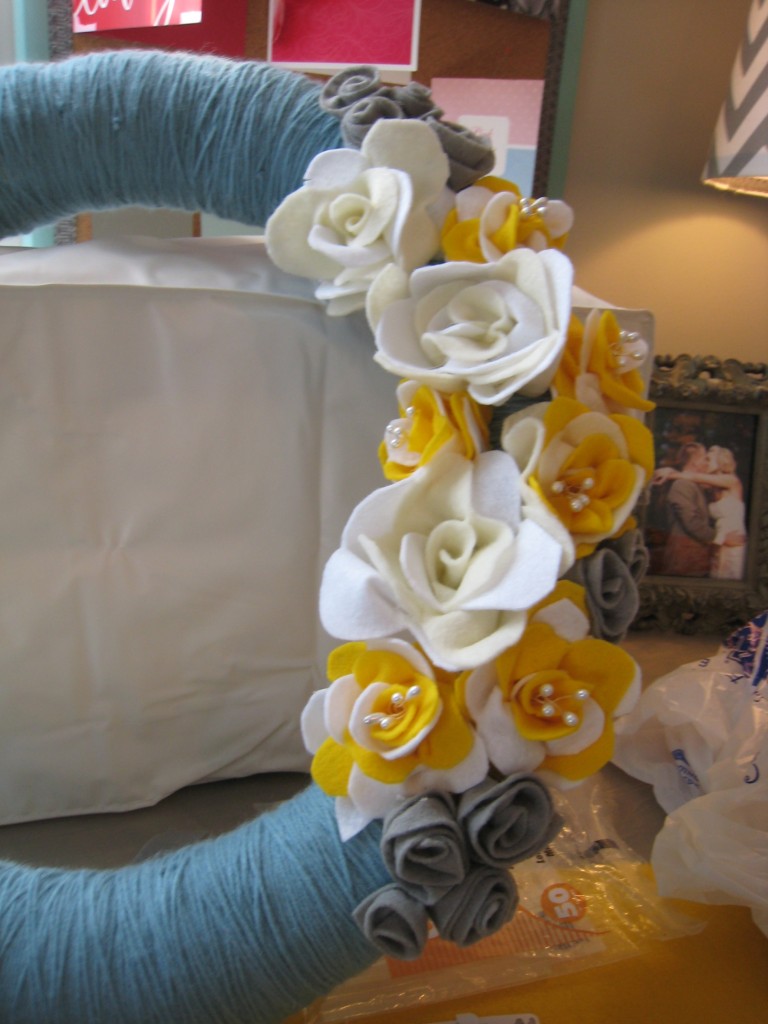
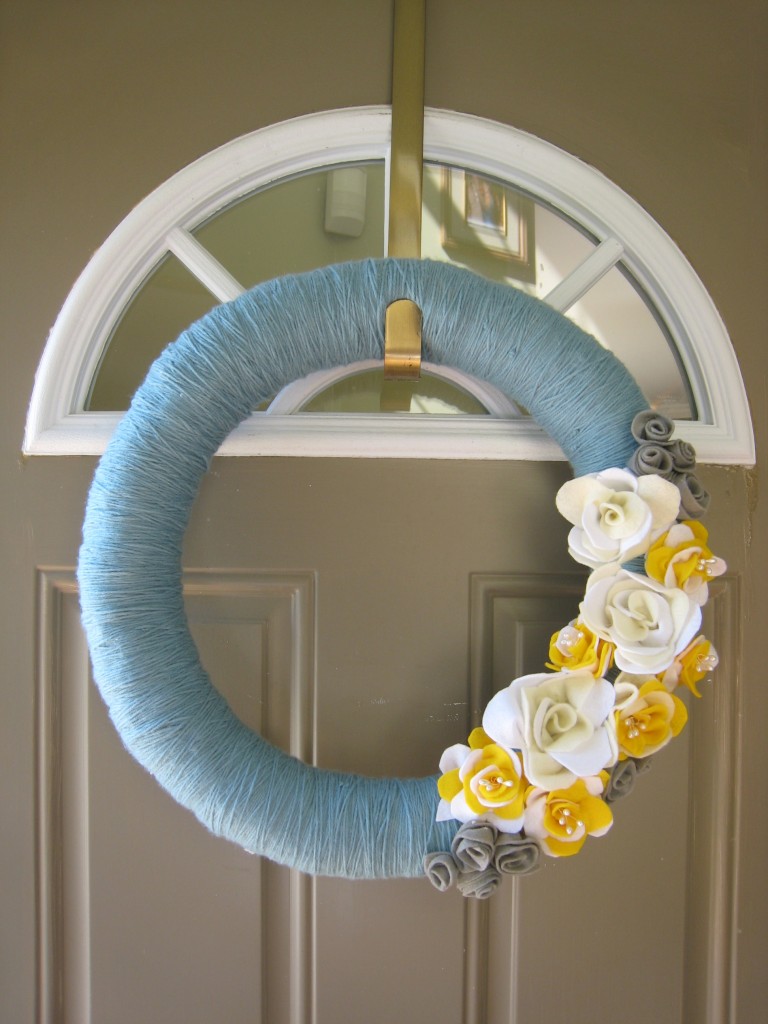
Here’s the end result, after I made all of my felt flowers…..
Trackbacks
There are no trackbacks on this entry.

Comments
There are no comments on this entry.