iPad Stand
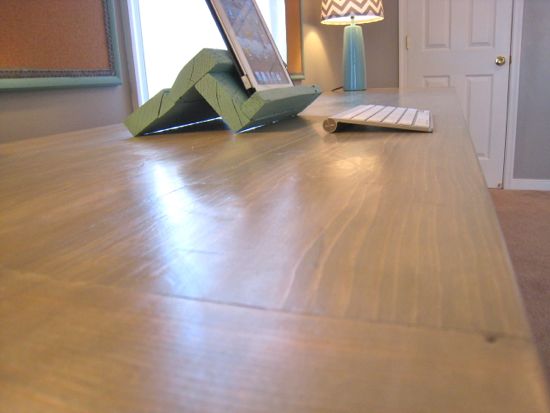
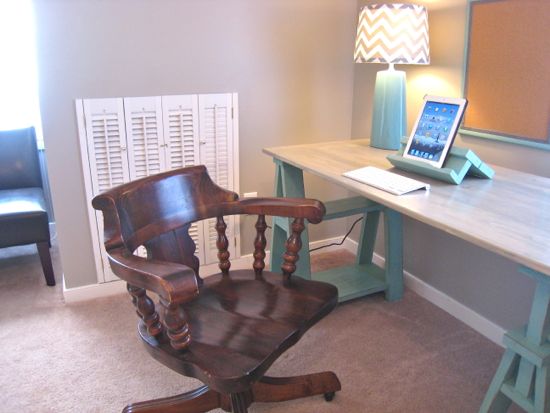
With a his and hers double work station, I needed something to stake claim on which side was mine. Ellie’s side is complete with sewing machine, craft items, binders, and more. My side just had a bluetooth keyboard for my iPad. Early on the construction process I decided to build a little iPad stand. I stumbled across some inspiration via Pinterest and decided to whip something up.
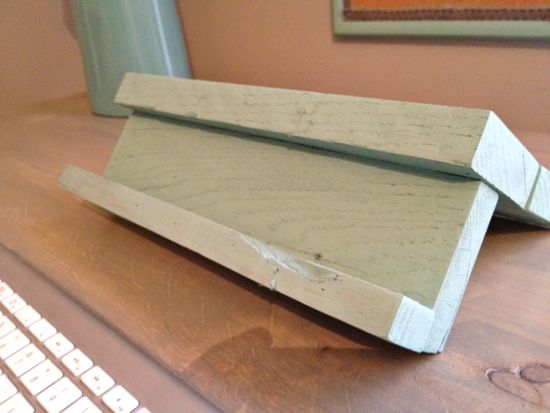
I had one piece of thick scrap pallet lying around measuring 36″, so I cut that into three pieces at 12″ a piece. This wasn’t quite enough to recreate what I saw, so I needed to find another short scrap piece and cut that at 12″.
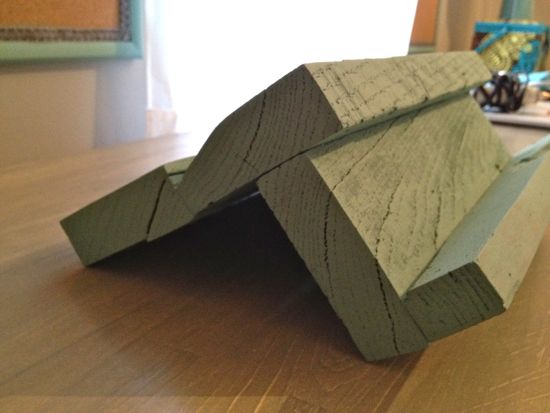
My original plan was to keep it natural, so I didn’t want to use screws that would be seen. The only other thing that I had around to use was my framing nailer. I started by nailing (and wood glue) in the lip to the first pallet. Once I had that piece put together, I needed to try to figure out how to join the other two pieces to one another. Although I didn’t want to use screws, the only way that I could figure it out was to use my Kreg jig to drill pocket holes to attach them to one another. I screwed those two pieces together.
Then all I had to do was find the right angle that would be used to best view my iPad, clamp it together and use the framing nailer to put it all together.
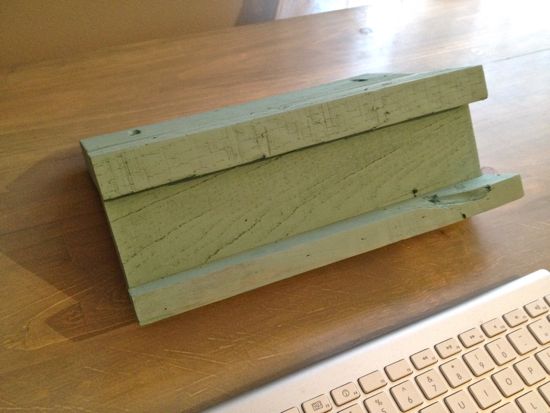
I was hoping for the rusticness of it, so I applied a couple coats of polyurethane on it to seal it off. I ended up not liking the way it looked…so after it dried I threw some of the same teal as the desk onto it.
It took almost no time at all and it’s created a pretty functional little piece to hold my iPad, to mark my territory (sounds bad), and to make some use out of scrap wood.
Trackbacks
There are no trackbacks on this entry.

Comments
There are no comments on this entry.