Chevron: Human Energy or Furniture Energy?
Well….I decided to try my hand at refinishing an old antique piece of furniture. The last couple visits to my favorite antique shop and to Habitat for Humanity Restore, I came across some amazing pieces of furniture priced low. I didn’t buy them and have been kicking myself for not scooping them up. So, I set out to find a cheap piece of furniture that I could refinish.
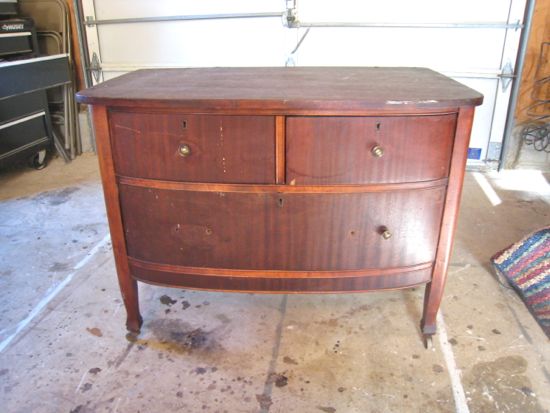
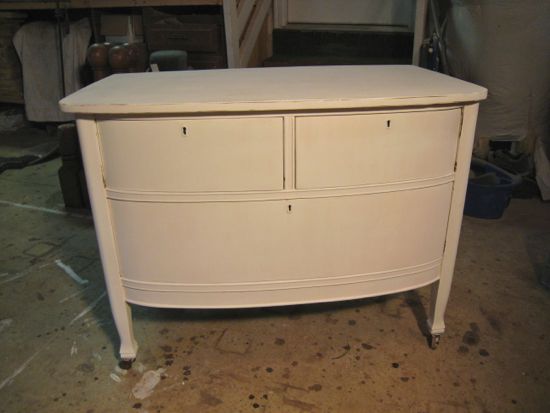
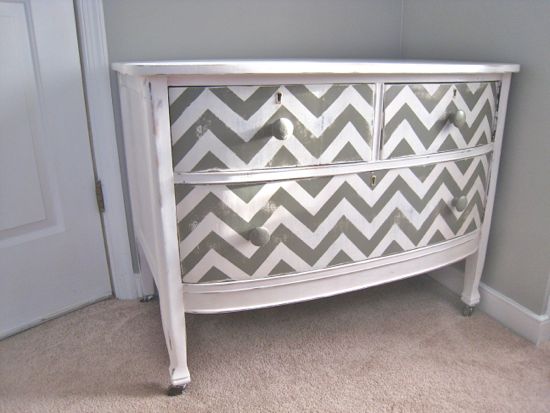
My search led me to this small dresser that was marked down as a “paint me” special for just $30. It appeared to be in solid condition and I loved that it had some curve to it. So, I brought it home and started fixing it up.
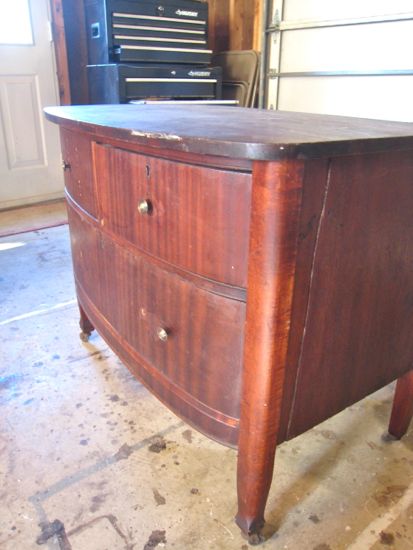
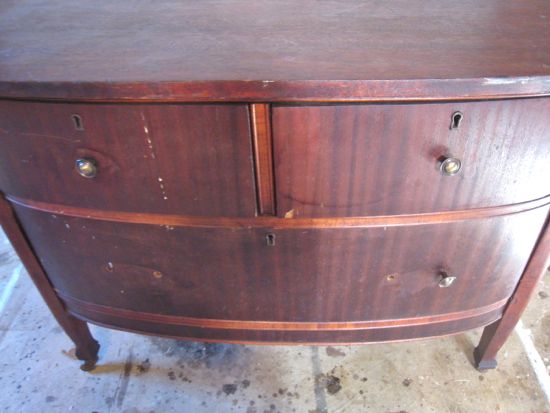
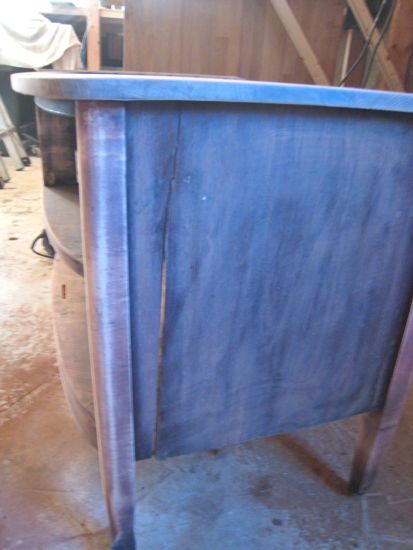
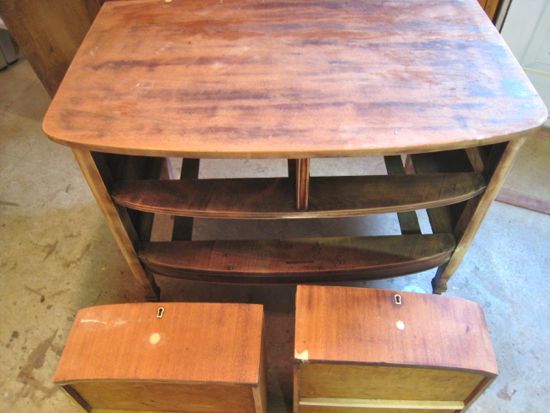
My original plan/desire was to simply sand it down and restain it. But as I started to examine it closely, I realized it was in worse shape then expected. I needed to repair the side, fill some holes, and the top wasn’t solid wood afterall…so it wouldn’t take the stain as well as the rest of the dresser. I continued on anyways.
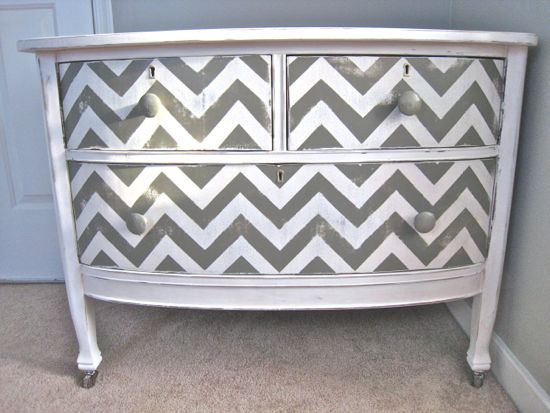
At this stage, I was trying to hone in on my vision for the dresser. Apparentally, chevron is a pretty big deal lately (Ellie just used it on a project that she’ll be posting soon)….and I saw an amazing dresser on one of my favorite blogs; Twice Lovely …..you should check out her stuff…it’s amazing…..and that’s when I knew what I wanted this dresser to look like….White and gray with chevron.
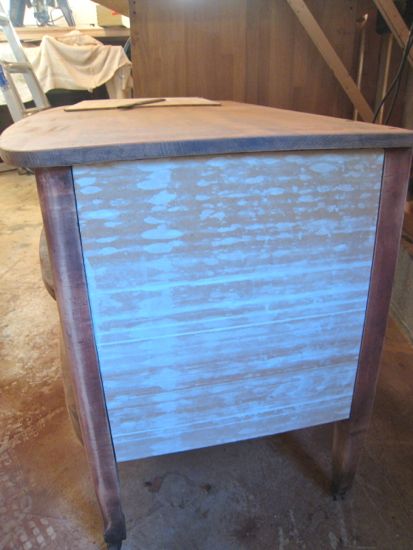
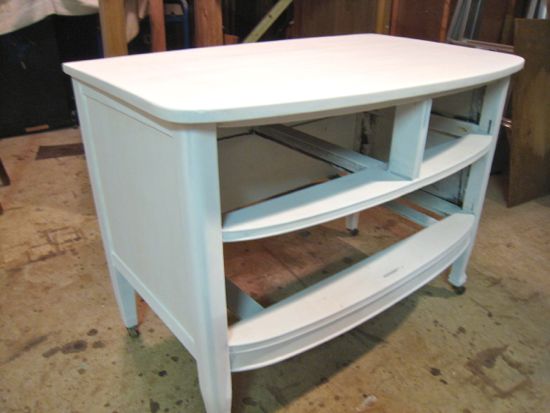
The dresser needed some repairs first though. I fixed the side by just covering up the large crack. I had some leftover beadboard that I cut down to size. I was thinking about using the beadboard on both sides but thought the striping may interfere too much with the chevron so I just used the backside of the beadboard. I added some other trim to dress it up a bit too.
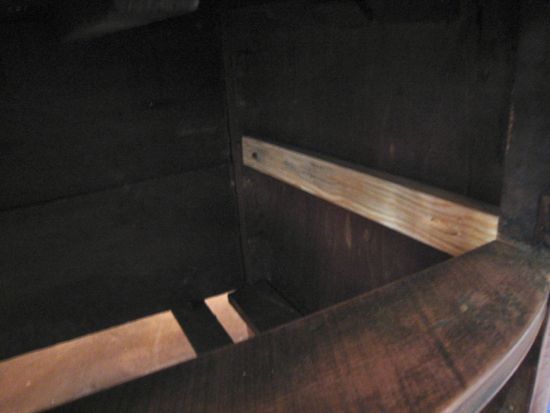
I also added a piece of support that broke off using some scrap wood, my Kreg jig, and some screws.
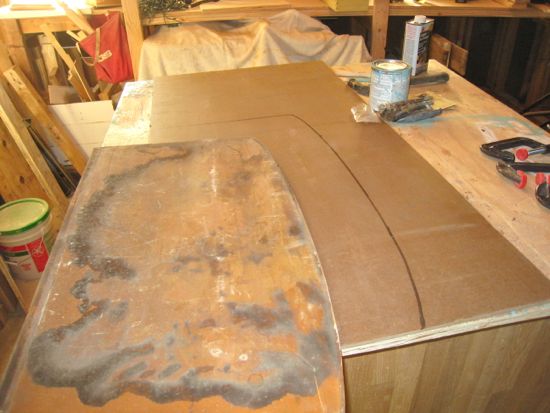
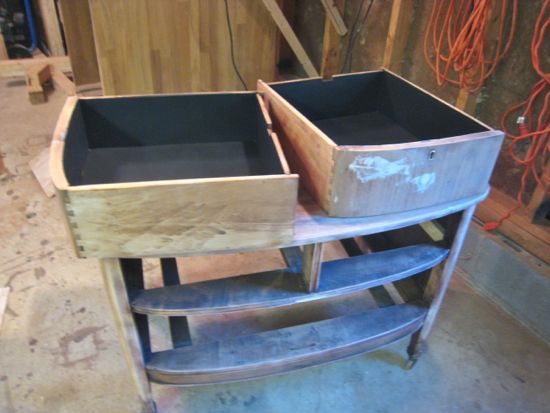
I beefed up the existing drawer bottoms by adding some thin support pieces on the underneath using my finish nailer. The top drawer bottoms were in good shape so I just nailed them into place. The bottom drawer was unfortunately warped, water damaged, and not sitting right. To fix that, I bought a 2×4′ 1/4″ handypane from home depot. I used the old drawer bottom to trace my shape and then used my jig saw to cut it out. Presto-chango…a new drawer bottom.
I sanded every nook and cranny with 100 grit sandpaper and removed years of dust, dirt, and grime. I then applied some wood filler along some holes, deep gashes, and hammer markings. I wasn’t sure if I should sand the inside of the drawers down, but I did anyways and then they didn’t look that good so I decided to put a coat of paint on them. I thought a light color would show marks more easily so I decided to paint the inside of the drawers black.
The next day, I sanded down the wood filler and put on a couple coats of white paint. It was leftovers from our kitchen remodel….Martha Stewart Lamb’s Wool. I used a brush for the corner/edges and then a semi smooth roller for everything else.
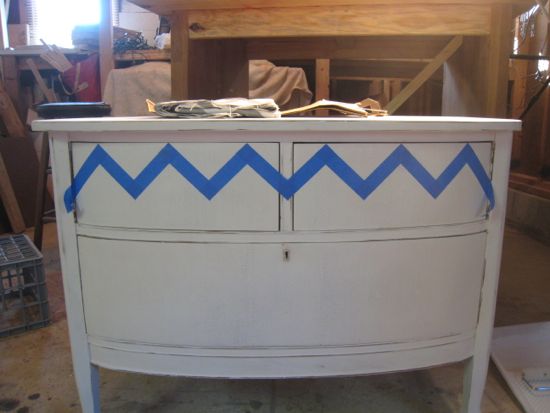
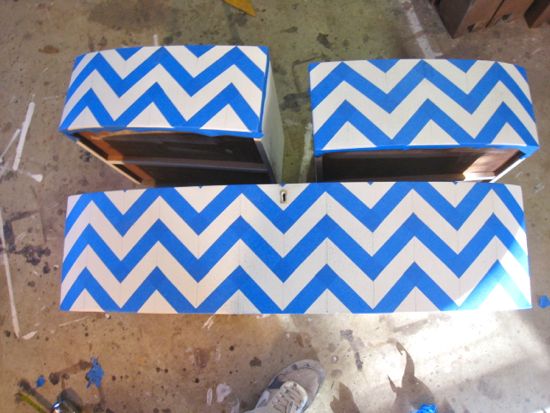
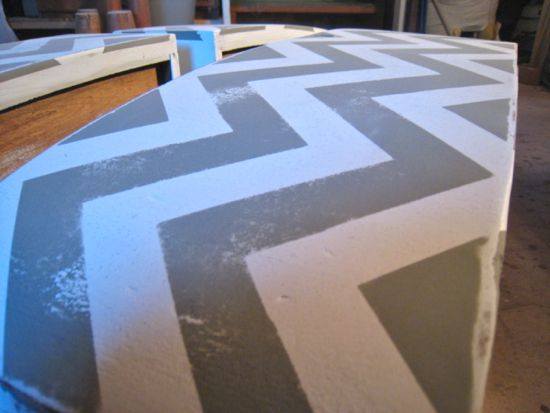
After that had plenty of time to dry, I started working on the Chevron pattern. Twice Lovely warned that this would be tedious and she was right. It took me about 2 hours just to tape it off and then about 2 minutes to paint it….boo. The first 30 minutes was me staring at the table and trying to figure out how in the world do you tape off a Chevron pattern. Here’s what I came up with.
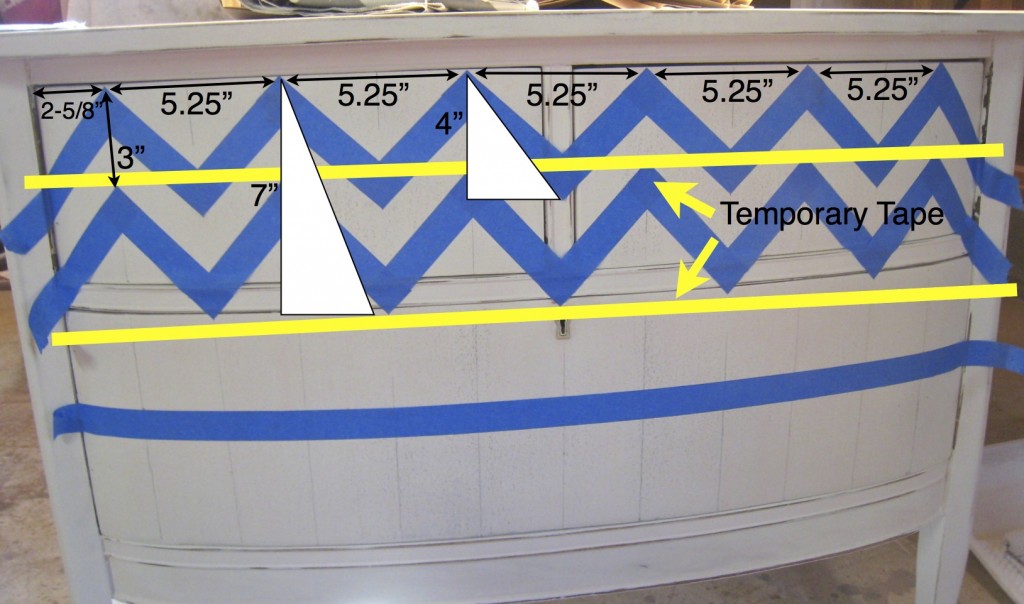
I wanted the pattern to be symmetric across the dresser and centered. The total width of my surface area was 31″ (here’s where math comes in). I kept dividing 31 by different numbers until I got a nice even measurement…..5.25″. That would serve as the width between each of my chevron points. So…from point to point it would be 5.25″. For the height I just arbitrarily picked 4″….not totally random it’s within proportion of a Chevron piece of fabric that we have. So…from the top of one point to the bottom of the next point the height would be 4″.
I decided to keep the drawers in the dresser while I did my marking to ensure the pattern was true across the dresser. I made some marks across the top and bottom starting from the left. 31/5.25=6…so I needed to skew the design over by a half….meaning, I made my first mark at 2-5/8″ instead of 5-1/4″. And then made marks every 5.25″ from the previous mark. I then drew vertical lines connecting the top and bottom using a straight edge. I then needed a second set of lines for the downward Chevron points….for those I made a mark starting from the left at 5.25″ and then every 5.25″ from that. Both sets of lines represent every intersection that would have one of the Chevron points whether that be the upward point or the downward point. Is this making any sense at all?
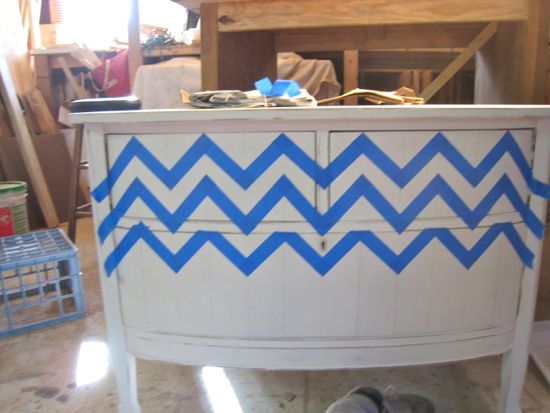
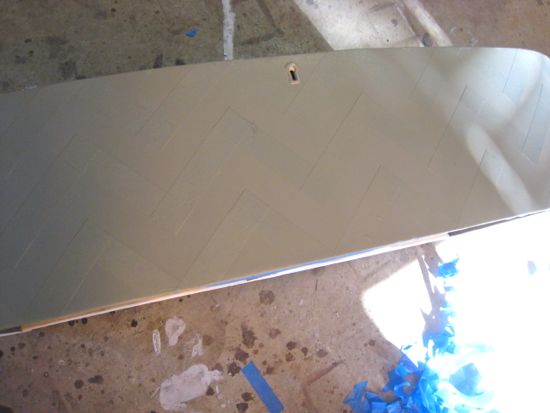
For the horizontal lines, instead of adding additional pencil marks across my fresh white, I used painters tape to serve as my temporary marking. For the first row, I made a mark 4″ from the top of the drawer on the left side and then the right side. I then used a large piece of tape to connect to the two marks together. Now I had a grid created to help show me where I needed to have the points of each Chevron strip. I then ripped off a couple inches of tape and connected each point to one another….starting from left to right. I allowed each piece of tape to overlap with the other. When the whole row was finished, I removed my horizontal piece of marking tape and then used a razor blade to cut off the excess of tape at the intersections.I left extra on the sides because when I took the drawers out, I wanted an inche or so to wrap around the side, top, and bottom. Here’s what my first row looked like….an hour later….ugh.
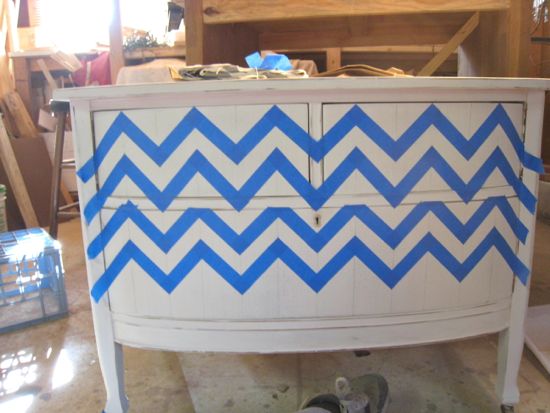
Next up was trying to figure out how to repeat it in such a way to allow for equally sized stripes. The painter’s tape I was using was approximately 1″ wide…..from the top point of the first row to the top point of the 2nd row there would need to be approximately 3″ spacing. So I made a mark 3″ down from the top point on the left side and the right side and then place a piece of tape connecting the two to serve as my temporary marking line. I would do the same thing with marks made at 7″ from the top point. These would serve as my horizontal lines and I already had my vertical lines marked. Not sure if this is reading right…so I created a little diagram.
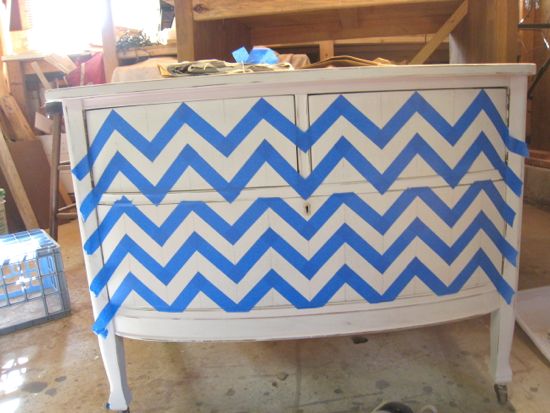
Once I had this all figured out, it was just a matter of laying out my horizontal lines, ripping small pieces of tape and connecting point to point…from left to right (important for when you go to remove the tape), and then cutting the overlap excess.
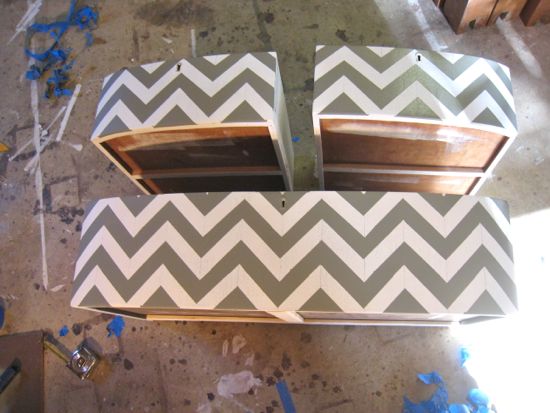
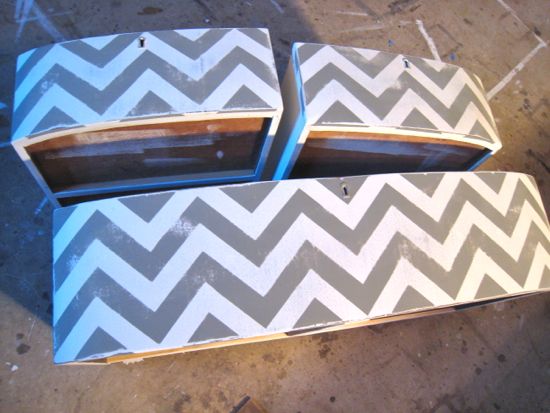
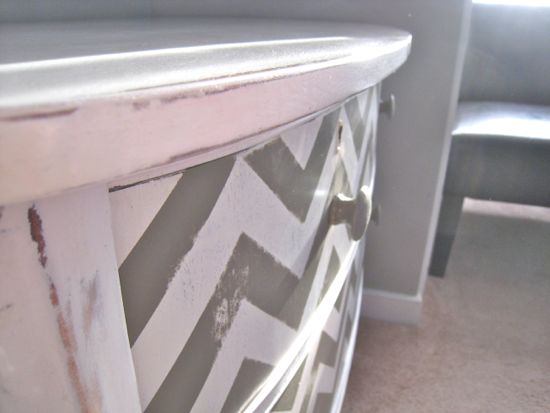
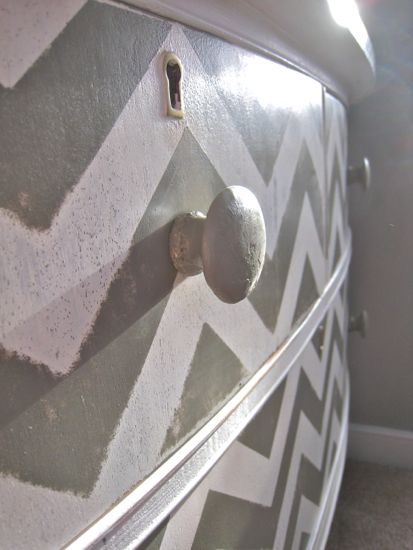
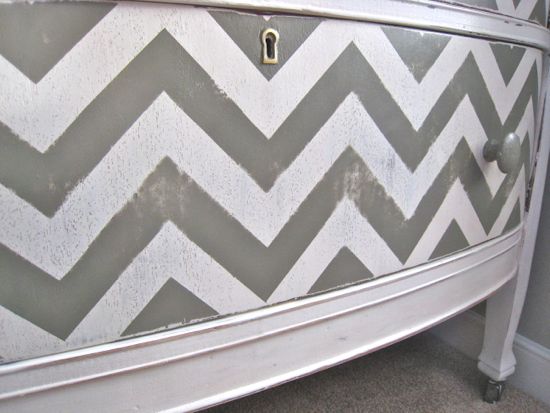
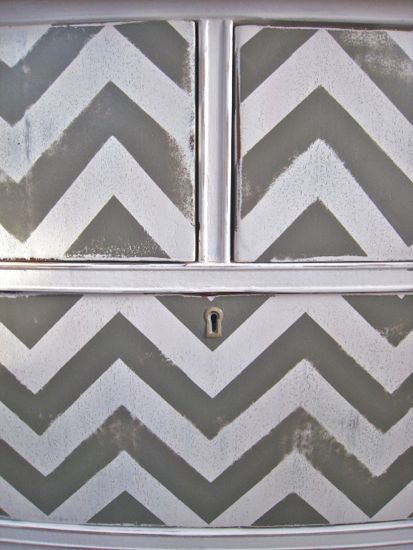
I had to add in some small pieces to the top of the top drawers at the end. I also wrapped the edges about 1/2″ all the way around. Two hours later….and I was ready to paint. I used some leftover gray from our Dining Room and used a semi smooth roller to roll it on. I did two quick coats and then removed the paint….moment of truth. The lines turned out near perfect.
I then distressed the whole dresser using my orbital sander and 220 grit sandpaper. This helps smooth the whole thing out.
For the dresser, I used Briwax (Clear) and rubbed it all over. After painting the drawers were especially tight, so I made sure to rub some Briwax on the rails and places of friction. I also used the Briwax on the sides of the drawers.
For the drawer faces, I was tempted to not do anything….but after all my hard work of taping the design on, I decided to apply two thin coats of Poly (Semi-gloss).
I’ve been saving some old clunky knobs from a friend’s antique dresser and decided this would be the perfect project to use them on. I painted them in the gray and threw them all.
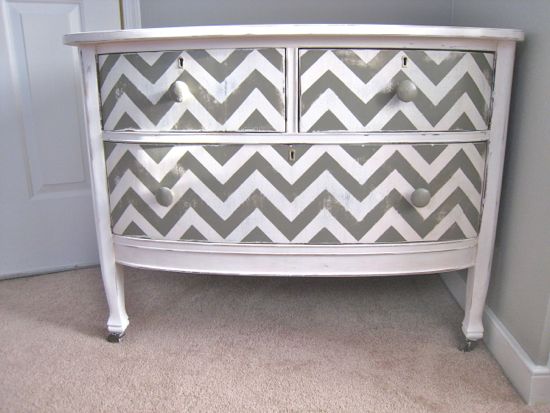
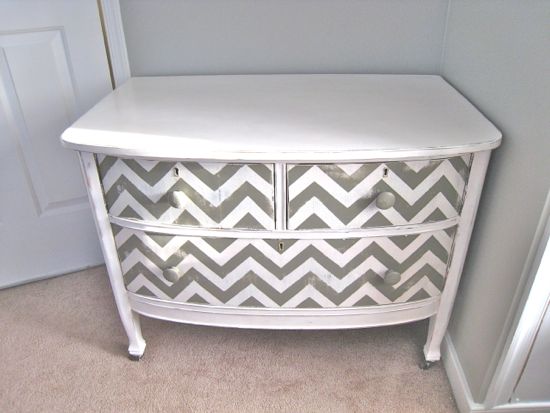
So for my first piece of refinished furniture….I think it turned out pretty great….what do you think? You likes? Keep your eyes out for how this piece fits in with the rest of that mystery room!
Trackbacks
There are no trackbacks on this entry.

Comments
There are no comments on this entry.