Fall Wreath Making 101
This rainy Saturday was a total gift. Tommy and I both got to work on projects we’ve been wanting to tackle for a couple weeks now.
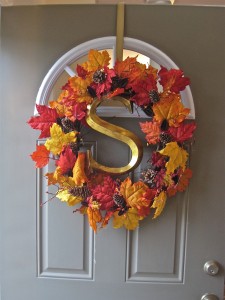
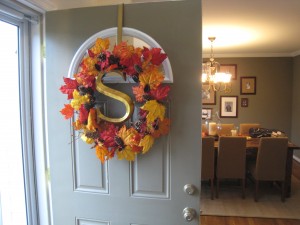
I saw this fall “initial” wreath on Pinterest a few weeks ago and immediately repinned it for myself.
I’ve pinned a bunch of potential projects off of Pinterest and let’s just say this is the first one that has come to fruition.
I actually love to make wreaths. They’re easy, kinda sculptural, and I can finish one in under two hours.
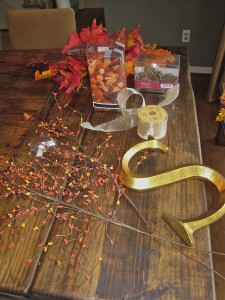
Here’s all the supplies that I started with: the “S” initial I got on sale last weekend at Hobby Lobby. The leaves are cut from a leaf garland that I bought at Michaels last week, as are the curly berry branches. I found the glittery pinecones in the attic from Christmas last year, but they’re easy to find. I think I spent $17 total on supplies for this project.
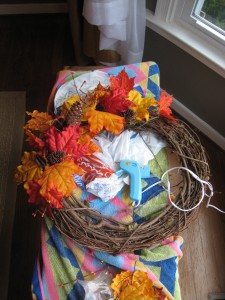
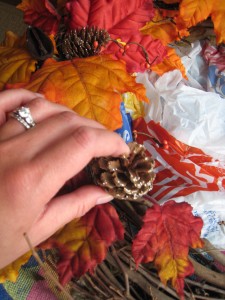
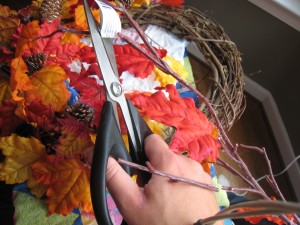
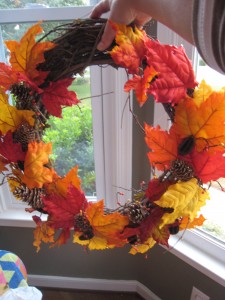
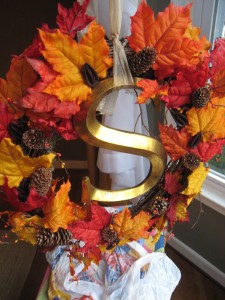
I think the easiest way to make a wreath is to just start with one section and work your way around clockwise. Here’s my wreath in progression:
I feel like I can’t really offer directions on how to make a wreath, but here are some suggestions on what to pick out:
1. Pick different elements that are in the same color family. For this wreath, that was golds, oranges, reds, and browns.
2. Pick three groups of objects – one group of large, one group of medium sized, and one group of small objects. It creates variety and will help you space out you wreath. The pinecones are my favorite part of this wreath they move your eyes around the circle in terms of how they’re placed.
3. Use a glue gun and floral wire. Unless you want to hold things in place for all hours of the day. This is definitely a project where it’s helpful.
Feel free to post a comment if you have any questions. Happy Fall!
Trackbacks
There are no trackbacks on this entry.


Comments
There are no comments on this entry.