Bailey Console Table
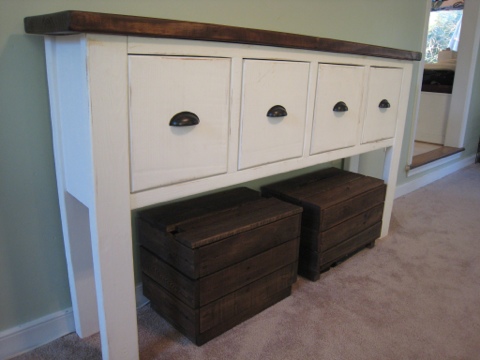
We have recently rearranged our living room furniture which has then lead to lots of other changes. The biggest pressing issue was what to do with our TV? I had always wanted to mount the TV above the fireplace and then run the wires under the house to a media closet that I have already prepped. However, with our extremely narrow living room this wouldn’t function well. So instead, we had the idea of moving the TV to the long wall facing the fireplace. The only problem there was….our TV media stand was too deep and not very wide. We were wanting a nice long piece of furniture that didn’t stick out from the wall too much. Plus, I was itching to build something for ourselves (I’ve been spending a bunch of time building things for others). I began my search on Pinterest and came across a couple pictures that I liked and thought would work well.
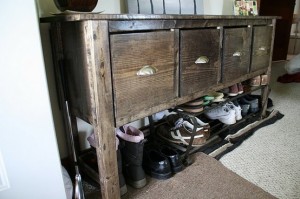
I found this one which was built and documented at; http://morelikehome.blogspot.com/2010/05/console-table-knock-off.html
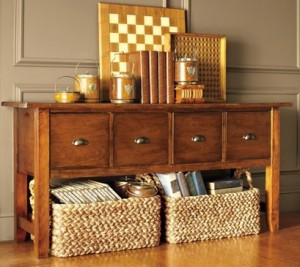
Which then lead me to search for the original one from Pottery Barn….found here.
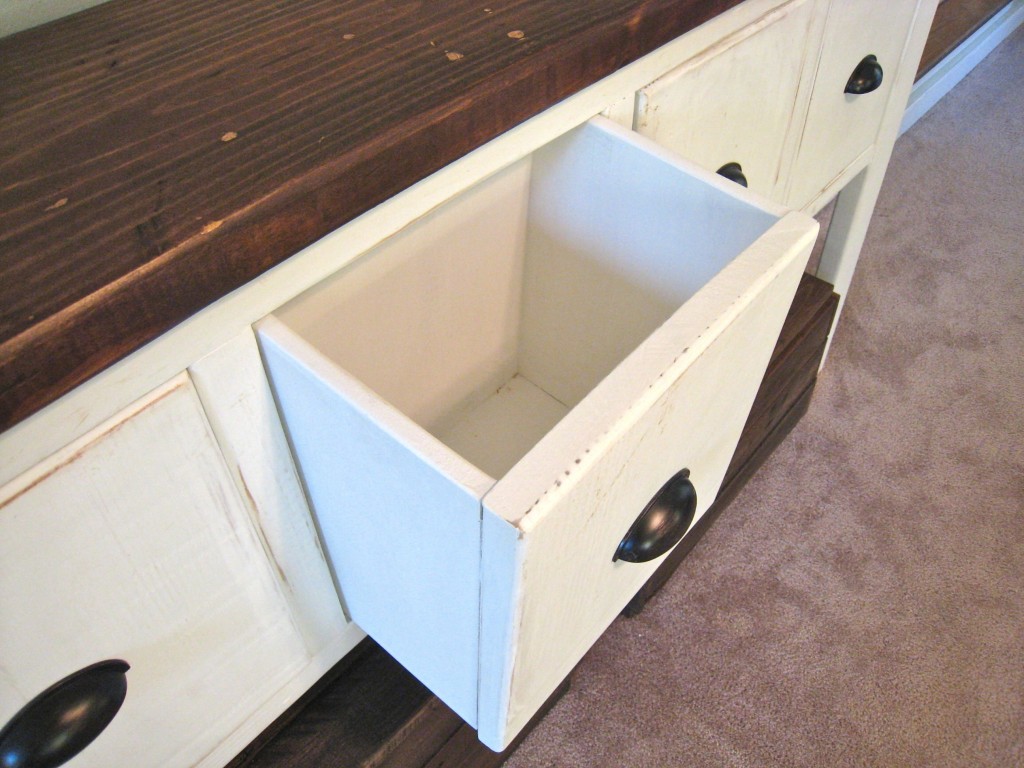
I used these two pictures as my inspiration and then looked around my garage to find some scrap pieces of wood that I thought would work. I had lots of scrap 2x12”s from previous tables that I built. Most of them measured about 15” and I decided to use these for the 4 drawers. I also had quite a number of scrap pieces of 2x8”s which then dictated the total depth of the console table and became the side end caps as well as the bottom shelf. I used some 2x4”s for the legs and since I didn’t have enough scrap 2x8”, I also used two 2x4”s to be the top shelf. I ripped a 2x4” down the middle to create some trim pieces for the face of the console. I also had some leftover MDF from the window cornices, found here, that I used as the backing as well as to form the drawer insides. The only thing that I needed to buy were the scalloped handles for the drawer pulls and a 2x12” to serve as the tabletop.
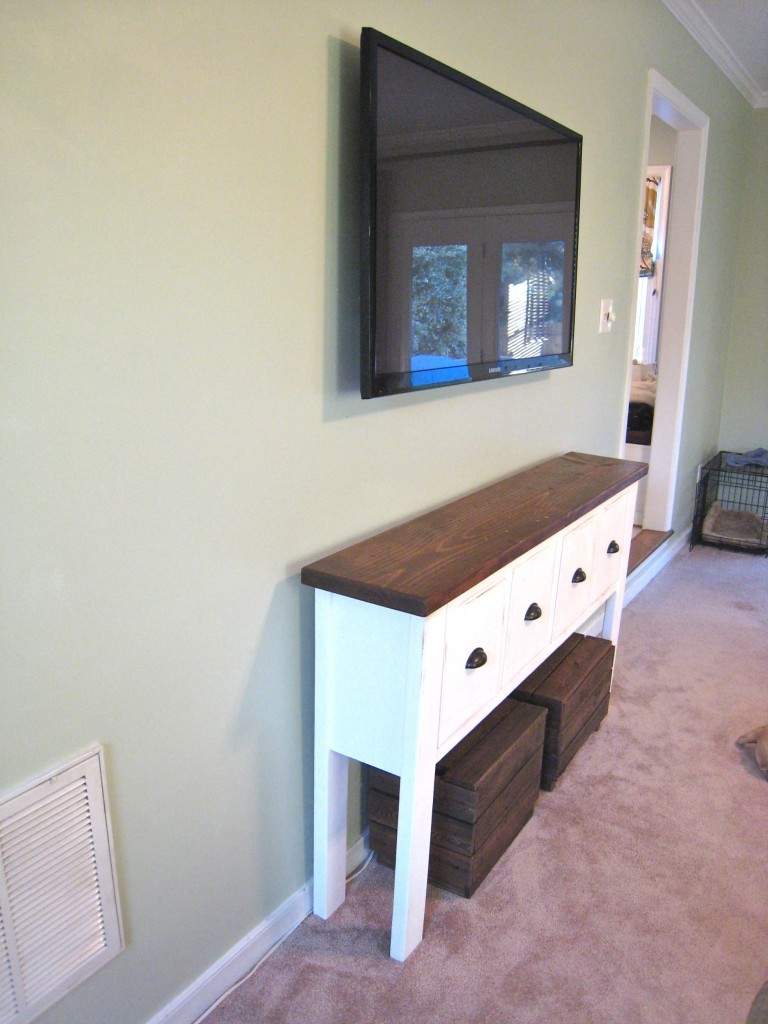
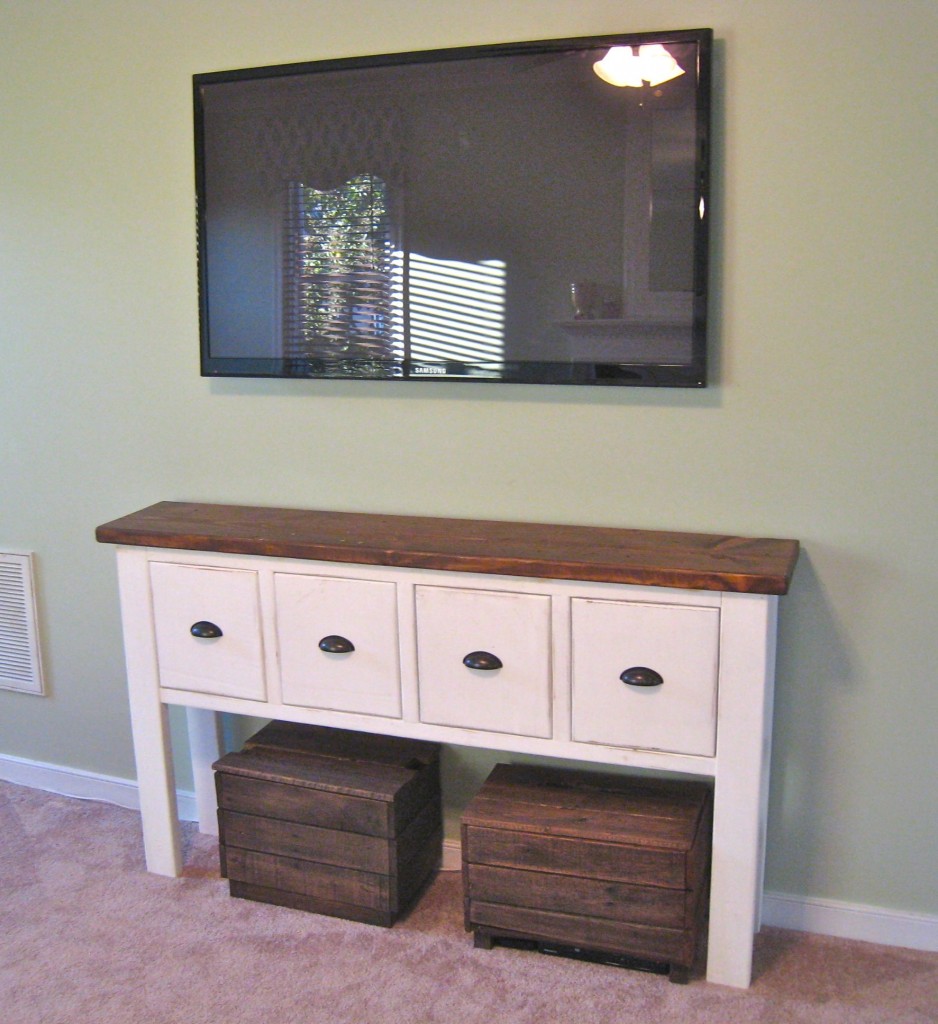
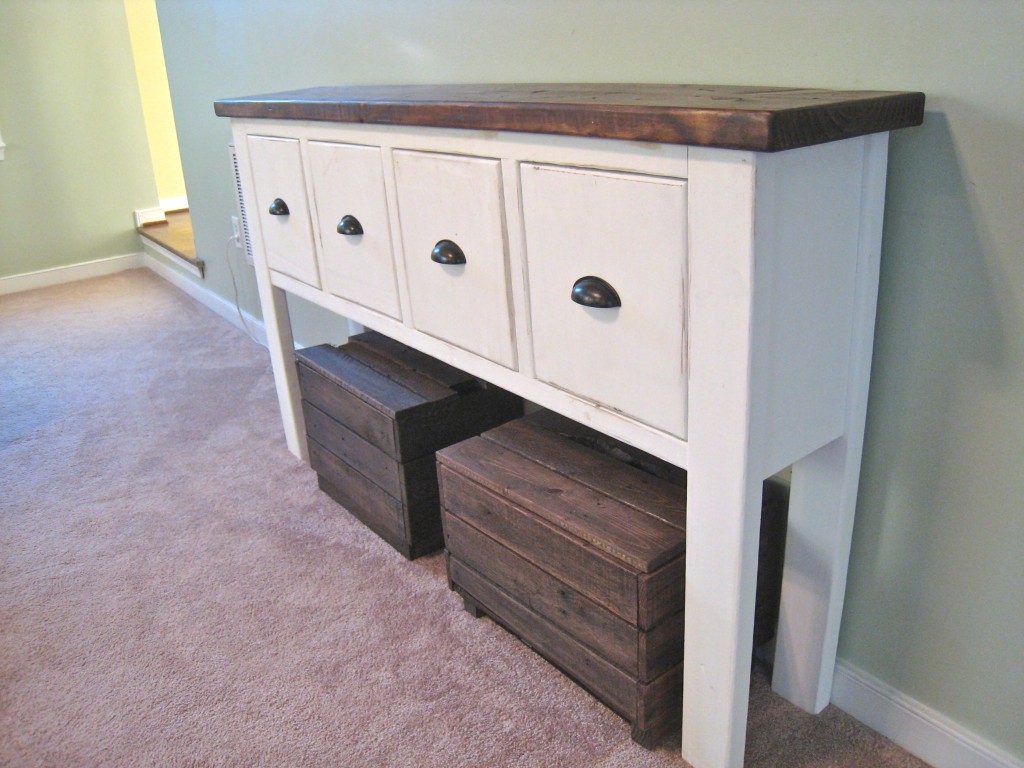
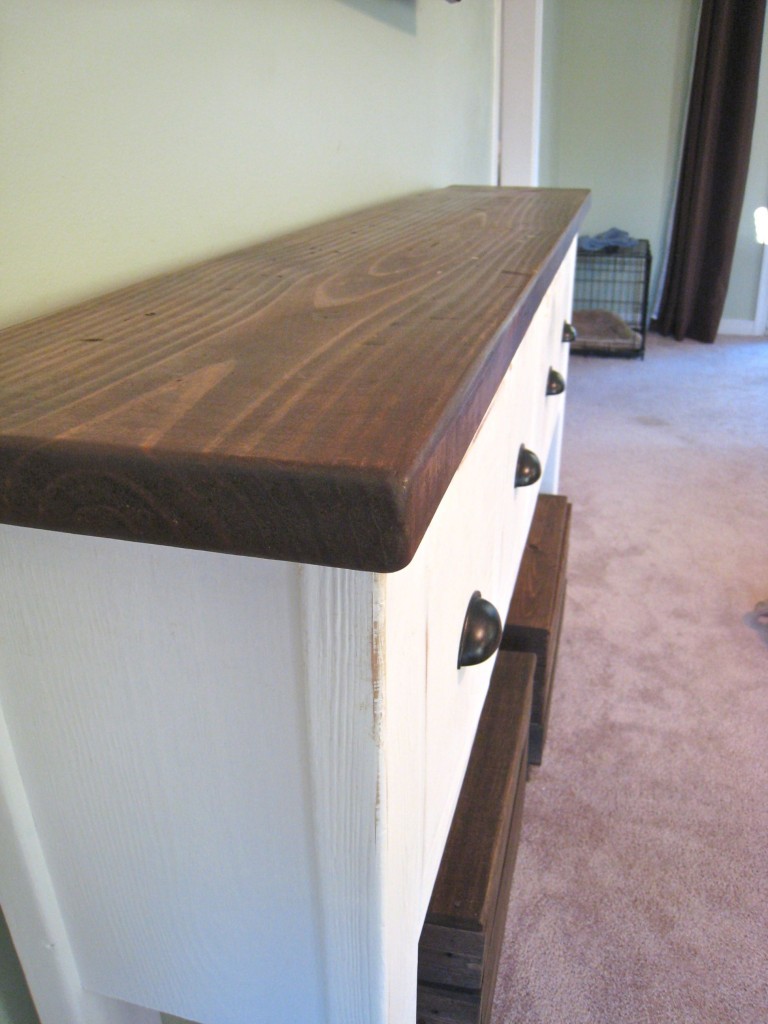
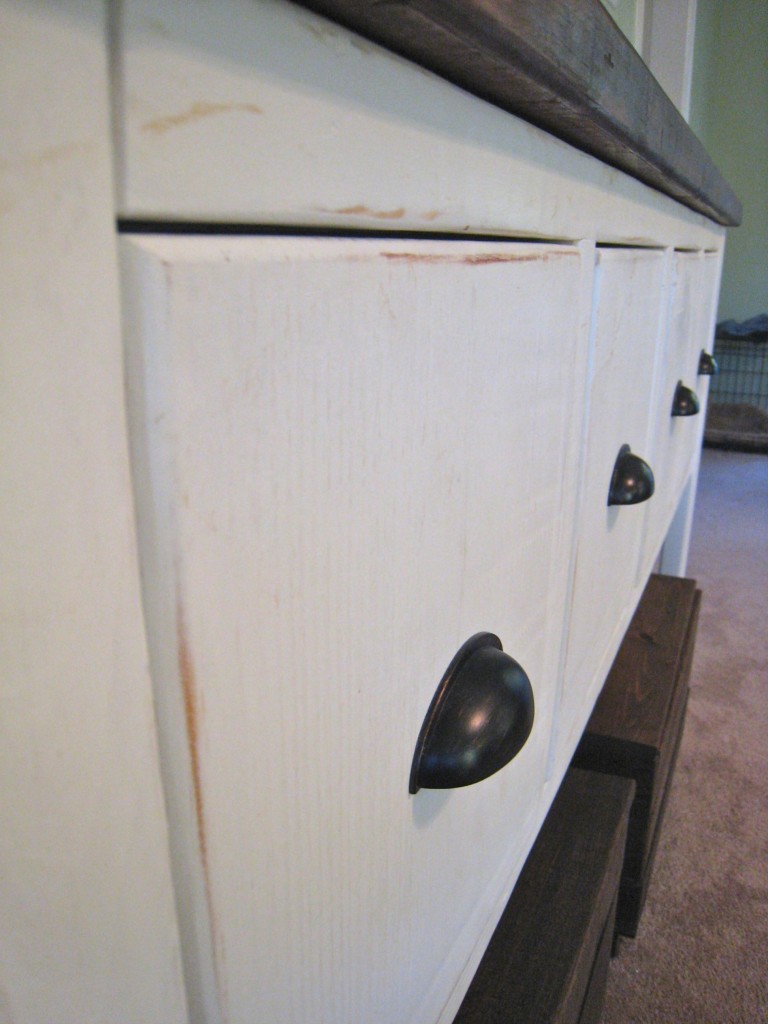
We have a lot of brown in our living room so we wanted to have the console table be bright, crisp, and clean….so we decided to paint the base white. We also wanted it to fit with the other pieces of furniture, so we stained the tabletop “Special Walnut.” I distressed the tabletop slightly and then used Bri-wax to finish it off. I also distressed the base by simply sanding the edges. I may decide to use a new product that I came across “Distress Ink,” to add some contrast to the spots that I sanded down…..still undecided.
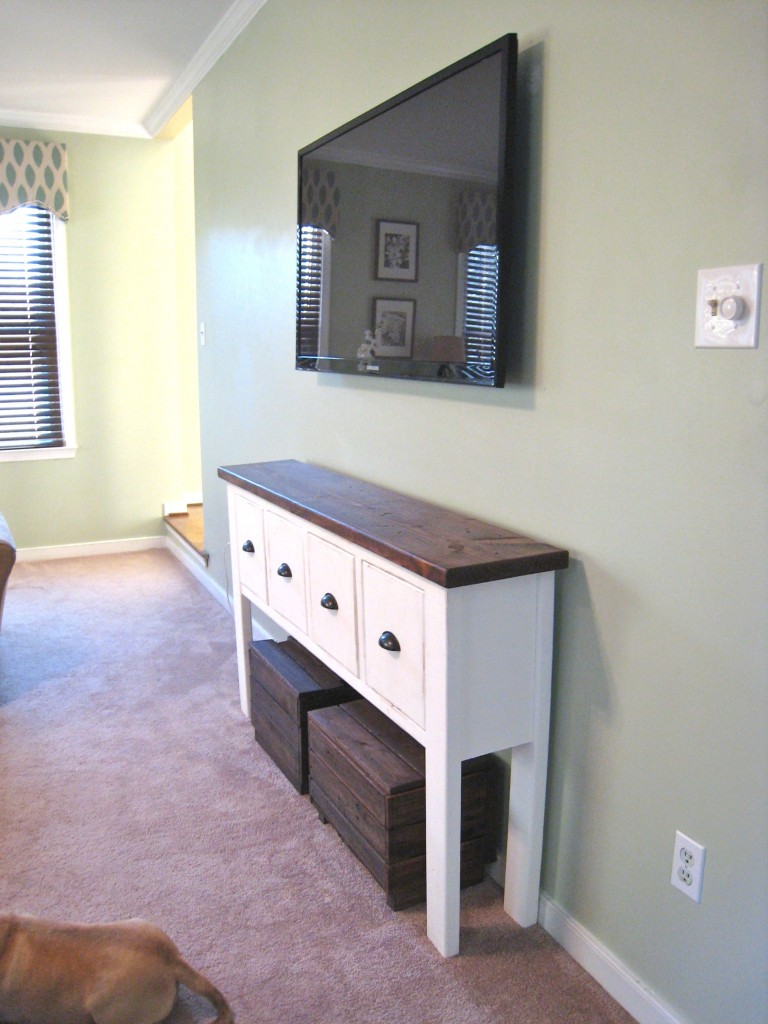
Unfortunately, I didn’t take any pictures of the process. This was literally something that I just randomly started putting together on a Sunday afternoon. Experimenting with scrap wood and trying to put something together. After the fact, I realized that Ana-White has some good plans on it if you’re interested in building something similar. Anyways, here’s some pictures. You may also notice there’s a couple of other small projects we’ve done in the living room that I may get around to posting about.
Can you spot some other additions?
Trackbacks
There are no trackbacks on this entry.

Comments
There are no comments on this entry.