Sawhorse Double Desk Details
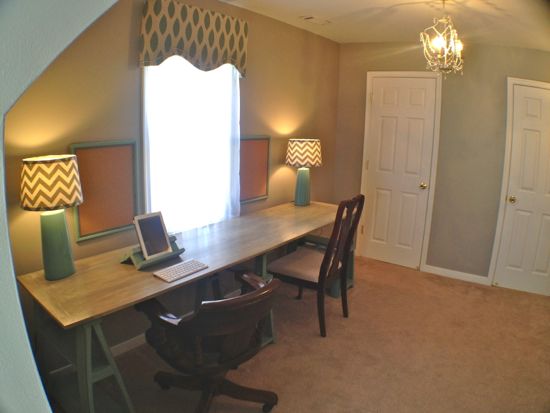
One of the rooms in our house has sat literally empty for quite a while now. We didn’t have any furniture for it and we also didn’t have a clear sense of what we wanted the room to look like. The one thing that we did know was that Ellie needed some work space to set up a sewing machine from time to time. The room’s a little awkward because it has the entrance door, a window dormer, another window, and 3 closets. Our plan was to create a double work station along the wall with the window. We dabbled with the idea of buying 3 base cabinets and creating a long tabletop to connect the three but we couldn’t find any cabinets at a decent price.
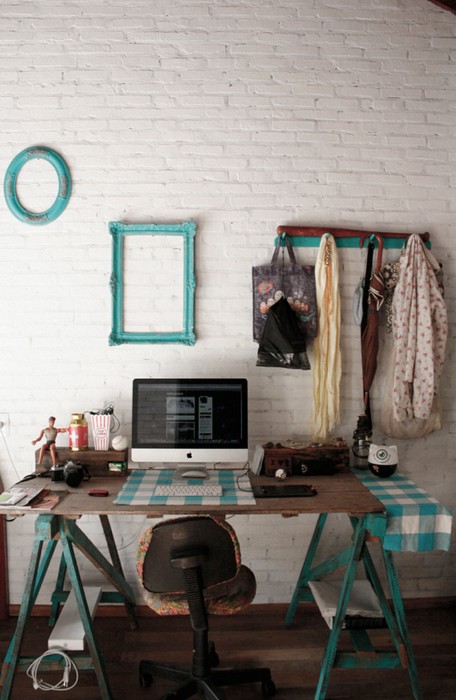
So we were at a standstill. We began looking for other inspiration when I stumbled across this picture from a tumblr account.
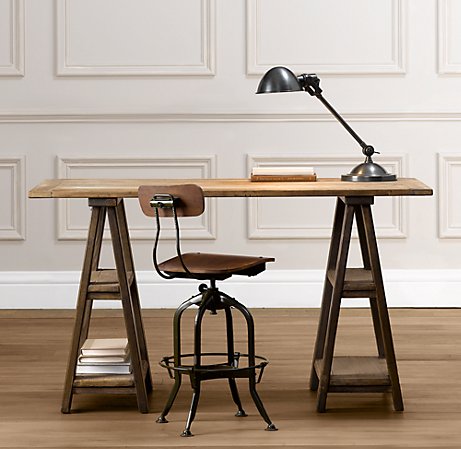
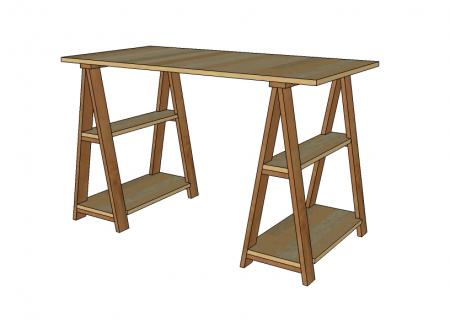
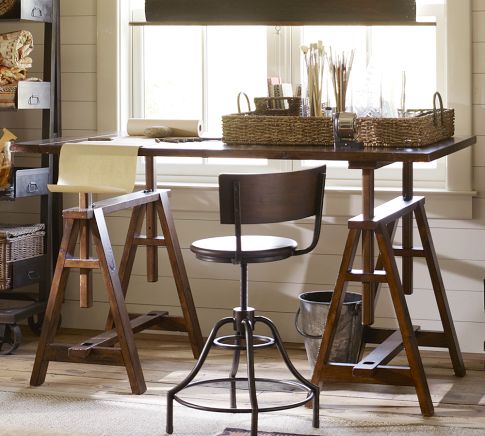
Combine that with the Restoration Hardware version, the Ana-White building plans, and a Pottery Barn writer’s desk…..and I was off to work.
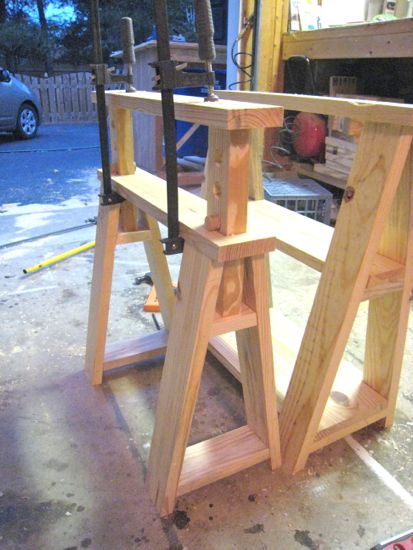
I had a bunch of 2×4″s laying around but I liked the “lightness,” of using something thinner so I planned all of the wood down to about 1.25″. I then cut all the legs to size with a 10 degree angle on both ends.
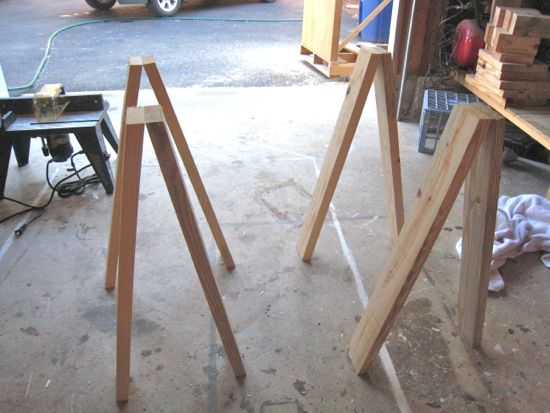
So I don’t mess up any of these angle cuts, I make a little mark on the side to help remind me which way the angle needs to go.
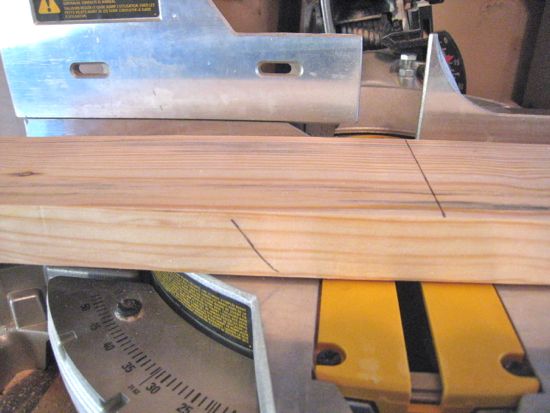
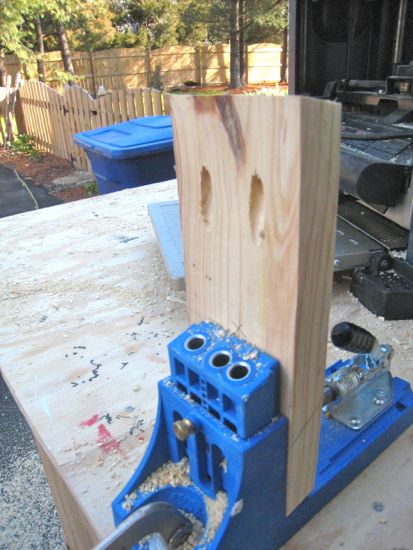
After, I had all the legs cut it was time to cut the first bottom support piece. Then I drilled some pocket holes on the underneath side. I made my mark, used wood glue and screwed it all together.
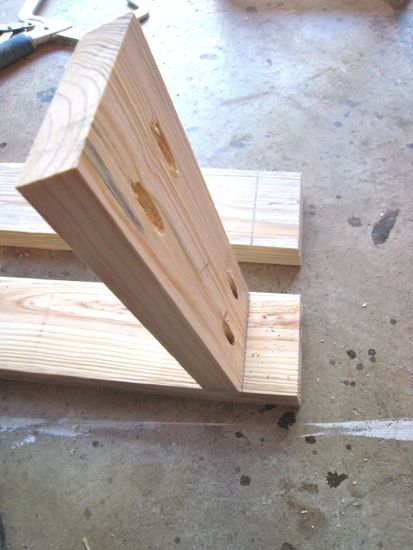
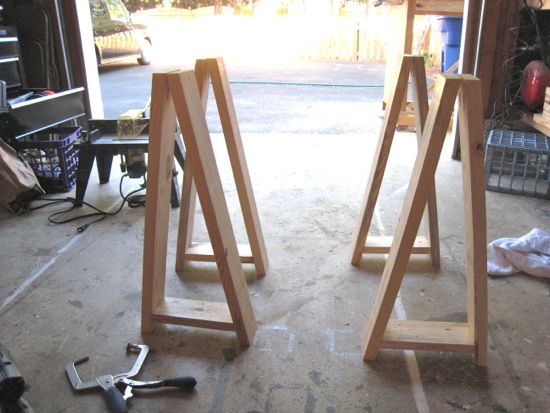
The hardest part was making these little storage shelves because they needed to be notched out on the corner with the inclusion of a 10 degree bevel. Once I cut those to fit snug, I just screwed them in from underneath.
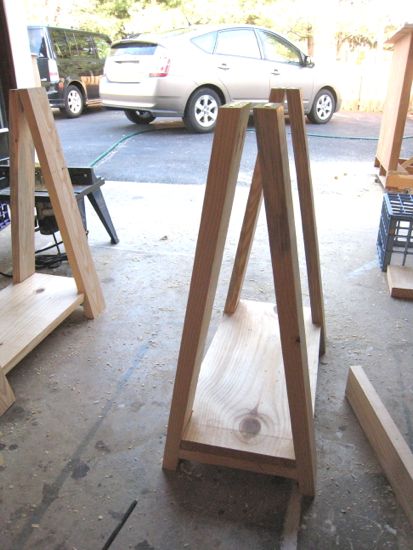
I then attached the top piece using pocket holes on the inside.
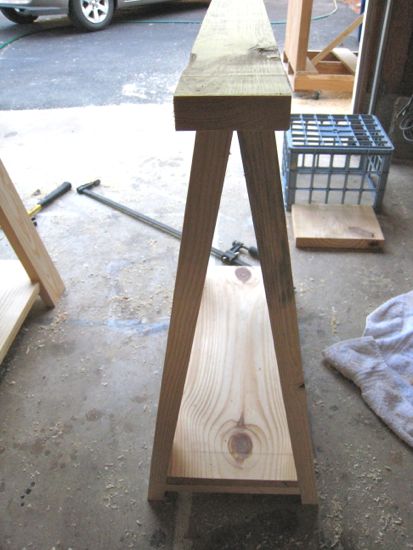
I got wrapped up into the project and forgot to take some pictures but the top shelf was notched out just like the bottom but was put into place in the opposite manner of the bottom shelf (i.e. first place the shelf up and then put the support piece under it). I didn’t want any screws holes anywhere visible, so I used wood glue and my finish nailer to keep it all in place.
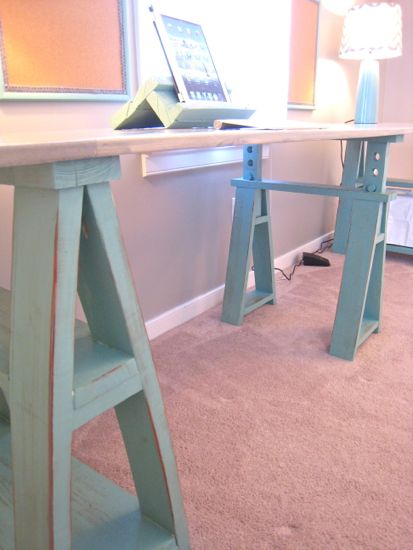
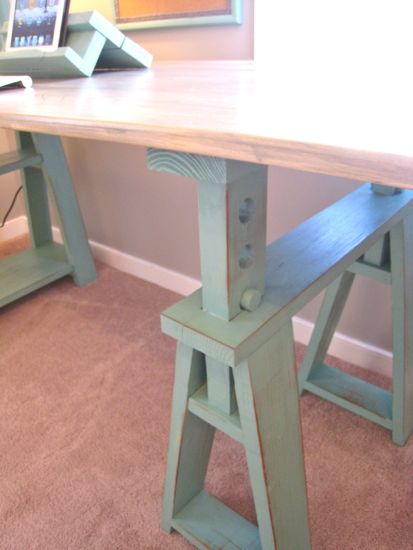
The two saw horses were constructed but they weren’t going to be enough to support the entire length of our double work station (the tabletop measures 9′ long!). So I needed a third support structure. I kindof wanted to do something a little different with the middle sawhorse so I decided to try and mimic the Pottery Barn version of the sawhorse desk. This sawhorse was going to be sitting under the middle of our window, so I was also worried about it hitting the window trim. Again, the heat of the project got the best of me and I forgot to take pictures.
For the bottom half of the sawhorse, I basically followed some of the same principles from the first two sawhorses except without shelves and shorter. I also used a wider top board since I notched out a whole to accommodate the two adjustable supports (they only look adjustable). I drilled some holes in the piece of wood to appear adjustable and then cut off an old broom handle to make my dowels.
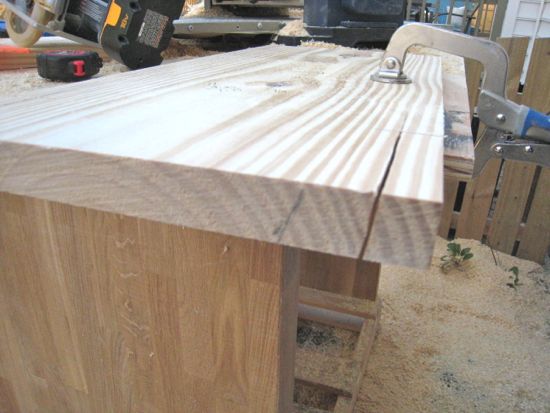
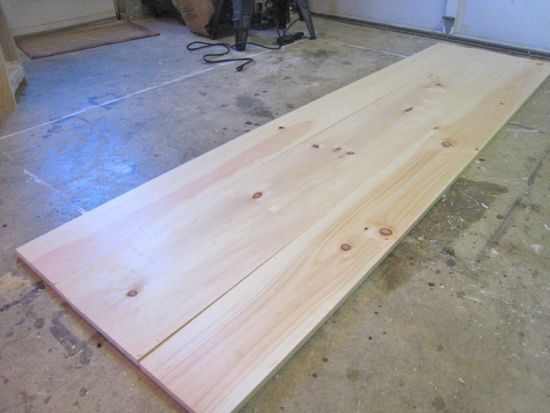
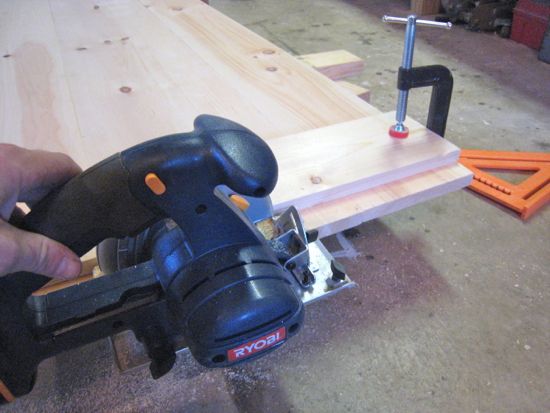
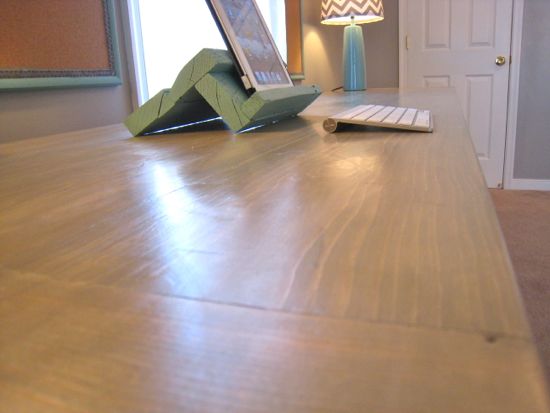
The tabletop consists of 2: 1×8″s and 1: 1×12″ and then a 1×6″ cut to size for the breadboards. I drilled pocket holes every 12″ down the seams and joined them together using wood glue and clamps. One end I was able to join straight but on the other end, I need to cut an inche off or so to straighten out the edge enough for me to attach the breadboard. It received a good dose of sanding after that.
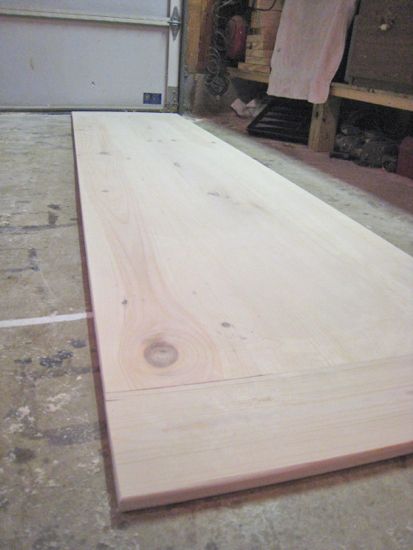
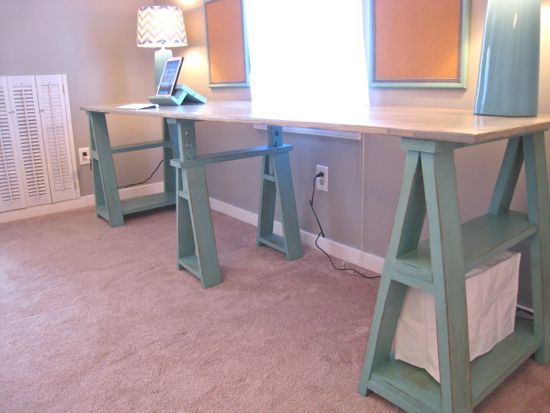
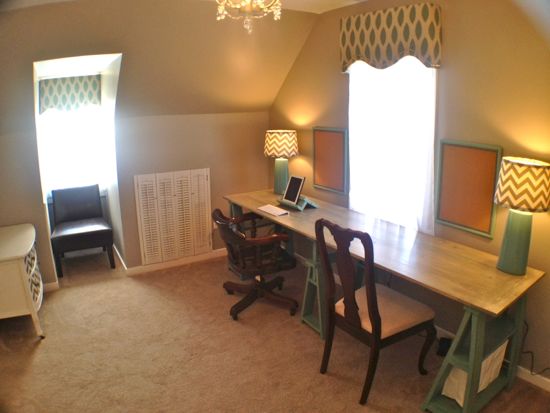
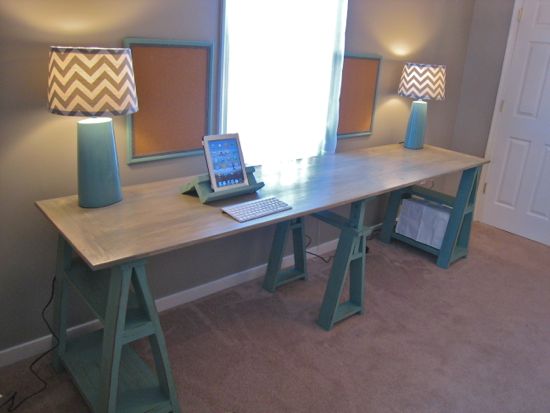
So that’s how they were all constructed. I’m going to write two other separate posts to describe the finishing process. I used a new distressing technique on the base and a different way to stain the tabletop. Here’s how it all turned out.
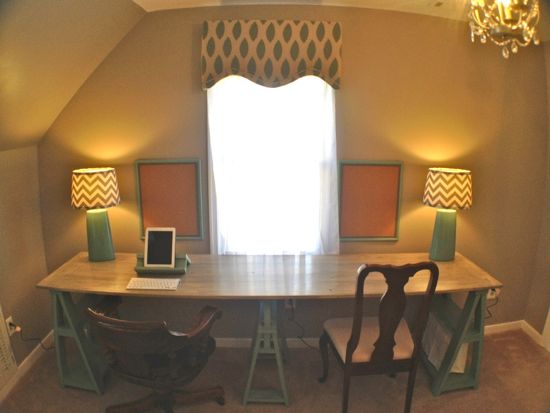
We’d love to get some feedback…..feel free to leave a comment on what you think of the changes thus far.
Trackbacks
There are no trackbacks on this entry.


Comments
There are no comments on this entry.