How to Build a Frame Gallery Along a Staircase
So far, I feel great about our 2012 project list because we already crossed one project off and we’ve got another in progress.
1) Install “Arctic Ice” back splash from Home Depot in the Kitchen.
2) Lay and stain hardwood floors in the kitchen and family room to match our existing hardwood in the dining room and foyer. Labor intensive and challenging, but if we do everything ourselves, we can save $3 – $4,000.
3) Turn our fourth bedroom into an office. It’s currently empty, but we can’t wait to build dual work stations and shelves. IN PROGRESS.
4) Hang some “ceiling medallion” wall art along the staircase in the foyer.
5) Remove the silver nailhead trim from the window cornices in the family room and spray “antique bronze” then re-apply. (Long story short, we’re still not 100% sold on those window cornices). Swap out brown Venetian blinds for white or sheers.
So we didn’t do the ceiling medallion collage (I may still save that for another location in the house); however, we did install a photo collage along the staircase in our foyer.
I found some beautiful frames with linen matting at Pottery Barn marked down to 60 percent off at an after-Christmas sale.
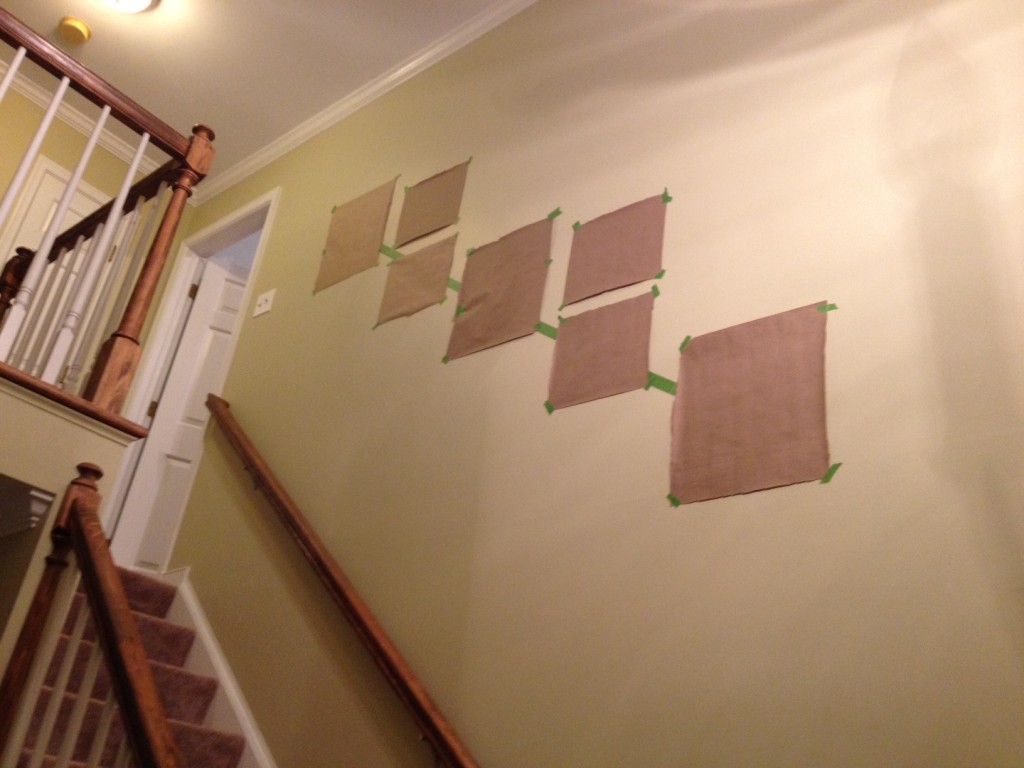
Here’s the step-by-step of how we did it. I should note first that I used scrap paper to do all of the initial placement and arranging. I had some kraft wrapping paper left over from Christmas, so I traced each of the seven frames onto the Kraft paper and cut them out before I began my arrangement.
The best part about this little hanging trick is you can nail right through the paper and rip it away once you are ready to hang the actual frames, leaving the nail in tact.
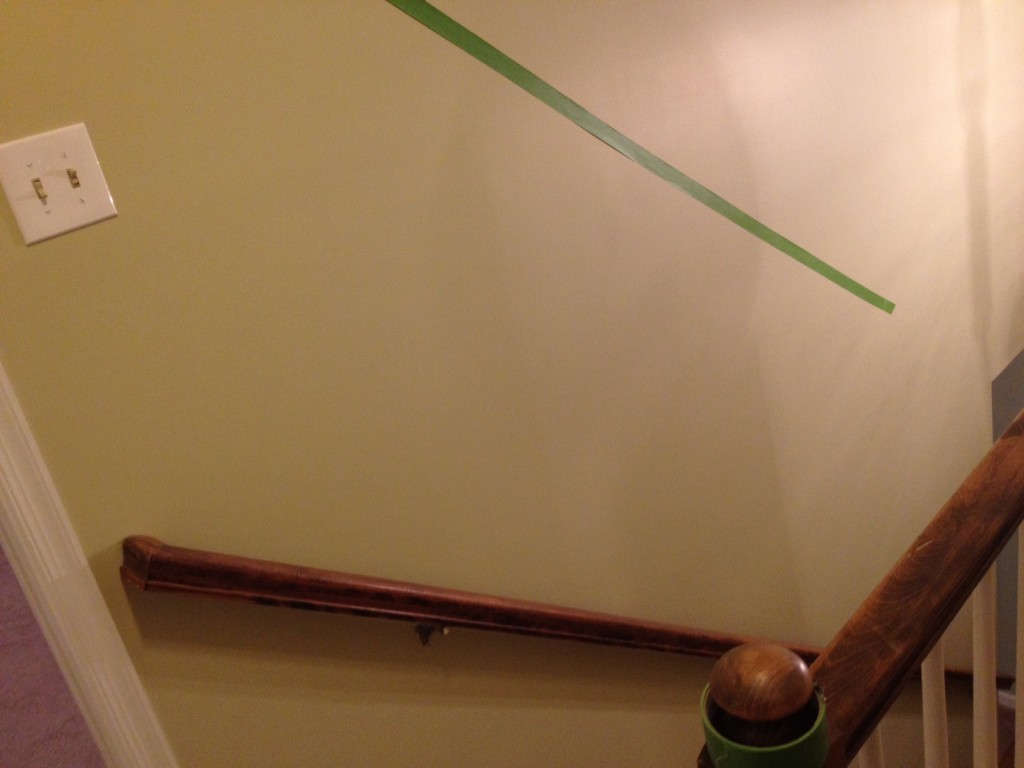
1) Using our trusted green frog tape, I extended one long piece of tape about three feet above the handrail, making sure that the line of tape was perfectly parallel to the handrail. The long line of tape would serve as my “anchor line” to make sure I was arranging the frame gallery along the same “axis line” as the staircase itself.
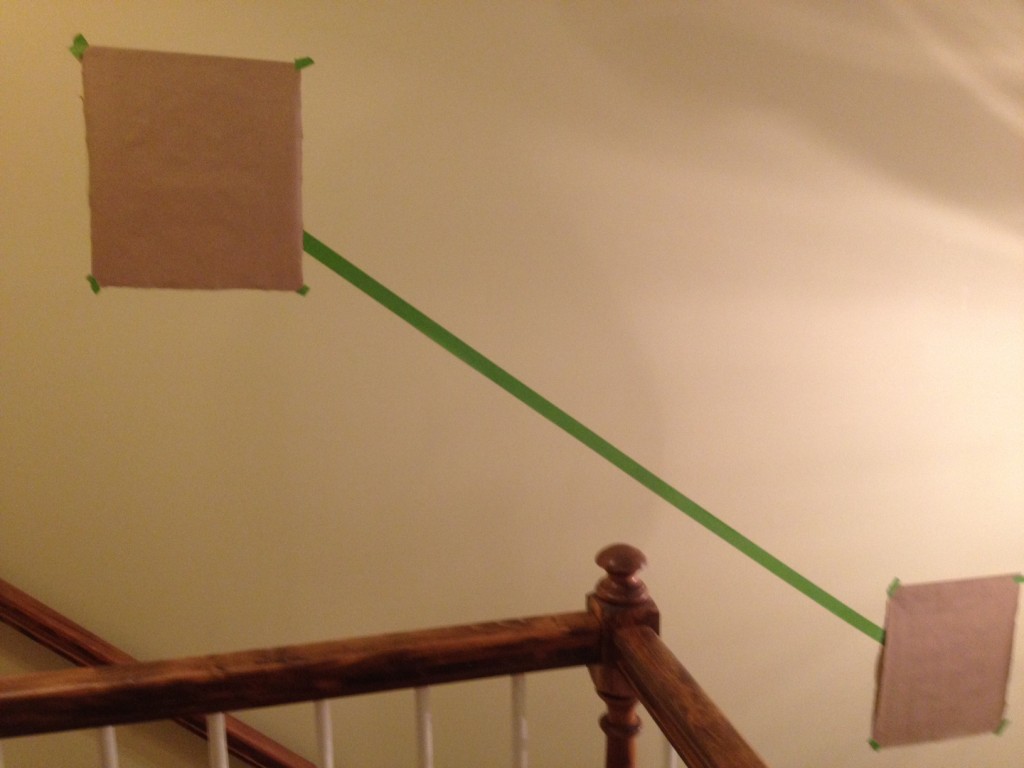
2) I had seven frames total (they say odd numbers work best for a frame gallery). Three of the frames were 8 x 10 inches and four frames were 4 x 6 inches. I began the arrangement with the three larger frames first, anchoring the one 8 x 10 frame on either side of the long piece of “anchor tape.”
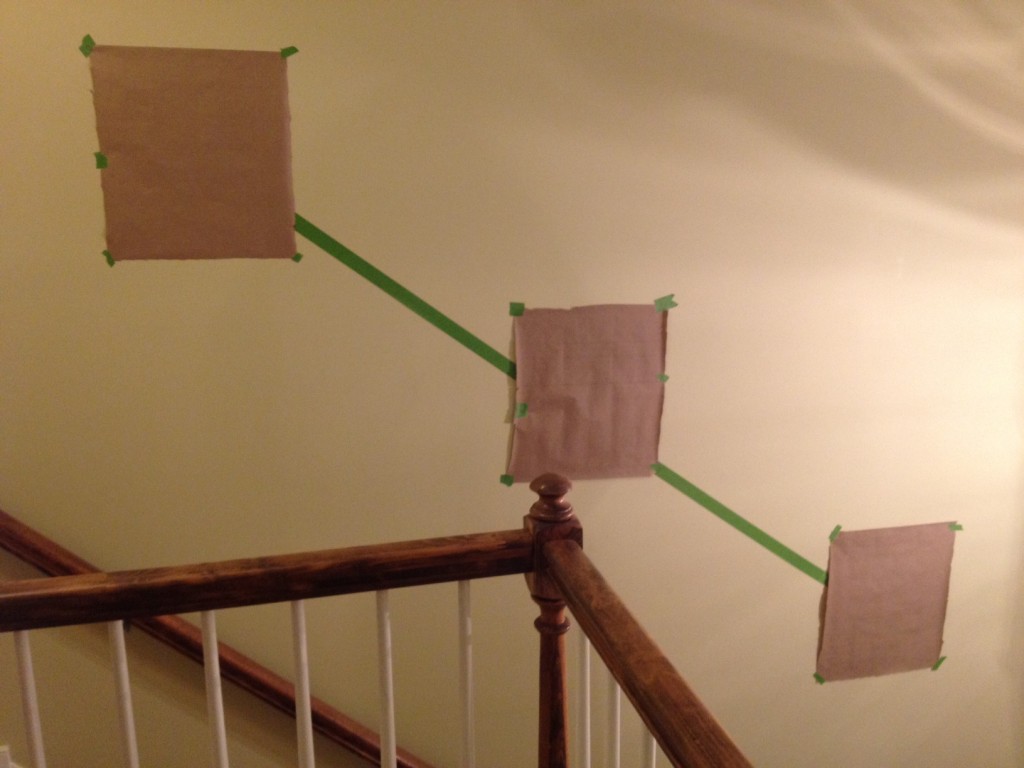
3) Then, I found the center point on the anchor tape between and hung the third 8 x10 frame right in the middle. I hung all of the 8 x 10s as potraits, so that I could create a stair-step affect as you looked down the anchor line.
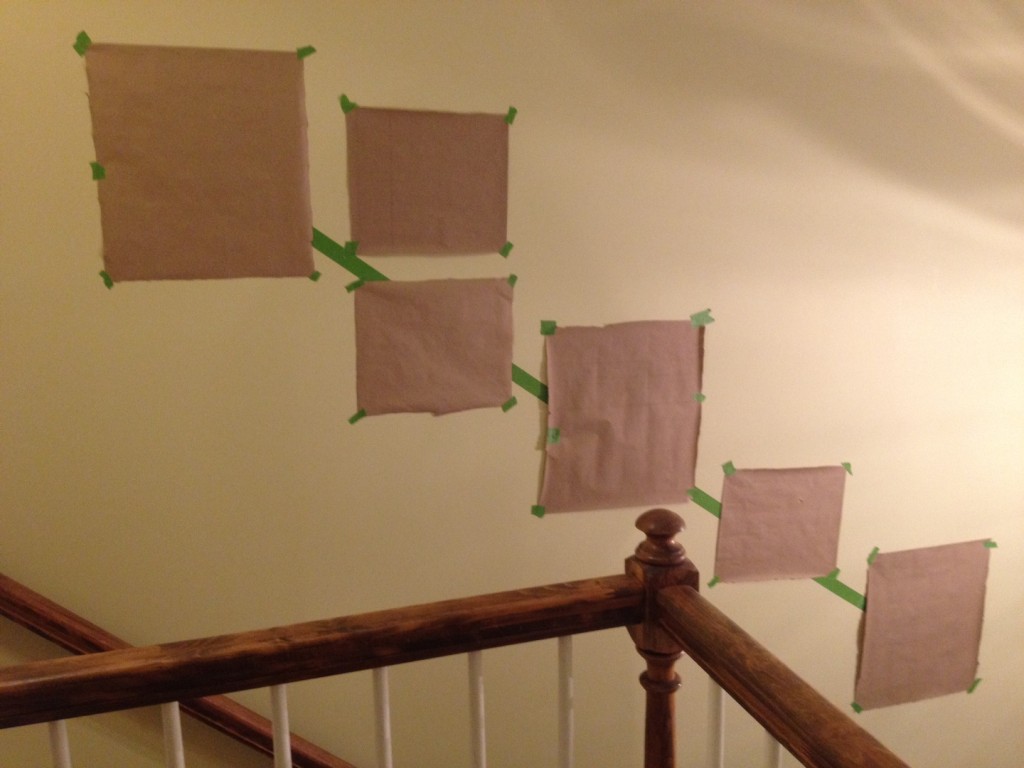
4) I added the four 4 x 6 frames by putting two on either side of the middle 8 x 10 portrait frame. I hung all of the 4 x 6 frames landscape to create some variety in the lay out.
5) After I did some final tweaks to make sure I was happy with the way the arrangement looked, Tommy came in with nails and a hammer to prepare the wall.
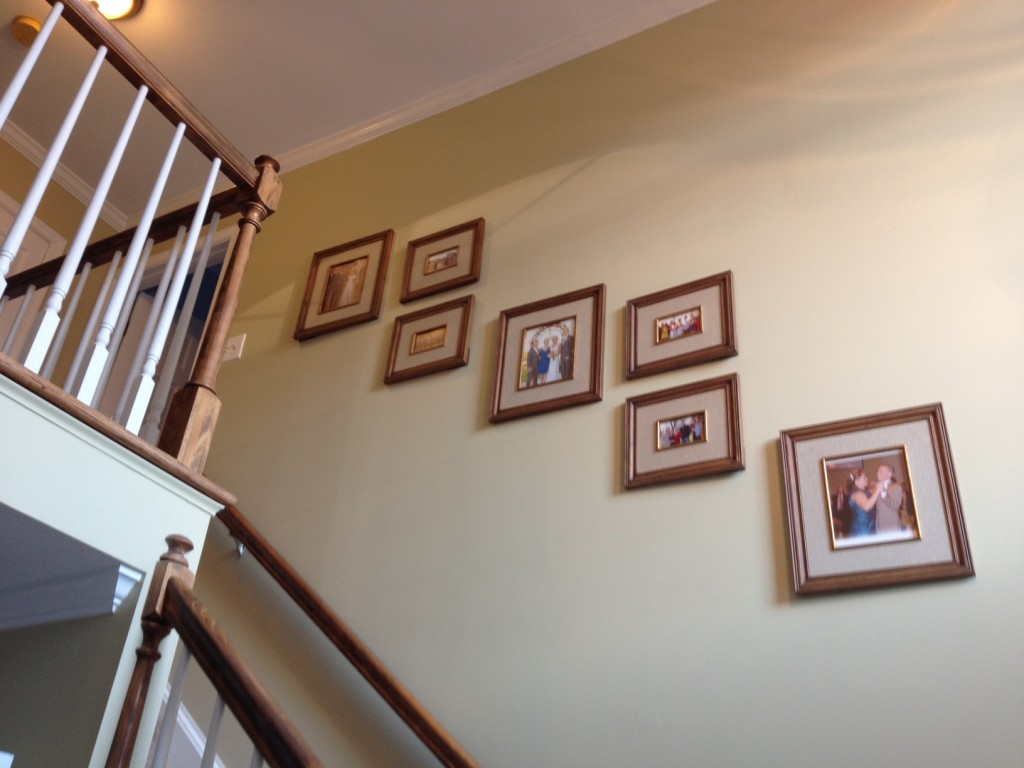
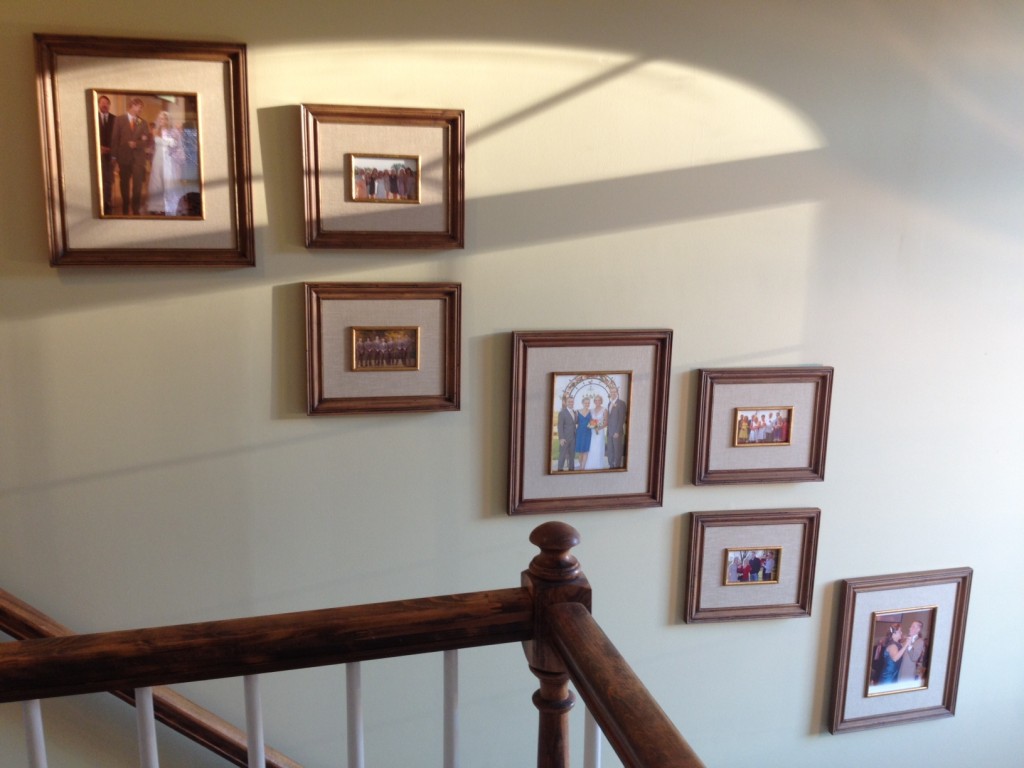
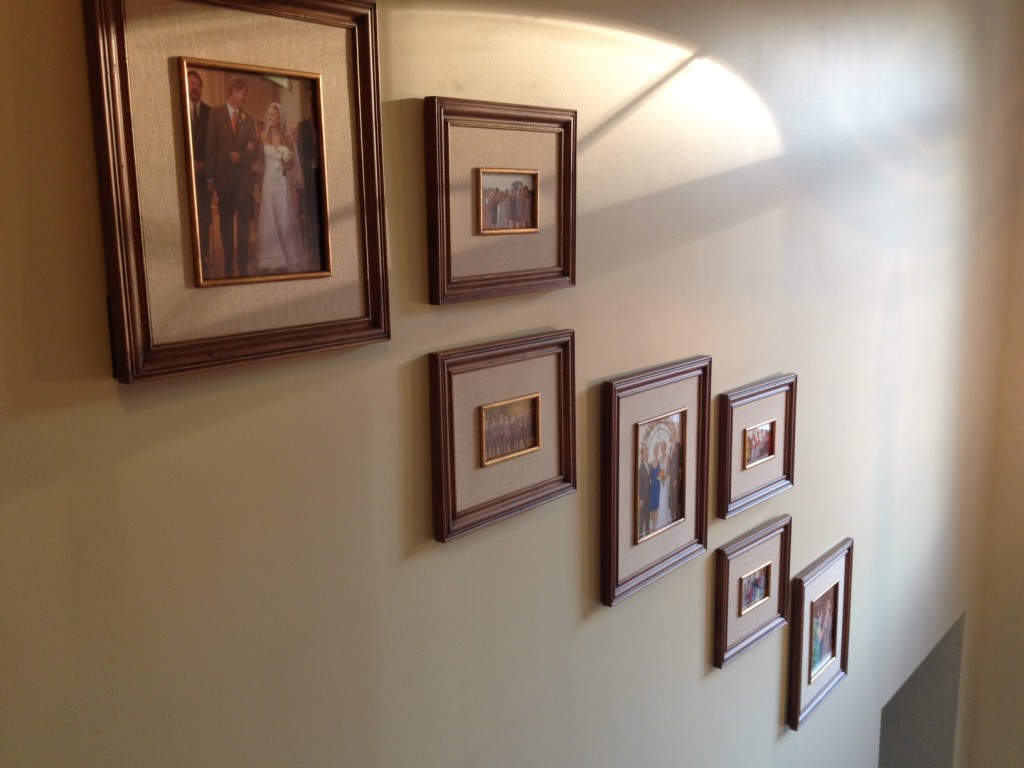
6) Here’s the end result, after we replaced the kraft paper with the actual frames.
What do you think? Have you ever tried the tape and paper trick?
Trackbacks
There are no trackbacks on this entry.

Comments
There are no comments on this entry.